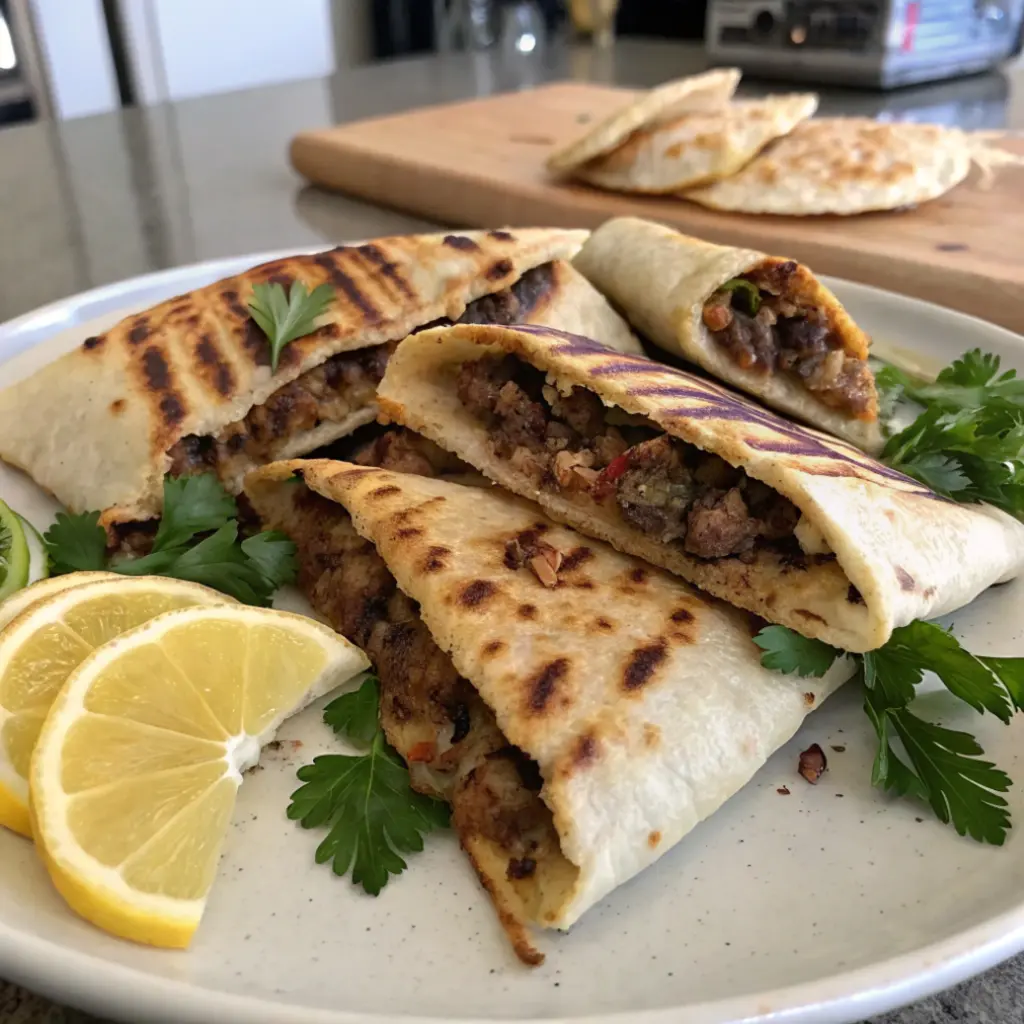
I first tasted Arayes in a tiny backyard gathering in Haifa, years ago, when I was still learning to trust myself in the kitchen. It was a warm, breezy evening—the kind that smells like olive trees and sea air—and someone passed me a hot pita, crisped golden on the outside, with steam rising from its stuffed middle. I took a bite, and the balance was startlingly perfect: juicy spiced meat tucked into soft pita, griddled until every edge turned toasty. I remember wiping my fingers on a cloth napkin and immediately asking who made them—and how. The auntie smiled, shrugged, and told me it was “just Arayes.” As if something that wonderful could be just anything.
Years later, I found myself trying to recreate that flavor in my own home. The first batch was… underwhelming. I overstuffed the pita, used too lean a cut of meat, and forgot to salt the outside before grilling. But I kept at it, because something about Arayes felt like more than just a recipe—it felt like a way of feeding people that said, “You’re home now.” And eventually, I got there. Now, it’s one of my go-to dishes when I want something crowd-pleasing but low-effort, impressive yet homey. I make them for summer picnics, late Sunday lunches, and even as a midnight snack when the fridge is low but the cravings are high.
Why You’ll Love This Recipe:
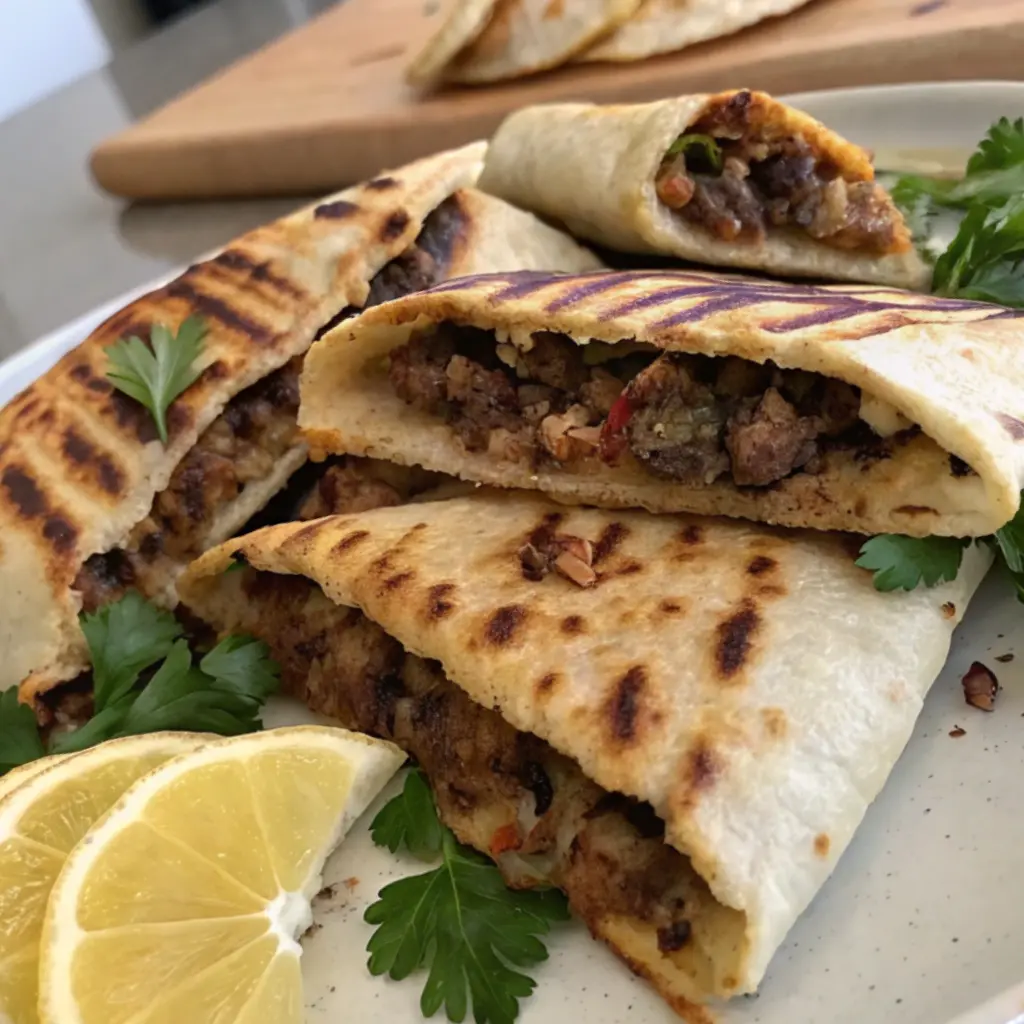
- Crispy on the outside, juicy on the inside
- Comes together quickly with minimal prep
- Perfect for using up ground beef or lamb
- Great for entertaining or casual meals
- Can be made ahead and reheated easily
- Full of warm spices and Mediterranean flavor
Ingredients You’ll Need:
Here’s what you’ll need to make Arayes the way I do at home. You’ll see this isn’t a fussy dish—there’s plenty of room to adapt with what you have.
- Ground beef or lamb – I’ve used both, and sometimes even a mix. Lamb gives it a deeper flavor, but beef works beautifully too. The key is to use meat with some fat—don’t go lean, or it’ll dry out.
- Yellow onion, finely grated – This keeps the meat juicy and adds that subtle sweetness. I use the large holes on a box grater and squeeze out a bit of the excess liquid if it’s too watery.
- Garlic cloves, minced – Two cloves is my sweet spot, but if you’re a garlic lover, go wild.
- Fresh parsley, chopped – It adds brightness. I’ve skipped it when I didn’t have any, but it does make a difference.
- Ground cumin – Earthy and warm. I always toast it lightly before adding.
- Ground cinnamon – Just a pinch; it deepens the flavor and gives that unmistakable Levantine aroma.
- Salt and pepper – Don’t be shy here. Taste your raw mixture before stuffing—it’s worth it.
- Pita bread – You want the thick, pocketed kind. Thin pita will fall apart. I buy mine from a local bakery, but store-bought works fine if fresh.
- Olive oil – For brushing and grilling. I use a generous hand here.
How to Make It (Step-by-Step Instructions):
Start by making the meat mixture. In a large bowl, combine the ground meat, grated onion, garlic, parsley, cumin, cinnamon, salt, and pepper. Use your hands. Really get in there. You want everything thoroughly mixed so the spices and aromatics are evenly distributed. Don’t overwork it into a paste, but don’t be timid either.
Now, prep the pita. If your pita has a pocket (which it should), cut each one in half so you have two semi-circles. Carefully open each half to make a little pouch. Sometimes, I warm the pita for 10 seconds in the microwave just to make them more pliable and easier to open without tearing.
Scoop a couple tablespoons of the meat mixture into each pita half and spread it into an even layer inside the pocket. Not too thick—you want it to cook all the way through without burning the bread. Flatten it slightly with your hands so it’s evenly filled from edge to edge.
Brush both sides of the stuffed pita halves with olive oil. I like to sprinkle a little flaky salt on the outside too—just something I started doing one day and never stopped. Adds crunch and flavor.
Now comes the cooking. You can do this on a grill pan, a cast iron skillet, or even a griddle if you’re feeding a crowd. Medium heat is key. Too hot, and the outside burns before the meat cooks. Too low, and you lose the crispiness.
Place the Arayes on the pan and press them gently. Let them cook for about 4–5 minutes per side, flipping once, until the pita is golden and crisp and the meat is fully cooked. If you’re unsure, cut one open to check. Don’t worry about losing juices—there’s plenty to go around.
Let them rest a minute or two before serving. The juices redistribute, and nobody burns their tongue. I speak from experience.
Expert Tips for the Best Results:
Don’t rush the cooking. That’s the mistake I made early on—impatiently flipping, turning the heat up too high, and ending up with dry meat or soggy pita. Let the Arayes take their time on the pan, press them gently to get those crispy edges, and if you’re ever unsure, just make a small test batch first. Also, don’t overstuff. It’s tempting, I know—but thinner meat filling cooks more evenly and gives you a better ratio of crisp bread to juicy center.
Variations & Substitutions:
One night I realized I had no parsley and subbed in chopped mint and cilantro instead—and you know what? It was fantastic. A little fresher, a little brighter. I’ve also added finely chopped tomatoes when I wanted a juicier bite, and once even tucked in some shredded mozzarella before sealing the pita for a cheesy twist my kids devoured. If you’re not a fan of beef or lamb, ground turkey with a splash of olive oil works too—just go heavier on the seasoning to boost the flavor.
Serving Suggestions:
Arayes are the kind of dish that doesn’t need much dressing up. I usually serve them with a bowl of tahini sauce or plain yogurt mixed with lemon and garlic. A chopped cucumber and tomato salad on the side adds a cool contrast, and if we’re making a meal of it, I’ll throw in some olives, pickles, and maybe a handful of warm chickpeas. They’re great at room temp, so they travel well—picnics, lunchboxes, or potlucks, they’re always a hit.
Storage & Reheating Instructions:
Once cooled, I store leftover Arayes in an airtight container in the fridge for up to three days. To reheat, I use a skillet over medium heat—no microwave, unless I’m truly in a rush, because it makes the bread rubbery. If I have time, I’ll reheat them in a 350°F oven for 10 minutes to bring back that crisp edge. They’re still delicious cold, too, especially dipped in tahini or hummus.
Recipe FAQs (Answered by Clara):
Can I make these ahead of time?
You sure can. I often stuff the pitas in the morning, keep them in the fridge, and just cook them off when I’m ready. The flavors deepen a bit with time.
Can I freeze Arayes?
Absolutely. I freeze them uncooked, then thaw in the fridge before grilling. They taste just as fresh.
What’s the best meat-to-fat ratio?
I’ve found 80/20 to be the sweet spot—juicy but not greasy. Anything leaner and you’ll miss that rich texture.
Can I bake Arayes instead of frying?
Yes, I sometimes bake them at 400°F for 15–18 minutes, flipping halfway through. You lose a little crispiness, but it’s more hands-off and still tasty.

Nutrition Information (Per Arayes Half, Approximate):
Calories: 240 | Protein: 13g | Fat: 15g | Carbohydrates: 15g | Fiber: 1g | Sodium: 320mg
I hope this recipe brings as much warmth to your kitchen as it has to mine. Arayes are humble, satisfying, and quietly elegant in the way only honest food can be. If you make them, I’d love to hear how they turned out—what you filled them with, who you shared them with, and any little twists you tried. Cooking is meant to be shared, so don’t be shy. Leave a comment, send a note, or simply savor the process. Happy cooking from my kitchen to yours.
Arayes
Ingredients
- 4 pita breads medium size, pocket-style
- 1 lb ground beef or ground lamb 80/20 for juiciness
- 1 small onion finely grated
- 2 cloves garlic minced
- ¼ cup chopped fresh parsley
- 1 teaspoon ground cumin
- 1 teaspoon ground allspice
- ½ teaspoon ground cinnamon
- ½ teaspoon paprika
- 1 teaspoon salt
- ½ teaspoon black pepper
- 2 tablespoons olive oil for brushing
Instructions
- Prepare filling: In a bowl, combine ground beef, grated onion, garlic, parsley, cumin, allspice, cinnamon, paprika, salt, and black pepper. Mix well until fully combined.
- Stuff pitas: Cut each pita in half to create pockets. Gently open the pockets and stuff each with a generous amount of the meat mixture, spreading evenly inside. Do not overfill.
- Preheat grill or skillet: Heat grill or skillet over medium heat.
- Brush and cook: Lightly brush both sides of the stuffed pitas with olive oil. Grill for 4–5 minutes per side, pressing gently, until the pita is golden and crisp and the filling is fully cooked.
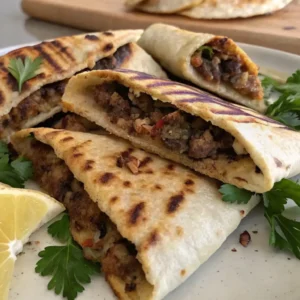
- Serve: Cut into wedges and serve warm, with tahini sauce, yogurt dip, or a fresh cucumber-tomato salad.
Notes
- You can bake Arayes in a 400°F (200°C) oven for 10–12 minutes if grilling isn’t an option.
- Ground lamb gives a more traditional flavor, but beef works just as well.
- Make sure the meat is spread thinly inside the pita to ensure even cooking.
- Arayes are best enjoyed hot and fresh, but leftovers can be reheated in the oven or skillet.