The first caramel apple I ever made was a disaster. I was sixteen, armed with a bag of shiny Granny Smiths, a pack of store-bought caramels, and the kind of confidence only a teenager can have. I melted the candies in a saucepan without adding anything to thin them out, and within minutes I had a lump of scorched sugar cement that clung to my spoon like glue. My apples went bare that day, and I went to bed a little embarrassed but still craving that glossy, sticky sweetness. Years later, I tried again—this time with patience, cream, and a candy thermometer—and when I bit into that first successful apple, the caramel still warm and buttery, I felt like I’d finally unlocked a secret. That’s the thing about caramel apples: they look simple, but they demand care and a little humility. And when you get them right, they’re pure joy.
Why You’ll Love This Recipe
- A classic autumn treat that never goes out of style
- Made with just a handful of everyday ingredients
- Perfect balance of crisp apple and rich, buttery caramel
- Customizable with endless toppings and flavors
- A fun, nostalgic recipe to make with family or friends
Ingredients You’ll Need
Apples: I usually go for Granny Smiths because their tartness cuts through the sweetness, but I’ve also used Honeycrisp and Gala when that’s what I had on hand. Just make sure they’re firm and not mealy.
Granulated Sugar: This is the backbone of the caramel, giving it that deep amber color and sweetness.
Light Corn Syrup: It helps prevent the sugar from crystallizing. I’ve skipped it before and paid the price with grainy caramel, so I recommend keeping it in.
Heavy Cream: Don’t try to swap with milk; you need the fat here for a smooth, rich caramel.
Unsalted Butter: Adds flavor and helps keep the caramel soft enough to bite through.
Vanilla Extract: A splash at the end rounds everything out.
Salt: Just a pinch brings balance.
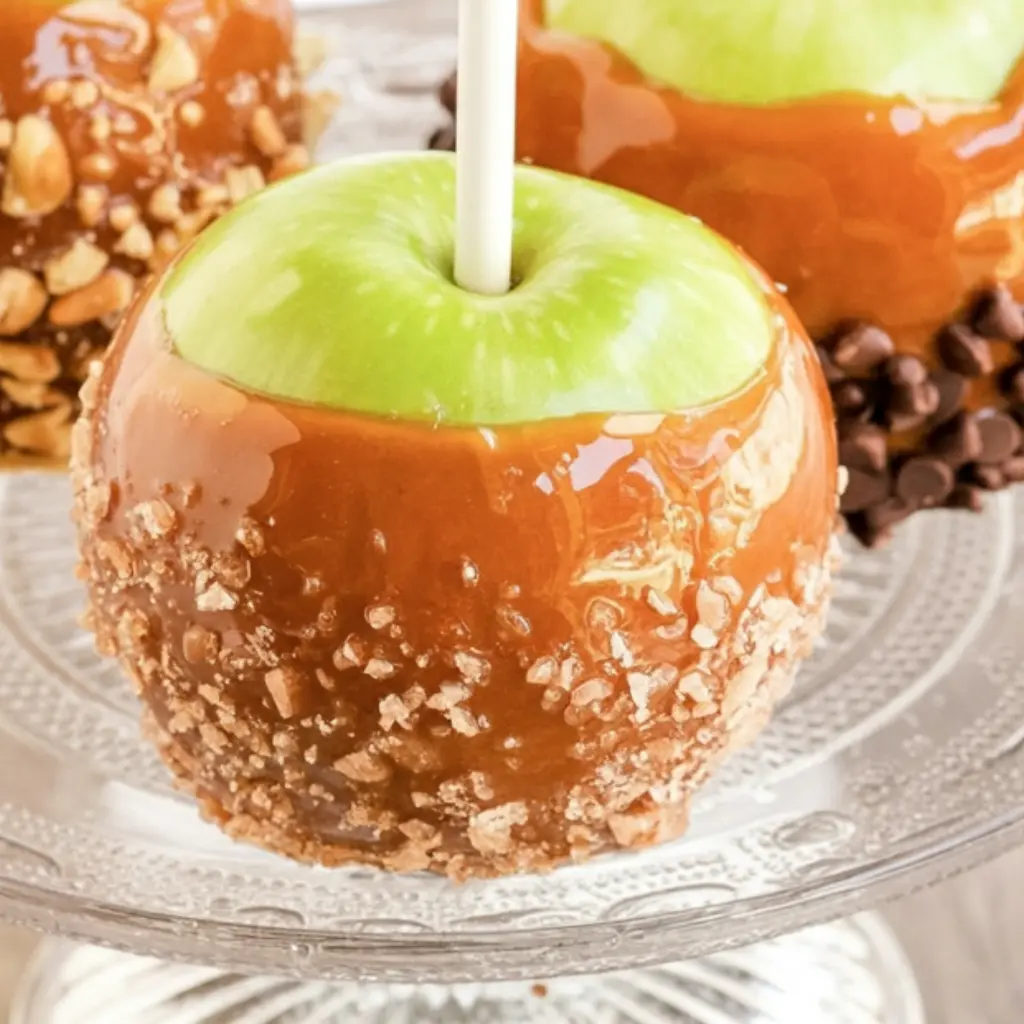
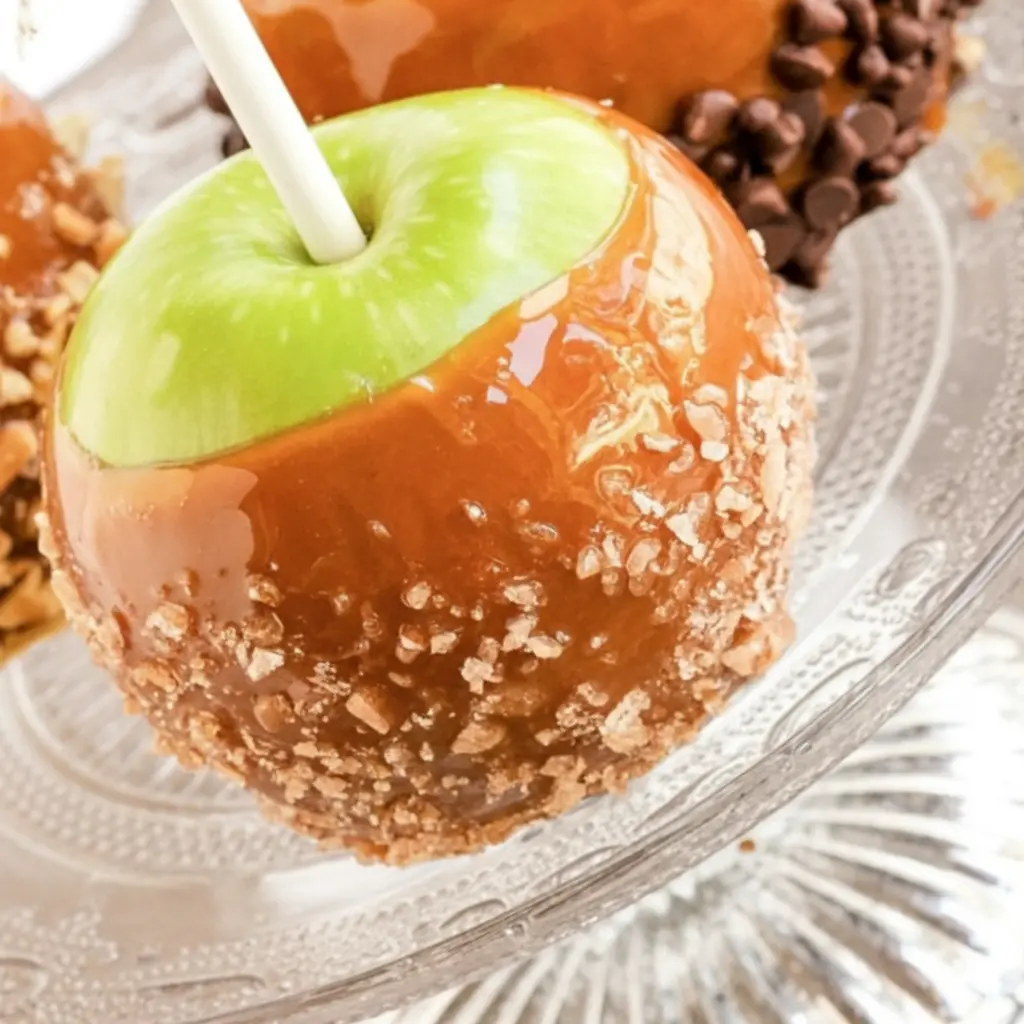
Toppings: This is where you can have fun—chopped nuts, crushed cookies, or even a sprinkle of sea salt.
How to Make It (Step-by-Step Instructions)
Start by washing your apples thoroughly and drying them completely. Even a hint of wax or moisture will keep the caramel from sticking, and nothing is more frustrating than watching your hard work slide right off the fruit. I like to dip mine in a quick hot water bath, then dry them well with a towel. Insert sturdy sticks into the centers—popsicle sticks work, but I’ve also used skewers in a pinch.
In a heavy-bottomed saucepan, combine the sugar, corn syrup, and a splash of water. Set it over medium heat and resist the urge to stir. I learned the hard way that stirring encourages crystallization; instead, just swirl the pan gently now and then. Once the sugar starts to dissolve and turn golden, watch it closely. Caramel goes from perfect to burned in a matter of seconds.
When the mixture reaches a deep amber, carefully whisk in the cream and butter. It will bubble up dramatically, so keep your hands safe. Keep whisking until it smooths out, then let it cook until a candy thermometer reads around 245°F (firm-ball stage). That’s the sweet spot for caramel that’s soft enough to bite but firm enough to coat the apples without sliding off. Remove from the heat, stir in the vanilla and salt, and let it cool for just a few minutes.
Now comes the fun part. Tilt your saucepan slightly and dip each apple, twirling to coat. I like to give them a little spin over the pot to let the excess drip back in. If you’re adding toppings, roll or sprinkle them on before the caramel sets. Place the apples on a parchment-lined baking sheet to cool completely.

Expert Tips for the Best Results
What I’ve learned over time is that patience makes or breaks caramel apples. Don’t rush the caramel by cranking up the heat—it will burn before you know it. Always make sure your apples are clean and completely dry, or the caramel won’t cling properly. And use a candy thermometer if you have one; guessing the temperature is a gamble that almost never pays off. The other small but important detail is timing—dip the apples while the caramel is still warm and fluid, but not so hot that it runs right off.
Variations & Substitutions
One of my happiest accidents happened when I ran out of corn syrup and used honey instead. The flavor was a little different—slightly floral and deeper—but honestly, it was wonderful. I’ve also made a batch with maple syrup for a cozy autumn twist, though it made the caramel softer. For toppings, don’t feel bound to just nuts or sprinkles. I’ve rolled apples in crushed pretzels for a salty crunch, and once I even pressed on mini chocolate chips. If you have kids helping, lay out a topping station and let them get creative—it makes the process even more special.
Serving Suggestions
Caramel apples are at their best the day they’re made, when the caramel is soft and glossy and the apples still crisp. I love setting them out at fall gatherings, especially when friends drop by for cider or a backyard fire. They also make thoughtful homemade gifts—wrap them in cellophane with a ribbon and you’ve got a treat that feels both nostalgic and heartfelt. If you’re slicing them for easier eating, I recommend a sharp knife and a little drizzle of extra caramel on top, almost like a sundae without the ice cream.
Storage & Reheating Instructions
In my kitchen, leftover caramel apples rarely last long, but when they do, I wrap each one tightly in wax paper and keep them in the fridge. They’ll hold for about three days, though the caramel does firm up over time. If you like it softer, just let the apple sit at room temperature for 20 minutes before biting in. The flavor stays wonderful, though the texture changes slightly—the caramel loses some of its shine, but that’s just the nature of homemade candy.
Recipe FAQs (Answered by Clara)
Can I make these ahead of time?
Yes, though I don’t recommend more than a day in advance. The apples start to soften, and the caramel can lose its sheen.
What kind of apples work best?
Granny Smiths are my favorite for the tart contrast, but Honeycrisp and Fuji also hold up beautifully. Avoid softer apples like Red Delicious.
Do I need a candy thermometer?
It’s not absolutely required, but it makes the process so much easier and more reliable. Without one, you’ll have to rely on the cold-water test, which can be tricky.
Can I reheat leftover caramel?
Absolutely. If you have caramel left in the pot, you can gently rewarm it over low heat or even use it as a drizzle over ice cream or brownies.
Conclusion
Caramel apples will always hold a special place in my heart because they remind me that even kitchen failures can turn into sweet victories. They’re a little messy, a little imperfect, and that’s exactly why they’re worth making. I hope you’ll try this recipe in your own kitchen and share it with someone you love—it’s the kind of treat that sparks conversation and brings smiles. If you give it a go, I’d love to hear how it turned out for you. Leave a note, share your favorite topping idea, or just enjoy the process. That’s what cooking is really about.
Nutrition Information (per apple, without toppings)
Calories: 320
Fat: 12g
Carbohydrates: 56g
Protein: 1g
Sugar: 45g
Fiber: 3g
Caramel Apples
Ingredients
- 6 medium apples Granny Smith or Honeycrisp work best
- 6 wooden sticks or popsicle sticks
- 1 14 oz bag soft caramels, unwrapped
- 2 tbsp heavy cream
- Toppings optional: chopped nuts, crushed cookies, mini chocolate chips, sprinkles, sea salt
Instructions
- Prepare apples: Wash and thoroughly dry apples to remove any wax coating (this helps caramel stick). Insert a wooden stick into the top of each apple.
- Melt caramel: In a saucepan over low heat, melt the caramels with heavy cream, stirring until smooth.
- Dip apples: Tilt the saucepan and dip each apple, twirling to coat evenly. Let excess caramel drip off.
- Add toppings (optional): While caramel is still soft, roll apples in nuts, sprinkles, or other toppings.
- Set: Place coated apples on a parchment-lined baking sheet and let sit at room temperature for 30–40 minutes until firm.
- Serve: Enjoy immediately, or store in the refrigerator for up to 3 days.
Notes
- For best results, use cold apples straight from the fridge so the caramel sets quickly.
- If caramel becomes too thick, rewarm gently over low heat.
- You can drizzle melted chocolate over the caramel for extra indulgence.
- Wrap cooled caramel apples in cellophane bags tied with ribbon for gifting.