
There’s something deeply comforting about caramel. Maybe it’s the way the sugar transforms—slowly, quietly—into something golden and rich, or maybe it’s the way it clings to memory, reminding us of popcorn at the movies, soft candies passed across Sunday pews, or the burnt sugar flan my grandmother used to make when she was feeling generous with her time. For me, caramel ice cream is a recipe I came to slowly, over time. It wasn’t a showstopper at first glance. I avoided making it for years, convinced it was fussy and unforgiving. I’d had my share of crystallized sugar, scorched saucepans, and too-soft churns. But one summer—during a heatwave so relentless that turning on the oven felt like inviting disaster—I gave it another go. I needed a dessert that felt indulgent without heat. I needed caramel.
And oh, did this recipe surprise me. It’s smooth, deeply flavorful, and with just the right edge of bitterness to cut through the cream. The first time I nailed it, I remember standing at the counter, spoon in hand, thinking: why didn’t I trust myself with this sooner? Now, it’s a staple. I make it every summer, usually more than once, and it never fails to bring a few quiet moments of joy.
Why You’ll Love This Recipe:
- Creamy and rich with deep caramel flavor
- No oven needed—just stovetop and freezer
- Impresses guests without much fuss
- Customizable with mix-ins like sea salt or chocolate
- Made with simple, real ingredients
Ingredients You’ll Need:
Granulated Sugar – This is the star of the show. I use plain white sugar for the caramel base. Brown sugar gives a different flavor—more molasses and less clarity—but in a pinch, I’ve used a half-and-half mix with good results.
Heavy Cream – Choose the highest-fat cream you can reasonably afford. This is not the time to be shy about richness. The cream helps mellow out the caramel’s bitterness and adds that luscious mouthfeel.
Whole Milk – I like to use whole milk to strike a balance between rich and scoopable. Skim won’t give you the same texture, and I’ve found that using all cream can make the ice cream too dense.
Egg Yolks – Just the yolks here. They act as an emulsifier and give the ice cream a custardy smoothness. Save the whites for a meringue or a frittata.
Unsalted Butter – Adds a bit of silkiness to the caramel. Salted butter works too, but if you use it, reduce or skip the added salt.
Vanilla Extract – Don’t skip it. A small splash rounds out the caramel and keeps it from tasting flat. I use pure vanilla, and sometimes scrape in the seeds of a vanilla bean if I’m feeling fancy.
Salt – A pinch enhances all the flavors and tempers the sweetness. If you like salted caramel, you can bump it up a little.
How to Make It (Step-by-Step Instructions):
Start with a clean, heavy-bottomed saucepan—this matters more than you’d think. I’ve learned the hard way that thinner pans heat unevenly, leading to sugar that burns in patches. Pour in the sugar and let it melt slowly over medium heat. Don’t rush it. Stir only if absolutely necessary. Instead, tilt the pan gently as the sugar liquefies, guiding it to melt evenly. You’re looking for a deep amber color, not black. If it smells like burnt toast, you’ve gone too far.
Once the sugar is fully melted and golden, carefully whisk in the butter. Stand back a little—it’ll bubble up fiercely. Then pour in the cream slowly. The mixture may seize or clump, but just keep whisking gently over low heat and it’ll smooth back out. Remove from heat and stir in the milk, vanilla, and salt. Let this caramel mixture cool for a bit while you prepare the egg yolks.
In a medium bowl, whisk the yolks until creamy. Then, temper them by slowly drizzling in a ladle of the warm caramel base, whisking constantly. Don’t skip this step, and don’t rush it—adding hot liquid too quickly will scramble the eggs. Once tempered, pour the egg mixture back into the pot with the rest of the caramel base.
Return the pan to medium-low heat, stirring constantly with a wooden spoon or silicone spatula. Watch for it to thicken slightly—it should coat the back of the spoon. When you can draw a line through it with your finger and it holds, it’s ready. Don’t let it boil. That’s another mistake I’ve made, and it’s heartbreaking to see your custard curdle at the finish line.
Pour the custard through a fine mesh sieve into a clean bowl. This catches any bits of cooked egg or caramel solids. Cover and chill it in the fridge for at least 4 hours, or overnight if possible. Once cold, churn in your ice cream maker according to the manufacturer’s instructions. Mine takes about 25 minutes. The finished texture will be like soft serve. Transfer it to a lidded container and freeze for another few hours to firm it up.
Expert Tips for the Best Results:
Patience is everything with caramel. Take your time with each step—especially when melting the sugar and tempering the eggs. Don’t skip the sieve, even if the custard looks perfectly smooth. I’ve regretted it before. A good caramel ice cream is all about balance—between sweet and bitter, creamy and light. I always taste the base before chilling, adjusting the salt or vanilla if needed. And if you don’t have an ice cream maker, try freezing the base in a shallow dish and stirring it every 30 minutes until set. It won’t be as smooth, but it’ll still be delicious.
Variations & Substitutions:
One summer evening, I was halfway through the recipe when I realized I was out of heavy cream. In a pinch, I used half-and-half and added a tablespoon of cream cheese to the mix—it wasn’t quite the same, but it worked surprisingly well and gave the ice cream a little tang. I’ve also stirred in a swirl of chocolate ganache or crushed pretzels before freezing, both of which brought lovely contrast. If you prefer a smoky note, try using smoked salt in the caramel. And for a dairy-free version, full-fat coconut milk and vegan butter can get you close, though the texture won’t be as lush.
Serving Suggestions:
This is the kind of ice cream that doesn’t need dressing up, but if you’re serving it to company—or just want to make it feel special—try pairing it with a warm brownie, a slice of apple pie, or a few toasted pecans on top. I’ve served it between two snickerdoodle cookies for an impromptu ice cream sandwich, and it was a hit. In the summer, I’ll offer it as a simple dessert after a grilled meal with cold coffee or a bit of amaro on the side.
Storage & Reheating Instructions:
Once churned and frozen, this ice cream keeps well in the freezer for up to two weeks. I like to press a piece of parchment directly onto the surface before sealing the container to prevent ice crystals. When ready to serve, let it sit at room temperature for about 5–10 minutes to soften slightly—it scoops much more easily and tastes better with a little warmth. The texture does firm up over time, so enjoy it sooner rather than later if you like that creamy softness.
Recipe FAQs (Answered by Clara):
Can I make this without an ice cream maker?
You can. I’ve done it by freezing the base in a shallow pan and stirring every 30 minutes. It’s not quite as smooth, but still very good.
Is it supposed to taste a little bitter?
Yes, but just slightly. That bitterness is what makes caramel special—it balances the sweetness and gives it depth. If it tastes burnt, it may have gone too far.
Can I use store-bought caramel instead?
Technically, yes, but the flavor won’t be as rich or layered. The homemade caramel is what sets this ice cream apart. If you’re short on time, mix a good-quality jarred caramel into plain vanilla ice cream for a shortcut.
How long does it take from start to finish?
You’ll need about 30–40 minutes of hands-on time, plus at least 4 hours (preferably overnight) for chilling and a few hours for freezing. It’s a plan-ahead kind of treat.
If you’ve ever been intimidated by caramel, let me be the one to gently nudge you forward. This recipe is more forgiving than you’d think, and the payoff is well worth the effort. It’s become a quiet triumph in my kitchen, and I hope it finds a spot in yours too. If you make it, I’d love to hear how it goes—leave a comment, share your twist, or simply tell me if it made your day a little sweeter. We’re all just trying to make good food for the people we love. This one’s for those golden moments.
Nutrition Information (per serving, approx. 1/2 cup):
- Calories: 280
- Fat: 21g
- Carbohydrates: 23g
- Protein: 4g
- Sugar: 21g
- Fiber: 0g
- Sodium: 80mg
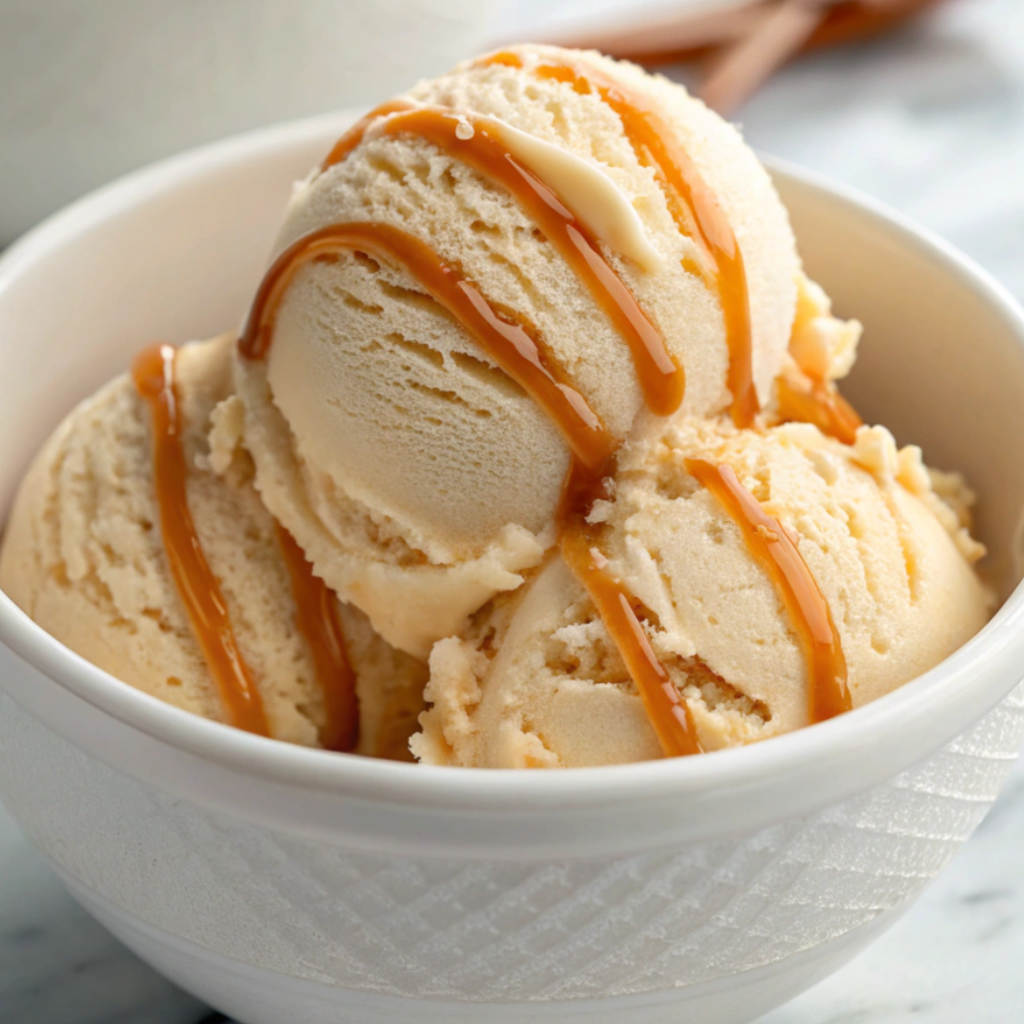
Caramel Ice Cream
Ingredients
- 1 cup granulated sugar
- 2 tablespoons water
- 2 tablespoons unsalted butter
- 1½ cups heavy cream divided
- 1 cup whole milk
- 5 large egg yolks
- 1 teaspoon vanilla extract
- ½ teaspoon salt or to taste
Instructions
- Make the caramel: In a medium saucepan over medium heat, combine sugar and water. Swirl (don’t stir) and cook until the sugar turns a deep amber color. Remove from heat and whisk in butter and ½ cup heavy cream (it will bubble). Stir until smooth.
- Create the custard base: Add milk and remaining 1 cup cream to the caramel and return to medium heat. Stir until warm.
- Temper the egg yolks: In a bowl, whisk egg yolks. Slowly whisk in a bit of the warm caramel mixture. Then pour the yolk mixture back into the saucepan.
- Cook custard: Cook over low heat, stirring constantly, until the custard thickens slightly and coats the back of a spoon (170–175°F). Do not let it boil.
- Strain and chill: Strain the mixture into a clean bowl. Stir in vanilla and salt. Cover and refrigerate for at least 4 hours, preferably overnight.
- Churn: Pour chilled custard into an ice cream maker and churn according to manufacturer’s instructions (typically 20–25 minutes).
- Freeze: Transfer to a lidded container and freeze for 2–4 hours until firm.
Notes
- Adjust salt to taste — a pinch more makes it a salted caramel ice cream.
- Add caramel swirls or toffee bits during the last few minutes of churning for extra texture.
- Keeps well in the freezer for up to 2 weeks.
- If you prefer a shortcut, substitute with high-quality store-bought caramel sauce, but homemade yields a deeper flavor.
Leave a Reply