
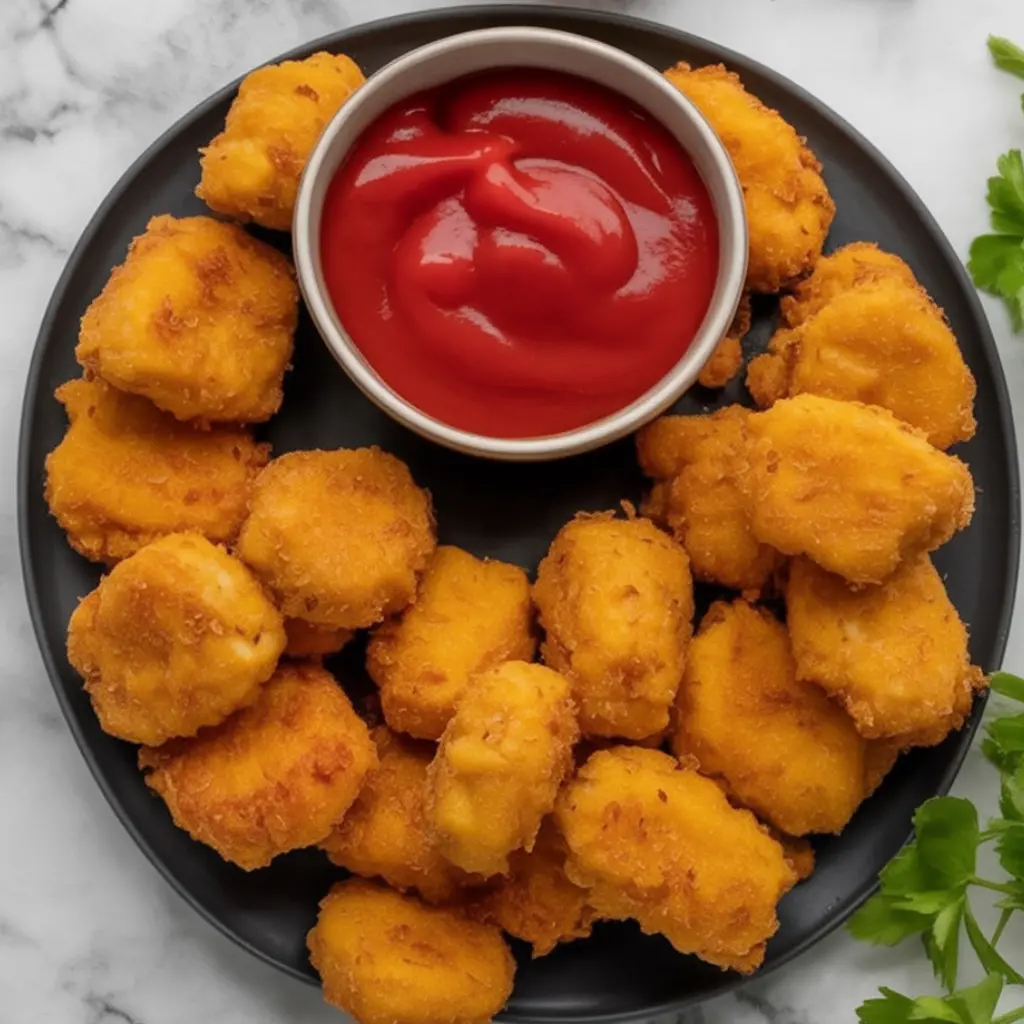
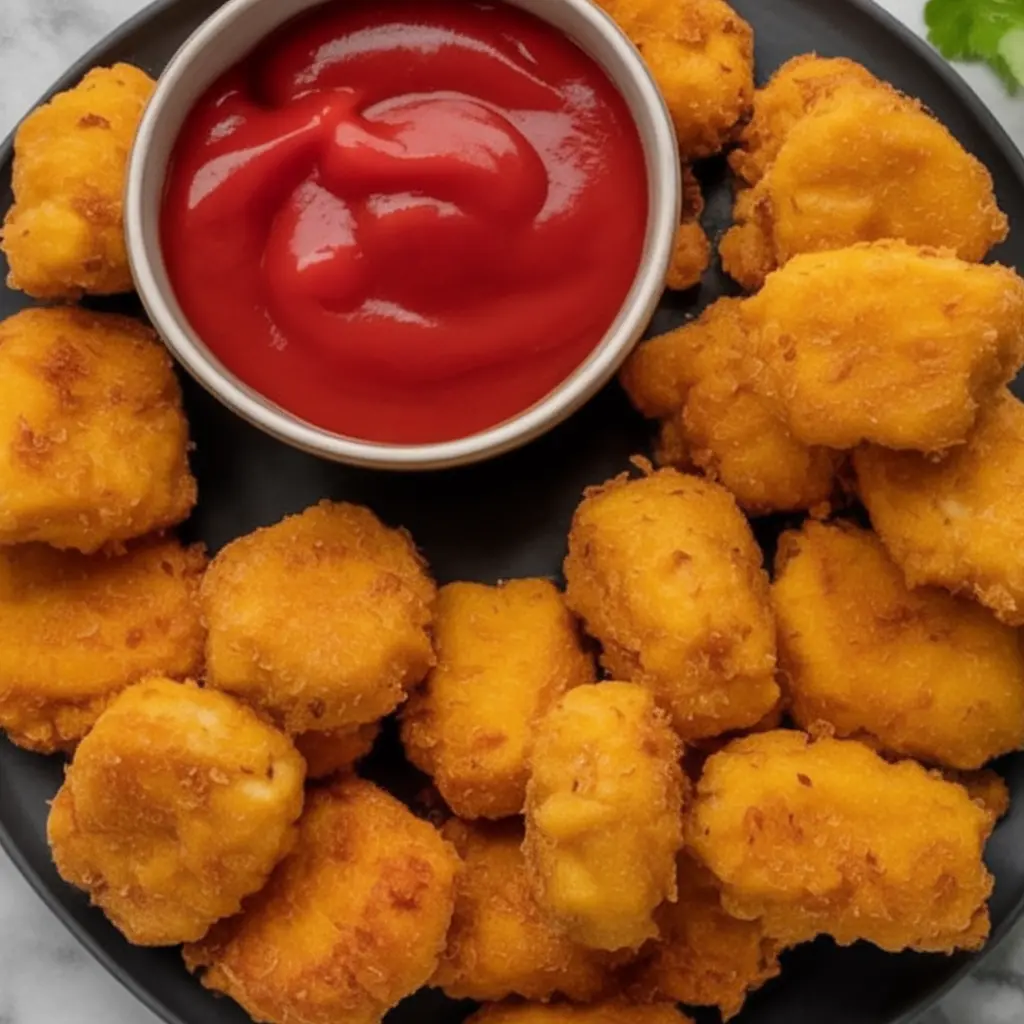
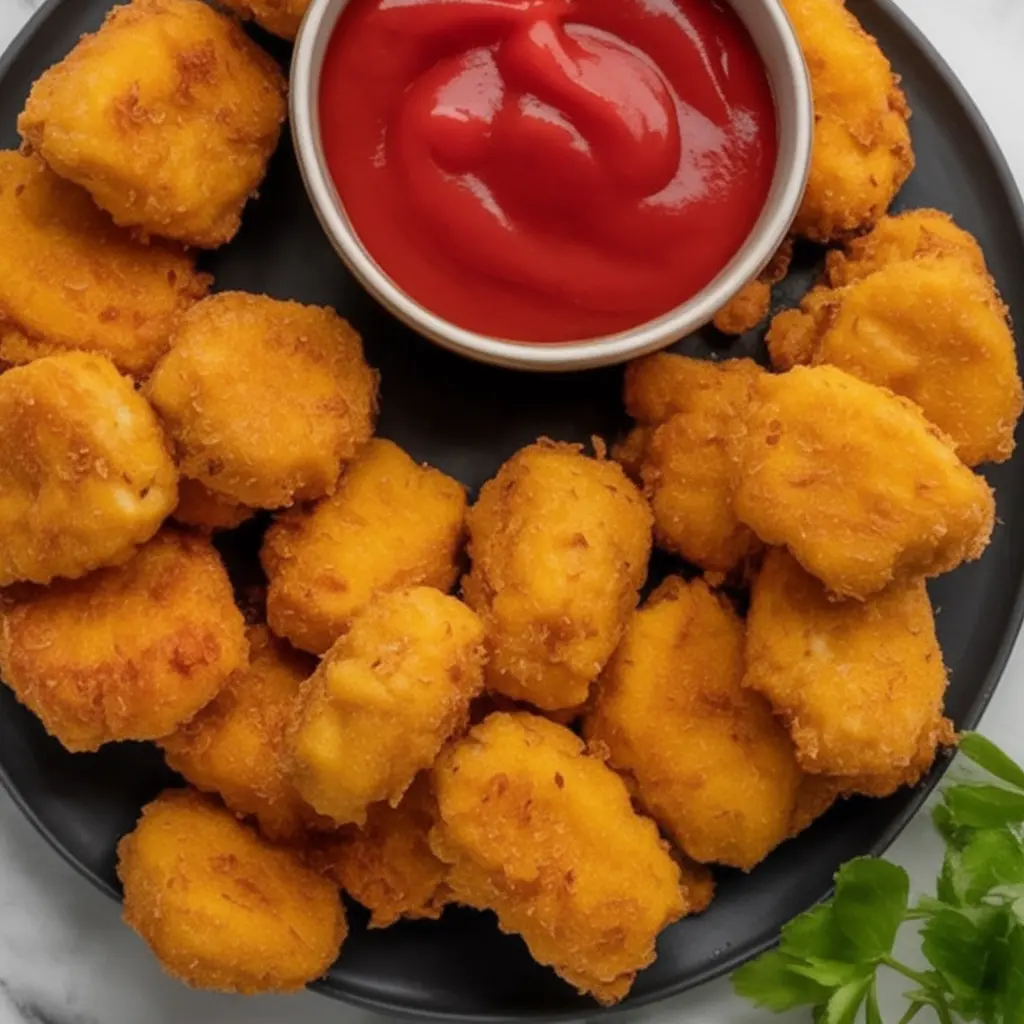
I still remember the day I stopped buying frozen chicken nuggets. It was a Tuesday—midweek, chaotic, and cold. My youngest had just learned the word “yucky,” and declared it—loudly—at the dinner table after one soggy, over-processed bite of the boxed kind. I couldn’t blame him. I’d grown tired of them too. There’s something about food made with intention, even the humble chicken nugget, that makes all the difference. So that evening, after the kids went to bed, I pulled out my notepad and started testing. I made batch after batch over the next few weeks, each time tweaking the seasoning, trying different breading methods, frying versus baking—until finally, I landed on this version. Tender on the inside, golden and crisp on the outside, with just enough seasoning to make them interesting but still completely kid-friendly. These homemade nuggets became a staple in our kitchen not just because they taste better, but because they’re rooted in care, and a little bit of persistence.
Why You’ll Love This Recipe:
- Crispy, golden breading without being greasy
- Easy to make with pantry staples
- Freezer-friendly and perfect for meal prep
- Loved by kids and adults alike
- No preservatives or mystery ingredients
Ingredients You’ll Need:
- Chicken breast (about 1 ½ pounds): I always use boneless, skinless breasts because they stay firm when chopped and hold their shape nicely. You can use thighs if you prefer a juicier, richer bite—they work beautifully.
- Buttermilk (¾ cup): This is key for tenderizing the chicken. If you don’t have buttermilk, a mix of whole milk and a tablespoon of vinegar or lemon juice does the trick.
- All-purpose flour (1 cup): The first layer of our breading—helps the egg wash cling better.
- Eggs (2 large): These act like glue between the flour and breadcrumbs.
- Plain breadcrumbs (1 ½ cups): I prefer homemade or panko for extra crunch. Sometimes I do a 50/50 mix.
- Paprika (1 teaspoon): Adds warmth and subtle smokiness without making it spicy.
- Garlic powder (½ teaspoon): Just a hint to round out the flavor.
- Salt and pepper: Don’t skip these—they’re essential for flavor. I go with about 1 teaspoon salt and ½ teaspoon pepper, divided across the flour and breadcrumb layers.
- Neutral oil for frying: I usually use canola or sunflower. You want something with a high smoke point.
How to Make It (Step-by-Step Instructions):
1. Marinate the Chicken
Start by cutting your chicken into nugget-sized pieces—about 1½-inch chunks. I aim for uniformity so they cook evenly. In a bowl, combine the chicken with the buttermilk and a pinch of salt. Cover and refrigerate for at least 30 minutes, or up to 12 hours if you’re planning ahead. That soak really makes the nuggets tender.
2. Set Up Your Breading Station
While the chicken marinates, get your coating layers ready. In one shallow dish, add the flour, seasoned with a bit of salt and pepper. In a second bowl, beat the eggs. In a third, combine the breadcrumbs with paprika, garlic powder, and another small pinch of salt. I like to line them up assembly-line style. This helps minimize mess—something I learned the hard way after breading with my sleeves down and the toddler climbing my leg.
3. Bread the Chicken Nuggets
Once marinated, remove the chicken from the fridge. One by one, dip each piece into the flour (shake off the excess), then into the egg, and finally into the breadcrumb mixture. Press lightly to help the crumbs adhere. I usually use one hand for dry ingredients and one for wet to avoid the dreaded breading glove situation.
4. Fry Until Golden
Heat about ½ inch of oil in a large skillet over medium heat. Test it with a small breadcrumb—if it sizzles immediately, it’s ready. Fry the nuggets in batches, being careful not to overcrowd the pan. Cook each side for about 3–4 minutes or until golden brown and fully cooked inside. Transfer them to a paper towel-lined plate to drain. A wire rack works even better if you have one.
5. Let Them Rest (If You Can Wait)
Give the nuggets a couple of minutes to rest before diving in. That helps the crust set, and no one burns their tongue in excitement.
Expert Tips for the Best Results:
What I’ve found over time is that patience and temperature are your best friends here. Letting the chicken marinate gives it that perfect tenderness that you just can’t fake, even with fancy coatings. And when frying, consistent medium heat—not high—is crucial. Too hot and they’ll brown too fast; too low and they’ll soak up oil. I also like to double-dip a few nuggets with egg and breadcrumbs again for extra crunch when I have time. And always taste one right out of the skillet before finishing the batch—seasoning tweaks are easier early on.
Variations & Substitutions:
One evening I realized I was out of breadcrumbs and used crushed cornflakes instead—turns out, they add a gorgeous crunch and my kids loved the subtle sweetness. I’ve also swapped the paprika for a pinch of cayenne when making an adult-only version with a little heat. If you don’t have buttermilk, sour cream thinned with milk also works. And for a gluten-free option, rice flour and crushed gluten-free cereal do a great job. Cooking is flexible—don’t let a missing ingredient stop you.
Serving Suggestions:
These nuggets are the ultimate weeknight rescue—they’re fast, satisfying, and versatile. I often serve them with a side of roasted potatoes or sweet potato fries, some green beans if I’m lucky to have them in the fridge, and a simple dipping sauce (usually honey mustard or ketchup). They’re also fantastic tucked into a wrap or chopped over a salad the next day. I’ve even packed them cold in school lunches, and not a single one came back uneaten.
Storage & Reheating Instructions:
If we have leftovers—which honestly isn’t often—I let the nuggets cool completely before storing them in an airtight container in the fridge. They hold up well for about 3 days. To reheat, I use the oven or toaster oven at 375°F for 8–10 minutes to bring back that crisp. Microwaving works in a pinch, but they’ll lose their crunch. You can also freeze the cooked nuggets—just spread them out on a baking sheet first so they don’t stick, then transfer to a freezer bag. Reheat straight from frozen in the oven.
Recipe FAQs (Answered by Clara):
Can I bake these instead of frying?
Yes, you can. They won’t be quite as golden, but they’ll still be delicious. I bake them on a wire rack at 425°F for about 20 minutes, flipping halfway through. A little spray of oil on top helps crisp them up.
What kind of chicken works best?
Boneless, skinless breasts are my go-to, but thighs are more forgiving and flavorful if you don’t mind the extra trim work.
Can I make these ahead of time?
Absolutely. I often bread the nuggets in the morning and keep them chilled until dinner. Just make sure to cover them well so the coating doesn’t dry out.
What dipping sauces go well with these?
My kids love honey mustard and ranch. I’m partial to a mix of Dijon mustard and mayo with a splash of lemon juice. Barbecue sauce and sriracha mayo are great too.
How do I keep the breading from falling off?
Press the crumbs into the chicken gently, and let the breaded nuggets rest for 5–10 minutes before frying. That helps everything stick better during cooking.
Conclusion:
There’s something wonderfully satisfying about making your own chicken nuggets from scratch—especially when you know every ingredient going into them. It’s not just about avoiding the freezer aisle; it’s about choosing intention over convenience, even in small ways. I hope this recipe finds a place in your kitchen like it did in mine. If you try it, I’d love to hear how it turned out—feel free to leave a comment, send a note, or just enjoy them with your family on a night when you need something easy and a little bit nostalgic. Happy cooking, from my home to yours.
Nutrition Information (Per Serving, Approximate):
Calories: 330
Protein: 28g
Carbohydrates: 18g
Fat: 17g
Sodium: 440mg
Fiber: 1g

Chicken Nuggets
Ingredients
- 1 lb boneless skinless chicken breasts or thighs, cut into 1.5-inch pieces
- Salt and pepper to taste
- ½ cup all-purpose flour
- 2 large eggs
- 1 tablespoon milk
- 1 cup breadcrumbs or panko for extra crunch
- ½ teaspoon garlic powder
- ½ teaspoon paprika
- Oil for frying (or olive oil spray for baking/air frying)
Instructions
Prep the coating: Set up a dredging station with three shallow bowls:
- – Bowl 1: flour, seasoned with salt and pepper
- – Bowl 2: whisked eggs and milk
- – Bowl 3: breadcrumbs mixed with garlic powder and paprika
- Coat the chicken: Dip each chicken piece first in flour, then egg, then breadcrumbs, pressing to coat thoroughly.
- Fry method: Heat oil in a deep skillet over medium heat (about 350°F/175°C). Fry nuggets in batches for 3–4 minutes per side until golden and cooked through. Drain on paper towels.
- Bake method: Preheat oven to 400°F (200°C). Place nuggets on a baking sheet lined with parchment and lightly sprayed with oil. Bake for 18–20 minutes, flipping halfway, until golden and crispy.
- Air fry method: Preheat air fryer to 400°F (200°C). Spray nuggets lightly with oil and cook in a single layer for 10–12 minutes, flipping halfway through.
- Serve: Enjoy warm with your favorite dipping sauces like ketchup, honey mustard, ranch, or BBQ.
Notes
- Use panko for a crunchier texture.
- Freeze uncooked nuggets on a baking sheet, then transfer to a zip-top bag for up to 2 months.
- To reheat, bake at 375°F (190°C) until warmed and crispy.
- Add grated Parmesan or herbs to the breadcrumbs for extra flavor.
Leave a Reply