

There’s something about the smell of chocolate wafting from the oven that brings me straight back to my childhood kitchen—the clatter of wooden spoons, a dusting of cocoa powder on the counter, and my mom humming while she stirred the batter. But it wasn’t until I was in my thirties, juggling toddlers and trying to bake something comforting yet impressive for a dinner party, that I stumbled upon the beautiful in-between known as Chocolate Brownie Cake. I had a craving for the dense, fudgy richness of a brownie, but wanted the elegance of a sliceable cake that could stand tall on the table. That first attempt was messy and far from perfect—I overbaked it by about seven minutes, and it lost the gooey center I was hoping for—but it was devoured anyway. Over time, and more than a few sticky spatulas later, this recipe has become my go-to for when I want a showstopper that still feels like a warm hug in dessert form.
Why You’ll Love This Recipe
- Combines the richness of brownies with the structure of a cake
- One-bowl recipe—minimal cleanup and maximum flavor
- Bakes beautifully in a bundt or round cake pan
- Ideal for birthdays, potlucks, or casual weeknight cravings
- Stores well and tastes even better the next day
Ingredients You’ll Need
Unsalted Butter (1 cup / 2 sticks): I always use unsalted so I can control the salt in the recipe. Melt it gently—microwave works fine—just don’t let it boil or you’ll lose that creamy flavor. If you only have salted butter, just skip the added salt.
Granulated Sugar (1¾ cups): This amount balances the bittersweet chocolate perfectly. I’ve tried it with coconut sugar in a pinch—it worked, but gave the cake a slightly sandy texture.
Brown Sugar (¼ cup): Adds moisture and a subtle molasses note that deepens the flavor. If you’re out, just add more white sugar, but you’ll miss that toffee-like richness.
Large Eggs (4): Room temperature is key here. Cold eggs can seize the butter and ruin the smooth batter. I sometimes place them in warm water for 5 minutes if I forget to pull them out early.
Vanilla Extract (2 teaspoons): Don’t skimp on this. A good vanilla gives the whole cake a warm, bakery-level depth.
All-Purpose Flour (1 cup): This is a brownie-forward cake, so you don’t need much flour. It keeps the texture dense without making it dry.
Unsweetened Cocoa Powder (¾ cup): Use a good-quality cocoa powder—it really makes a difference. I’ve tried both Dutch-processed and natural; both work, but Dutch gives a slightly smoother flavor.
Espresso Powder (1 teaspoon, optional): It won’t make your cake taste like coffee—it just deepens the chocolate. I use it when I have it, skip it when I don’t.
Salt (½ teaspoon): Balances all that chocolatey sweetness and brings the flavor to life.
Baking Powder (½ teaspoon): Just a little to give the cake a slight lift—this isn’t a fluffy cake, but it shouldn’t be brick-like either.
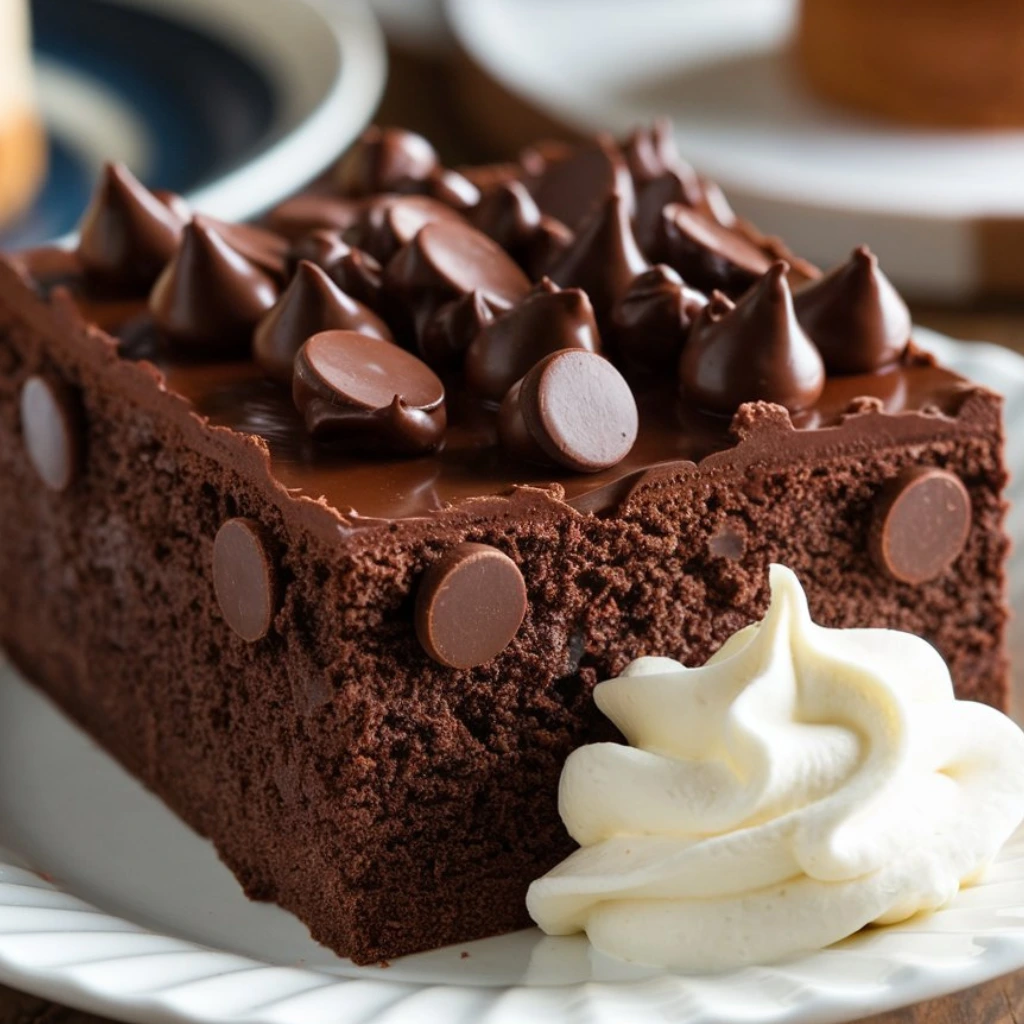
Chocolate Chips or Chunks (1 cup): I like to fold in a mix of dark and semi-sweet, but honestly, use what you love or have on hand. Chopped chocolate bars melt into beautiful pockets.
How to Make It
Start by preheating your oven to 350°F and generously greasing your baking pan. I’ve used both bundt and 9-inch round pans—just be sure to flour them lightly or line the bottom with parchment to avoid any tragic sticking. Melt your butter and pour it into a large mixing bowl while it’s still warm. Whisk in the granulated and brown sugars until you get a smooth, shiny mix—it should look like thick caramel. Next come the eggs, one at a time, whisking well after each addition. This helps emulsify the batter and gives that glossy brownie finish we’re after.
Now add your vanilla, espresso powder (if using), and salt. Once that’s mixed in, sift in your flour, cocoa powder, and baking powder. I usually do this directly over the bowl to save on dishes, and I whisk gently so I don’t overwork the flour. The batter will be thick and fudgy—almost like mousse. That’s exactly what you want. Fold in your chocolate chips or chunks at the end with a spatula, making sure they’re evenly distributed but not overmixed.
Pour the batter into your prepared pan and smooth the top gently with a spatula. Bake for about 35–45 minutes, depending on your oven and pan. I start checking at 35 minutes by inserting a toothpick into the center—it should come out with a few moist crumbs but no wet batter. Let the cake cool in the pan for at least 15 minutes before turning it out onto a wire rack. Patience is hard here, I know, but trust me—this cake sets beautifully as it cools.
Expert Tips for the Best Results
I’ve found that the most important detail in this recipe is not overbaking. That’s the line between a moist, fudgy crumb and something dry and disappointing. Keep an eye on it, and don’t be afraid to trust your nose—when it smells deeply chocolatey and the center is just set, it’s ready. Also, use good-quality cocoa and chocolate if you can; it’s the star of the show, and cheaper versions can taste chalky. Finally, don’t skip letting it cool fully before slicing—this helps the texture settle into that perfect brownie-cake balance.
Variations & Substitutions
There was one evening I realized I was out of cocoa powder halfway through—so I swapped in melted bittersweet chocolate and reduced the sugar slightly. The result was incredibly rich and almost ganache-like. I’ve also added a swirl of peanut butter to the batter before baking (just drag a butter knife through spoonfuls on top), and that was a hit with my kids. You can stir in chopped walnuts or pecans if you like a bit of crunch, or sprinkle a little flaky salt on top before baking for that sweet-salty edge. I’ve even made it gluten-free once using a cup-for-cup blend—it worked beautifully and held together well.
Serving Suggestions
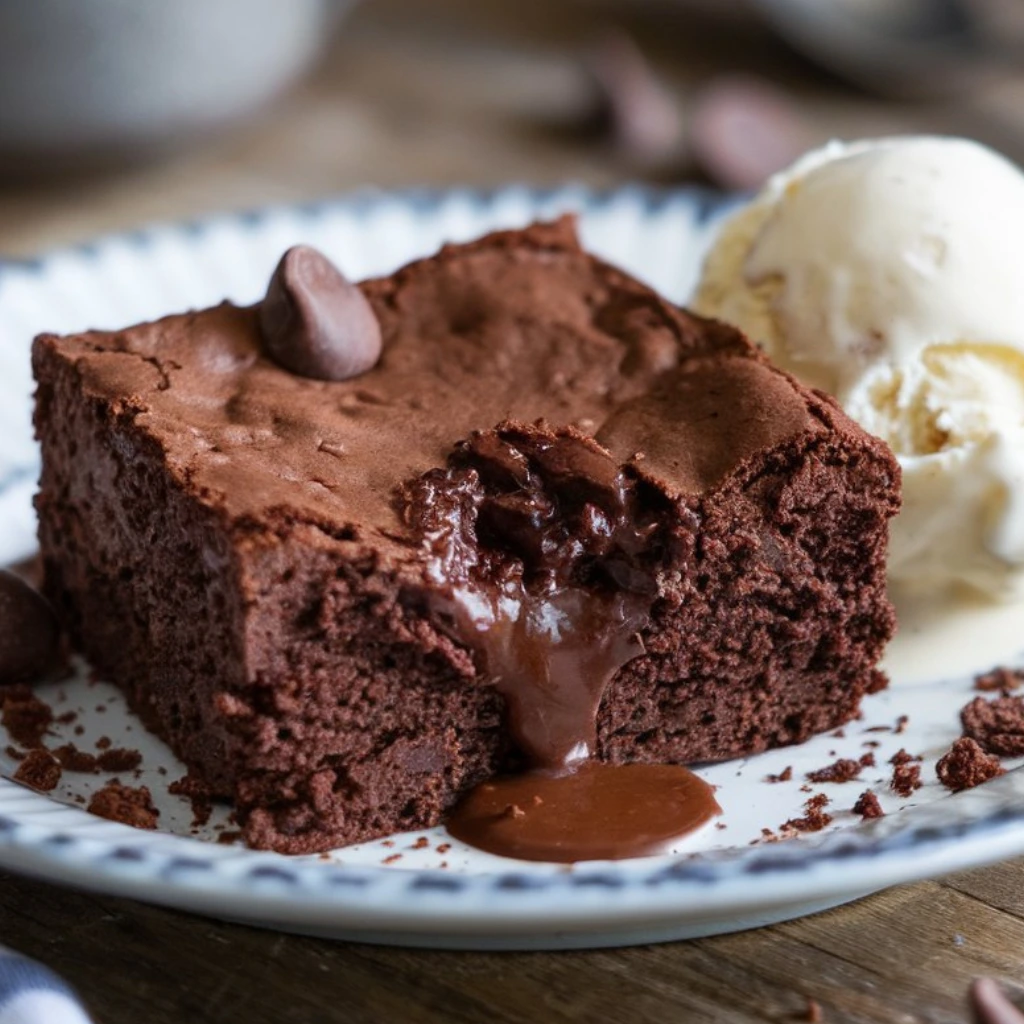
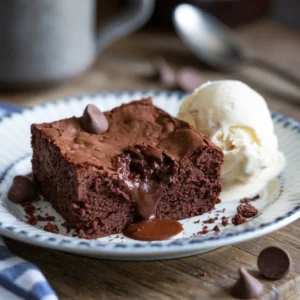
This cake holds its own just fine with a light dusting of powdered sugar, but if I’m serving it for a dinner party or birthday, I’ll add a dollop of whipped cream or a scoop of vanilla ice cream. It pairs especially well with fresh raspberries or a drizzle of warm ganache if you’re feeling fancy. I’ve served it warm with coffee on a rainy afternoon and cold with berries on a summer night—either way, it’s a crowd-pleaser.
Storage & Reheating Instructions
Once cooled completely, I usually wrap the cake tightly in plastic wrap and store it at room temperature for up to three days—it tastes richer on the second day. If you’ve got leftovers, refrigerate them in an airtight container, though you’ll want to bring slices to room temperature or warm them gently before serving. A quick 10 seconds in the microwave brings the fudgy texture back to life without drying it out. If freezing, wrap individual slices and stash them in a zip-top bag. They thaw beautifully overnight or with a little warmth in the oven.
Recipe FAQs (Answered by Clara)
Can I make this ahead of time?
You sure can. I often bake it the night before and let it rest overnight. The flavor deepens and it slices more cleanly the next day.
Can I use boxed brownie mix for this recipe?
I wouldn’t. This recipe really comes together with pantry staples and gives you a better texture than a boxed mix can offer. It’s worth the extra few minutes.
Can I bake this in a muffin tin for individual servings?
Absolutely! Just reduce the bake time to around 18–22 minutes and watch for that toothpick with moist crumbs.
What’s the best type of chocolate to use?
I like a mix—semi-sweet for sweetness, dark for depth. Avoid milk chocolate; it’s a bit too sweet and doesn’t melt the same way.
There’s something deeply satisfying about this Chocolate Brownie Cake—it feels indulgent but familiar, simple yet impressive. Whether you’re baking it for a friend’s birthday, a quiet night in, or just because the craving hits, I hope it brings the same joy to your kitchen as it does to mine. If you give it a try, I’d love to hear how it turned out—leave a comment, share a photo, or just let me know what tweaks you made. As always, bake with love, be kind to yourself if things don’t go perfectly, and never underestimate the comfort of a good chocolate cake.
Chocolate Brownie Cake
Ingredients
- 1/2 cup unsalted butter melted
- 1 cup granulated sugar
- 2 large eggs
- 1 tsp vanilla extract
- 1/3 cup unsweetened cocoa powder
- 1/2 cup all-purpose flour
- 1/4 tsp salt
- 1/2 tsp baking powder
- 1/2 cup semi-sweet chocolate chips optional, for extra fudginess
- 1/4 cup milk optional, for extra moistness
Instructions
- Preheat and Prepare the Pan: Preheat your oven to 350°F (175°C). Grease and flour a 9-inch round cake pan, or line it with parchment paper for easy removal later.
- Melt the Butter and Chocolate: In a microwave-safe bowl, melt the butter and chopped dark chocolate together in 30-second intervals, stirring in between until smooth. Alternatively, you can melt this using a double boiler. Once melted, set it aside to cool slightly.
- Mix the Wet Ingredients: In a large mixing bowl, whisk the eggs and sugar together until the mixture is smooth and slightly fluffy. Add the vanilla extract and the cooled chocolate-butter mixture. Mix until well combined.
- Combine the Dry Ingredients: In another bowl, sift the cocoa powder, flour, baking powder, and salt together. Slowly add the dry ingredients into the wet mixture and stir until just combined.
- Add the Chocolate Chips and Optional Add-ins: Fold in the semi-sweet chocolate chips (and any optional ingredients like walnuts or espresso powder). The batter will be thick and rich.
- Bake the Cake: Pour the batter into your prepared cake pan and smooth it into an even layer. Bake for 30-35 minutes, or until a toothpick inserted into the center comes out with a few moist crumbs (not wet batter). The cake should have a slightly cracked top.
- Cool and Serve: Allow the cake to cool in the pan for 10 minutes before transferring it to a wire rack to cool completely. Slice and serve once it’s completely cooled, or enjoy it warm with a scoop of ice cream!
Notes
- Richness: This cake has a dense, fudgy texture similar to brownies. If you prefer a fluffier texture, you can add an extra egg or slightly reduce the amount of sugar.
- Chocolate Chips: The optional chocolate chips will give the cake an extra gooey, fudgy texture.
- Serving Suggestions: Serve with a scoop of vanilla ice cream or a drizzle of chocolate sauce for a decadent treat.
- Make-Ahead: You can make this ahead of time and store it in an airtight container for up to 3 days. It also freezes well for longer storage.