There’s something about a chilly afternoon that brings out the baker in me—especially when the house is quiet and the coffee’s just been poured. I first made these chocolate brownie cookies on a wintery Tuesday when I was craving something sweet, but more than that, I needed something cozy. I had been trying to replicate the deep, fudgy chew of my favorite café brownie, but I also wanted the crackly tops and soft centers of a classic cookie. I didn’t think I could have both. But that afternoon, after a few flops and one overly crisp batch that nearly turned into biscotti, I stumbled on a dough that felt like it held a secret. When I pulled them from the oven—shiny-topped, rich-smelling, and just barely set in the middle—I knew I’d found it. Since then, these brownie cookies have become a staple in our kitchen. They’re the kind of treat that disappears before the tray cools. The kind that makes your house smell like love.
Why You’ll Love This Recipe:
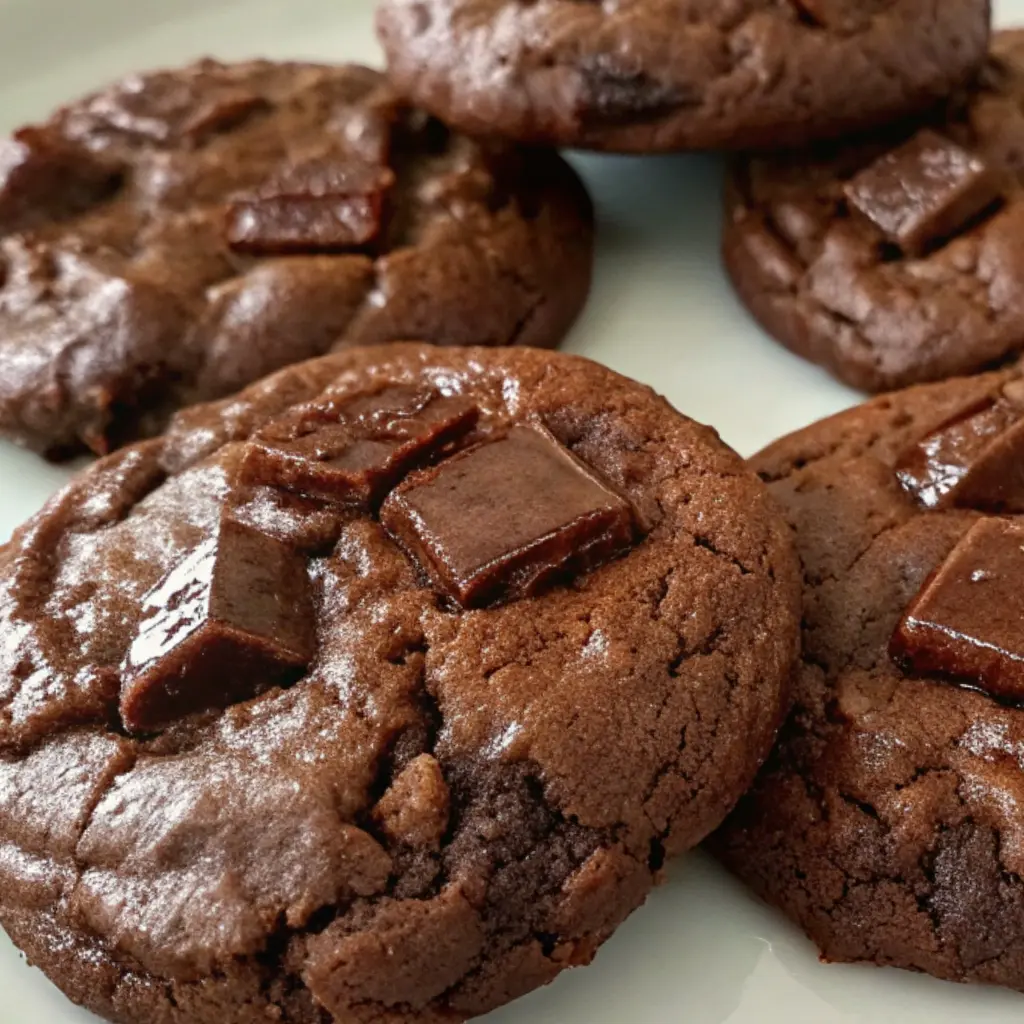
- Deep, chocolate flavor with a chewy, fudgy texture
- Crackly, glossy tops like a classic brownie
- Easy to make with simple pantry ingredients
- Perfect for gifting, parties, or quiet nights at home
- Freezes beautifully for future cravings
Ingredients You’ll Need:
Good chocolate makes a difference here. I usually reach for a mix of semisweet and dark, around 60–70% cocoa. You’ll need 8 ounces total, chopped fine—it melts smoother that way. For the butter, use unsalted so you can control the salt levels yourself. If you only have salted, just dial back the added salt a bit. You’ll also need granulated sugar and brown sugar; I like the combination because it adds both crisp edges and soft centers. The eggs bring structure, and you’ll want them at room temperature—they mix better and help the texture stay tender. A splash of vanilla, of course, and then flour, cocoa powder, baking powder, and a good pinch of salt. I’ve tried Dutch-processed and natural cocoa; both work, but Dutch gives a richer color and a deeper bite. A handful of chocolate chips or chunks stirred in at the end seals the deal.
- 8 oz high-quality chocolate, chopped
- 4 tbsp (½ stick) unsalted butter
- ¾ cup granulated sugar
- ¼ cup packed brown sugar
- 2 large eggs, room temperature
- 1 tsp vanilla extract
- ⅓ cup all-purpose flour
- 2 tbsp unsweetened cocoa powder
- ½ tsp baking powder
- ½ tsp fine sea salt
- ½ cup chocolate chips or chunks (optional, but highly encouraged)
How to Make It (Step-by-Step Instructions):
Start by melting your chocolate and butter together. I use a double boiler setup—a glass bowl over a simmering pot of water—but you can do it in the microwave in 30-second bursts, stirring each time. You want the mixture smooth and glossy. Let it cool slightly before moving on; if it’s too hot, it’ll scramble your eggs. That’s a lesson I learned the hard way more than once.
In a separate bowl, whisk the eggs, granulated sugar, and brown sugar until thick and pale. This part is more important than I used to think—it helps build that crinkly top everyone loves. Add in the vanilla, then slowly pour in the cooled chocolate mixture, whisking gently to combine.
In another small bowl, whisk together the flour, cocoa powder, baking powder, and salt. I used to skip this step out of laziness, but it really does prevent clumps and ensures everything is evenly distributed. Fold the dry ingredients into the wet until just combined. Don’t overmix—you’re not making bread. Stir in your chocolate chips or chunks if using.
Now, here’s the trick: the dough needs to rest. It’ll be too loose to scoop right away. Cover it and let it sit at room temperature for 20–30 minutes. It thickens up beautifully, and that’s what gives you the cookie shape instead of a puddle on the pan.
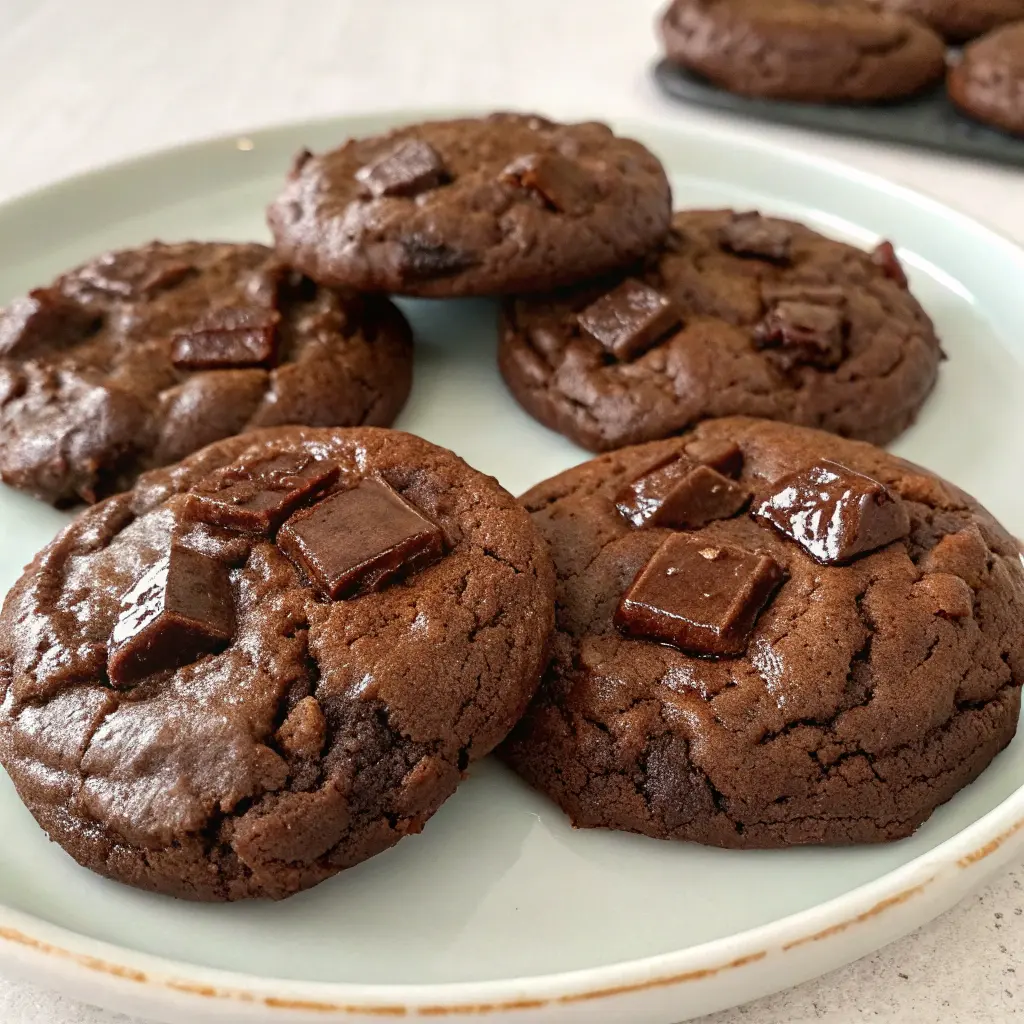
Preheat your oven to 350°F and line a baking sheet with parchment. Scoop heaping tablespoons onto the sheet, leaving space for spreading. I usually bake one tray at a time—about 10–12 minutes. They’ll look puffed and shiny, maybe with a few cracks on top, but they should still be soft in the middle. Don’t wait for them to look fully done. They finish setting as they cool.
Let them sit on the tray for five minutes before transferring to a rack. I know it’s hard to wait, but they’re fragile at first. And the smell? It’s unreal. You’ll know you did something right
Expert Tips for the Best Results:
The key thing I’ve found is that time and temperature are everything. Warm chocolate needs to be tempered before incorporating, otherwise it throws everything off. You’d be amazed at how big of a difference using room temperature eggs makes in terms of texture. And don’t forget to let the dough sit for a while—it gives it the perfect consistency to turn those lumps into something scoopable and get that irresistible crispy rim. I would even go as far as suggesting that you bake each batch separately, particularly if your oven leans more towards one of the temperature extremes. It’ll help keep the results consistent whilst also stopping the bottom from burning or the cookies from cooking unevenly. Plus, if you use a cookie scoop, try to dip it in warm water between scoops—it makes the job easier.
Variations & Substitutions:
Last night, I used all white sugar because I was out of brown sugar, but they turned out fine, bigger and a little crispier at the edge of each cookie. All these browned basics are interchangeable, and I made a version with 1/2 a teaspoon of kernels and hot espresso flavor-enhanced protein in the chips. Not wanting to miss an opportunity to add another layer, you can also add chopped walnuts, pecans, or if you’re feeling spunky, a swirl of peanut butter. The most delicious chip I ever discovered was, springform pan. The next time I made these, I replaced the chocolate chips in my dough with chopped Andes Mints and a slightly higher proportion of scone texture and ten fewer teaspoons of corn syrup. Preheat the oven and far cooler at one; soft center chewy edges with a crisp outer layer cookies. As opposed to that window of time of one holiday dinner, where I secretly serve the Andes mint version, the answer: none of them.
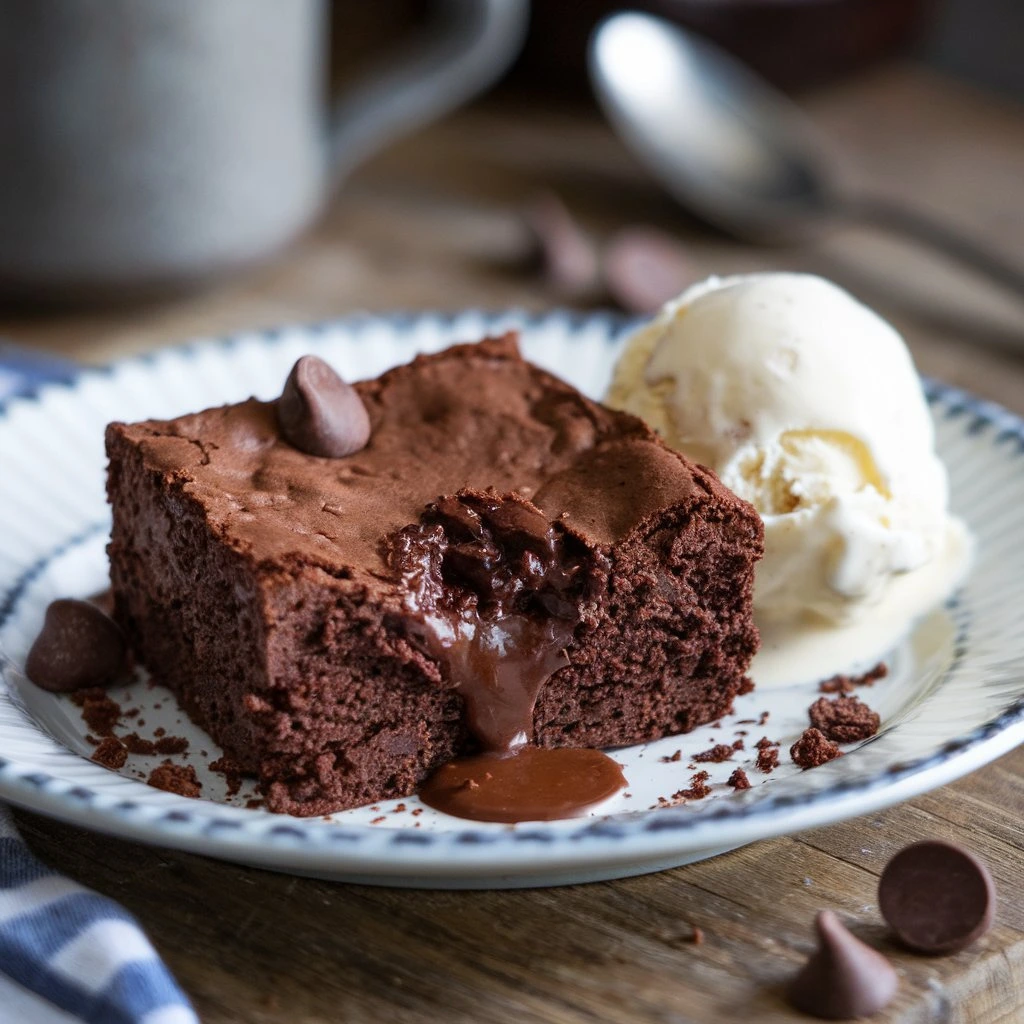
Serving Suggestions:
These brownie cookies are magic when still warm, just set enough to hold but gooey inside. I love serving them with cold milk or tucked next to a scoop of vanilla ice cream for a quick dessert. They make lovely gifts, especially when wrapped in parchment and tied with string. I’ve brought them to potlucks, book clubs, and even just on walks to neighbors’ doors. They’re casual enough for a snack and indulgent enough for a celebration.
Storage & Reheating Instructions:
Once cooled, I store them in an airtight tin or jar on the counter. They stay soft for about three days, though they’re usually gone before that. If you want to keep them longer, freeze them in a single layer, then transfer to a bag or container. They reheat beautifully—just pop in a 300°F oven for a few minutes or microwave in short bursts. The edges get slightly crisp again, and the centers turn fudgy, just like fresh. You may lose a bit of the crackle on top, but the flavor holds strong.
Recipe FAQs (Answered by Clara):
Can I make these ahead of time?
Absolutely. You can mix the dough and let it rest in the fridge overnight—just bring it back to room temp a bit before scooping. I do this often when planning ahead for guests.
What if I don’t have parchment paper?
You can grease your baking sheet lightly, but parchment really helps prevent sticking and makes cleanup easier. In a pinch, foil works too—just spray it well.
Can I make these gluten-free?
Yes. I’ve had good luck using a 1:1 gluten-free baking flour blend. The texture is a bit softer but still delicious.
Do I have to use fancy chocolate?
Not necessarily. Use the best you can reasonably find or afford. I’ve made them with store-brand chips and premium bars—both worked, though the deeper chocolates give more richness.

Nutrition Information (Estimated, per cookie):
- Calories: 160
- Fat: 9g
- Carbohydrates: 20g
- Sugar: 14g
- Protein: 2g
These chocolate brownie cookies are a little bit nostalgic and a little bit luxurious—the kind of sweet that brings people to the kitchen, asking what smells so good. I hope you try them, and I hope they become a small joy in your week like they have in mine. If you do bake them, let me know how they turned out, or share your own twists—I love hearing how recipes find a new life in other kitchens. Most of all, enjoy the process, even if the first batch isn’t perfect. It’s all part of the joy of baking.

Chocolate Brownie Cookies
Ingredients
- 1/2 cup 113g unsalted butter
- 1 1/4 cups 225g semisweet chocolate chips, divided
- 3/4 cup 150g granulated sugar
- 1/4 cup 50g brown sugar
- 2 large eggs
- 1 tsp vanilla extract
- 1/2 cup 65g all-purpose flour
- 1/4 cup 30g unsweetened cocoa powder
- 1/2 tsp baking powder
- 1/4 tsp salt
Instructions
- Preheat oven to 350°F (175°C) and line a baking sheet with parchment paper.
- In a microwave-safe bowl, melt butter with 1 cup of chocolate chips in 30-second intervals, stirring until smooth.
- In a large bowl, whisk together the sugars and eggs until light and fluffy. Add vanilla extract.
- Stir in the melted chocolate mixture until well combined.
- Sift in flour, cocoa powder, baking powder, and salt. Mix until just combined.
- Fold in the remaining 1/4 cup of chocolate chips.
- Drop tablespoonfuls of batter onto the prepared baking sheet.
- Bake for 9–10 minutes, or until the cookies have a cracked top but are still soft in the center.
- Let cool on the baking sheet for 5 minutes before transferring to a wire rack to cool completely.
Notes
- For extra fudgy centers, slightly underbake the cookies.
- Store in an airtight container at room temperature for up to 5 days.
- Add a pinch of espresso powder to enhance the chocolate flavor.