
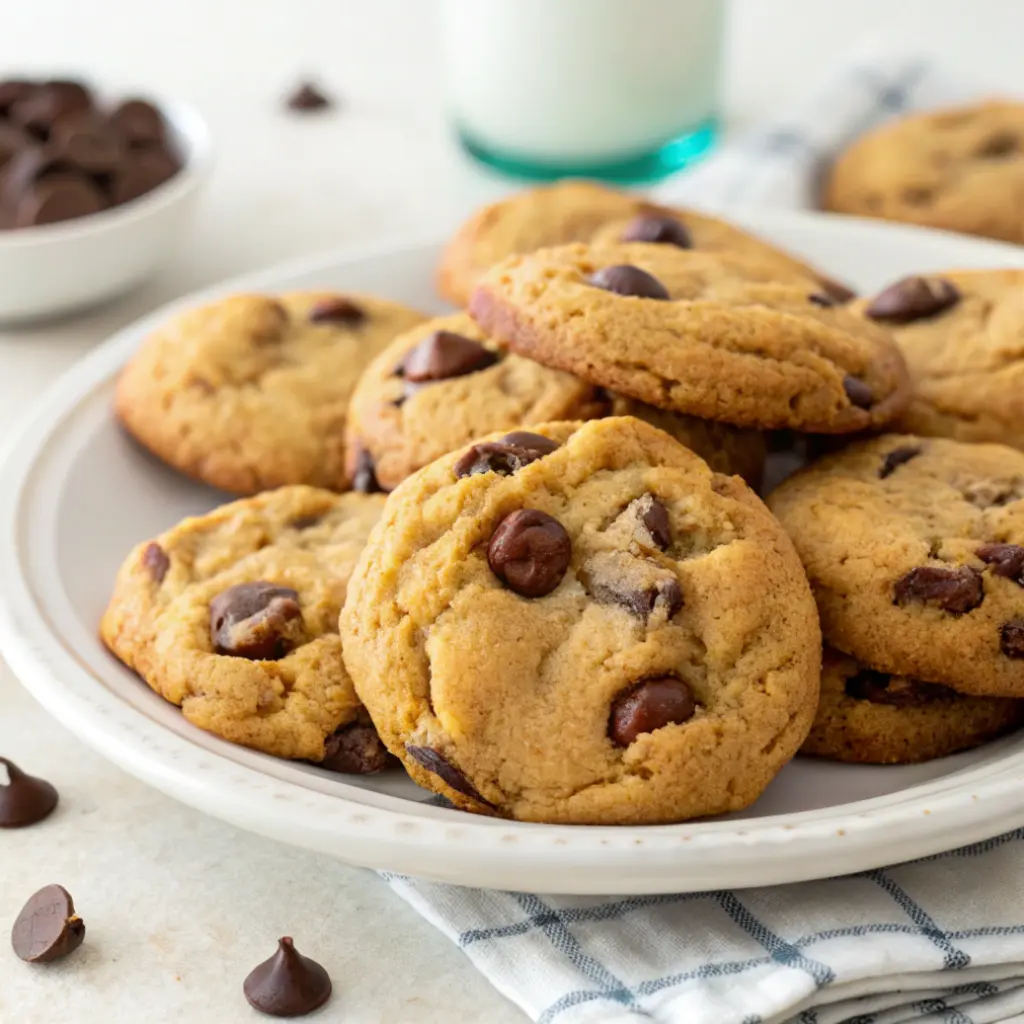
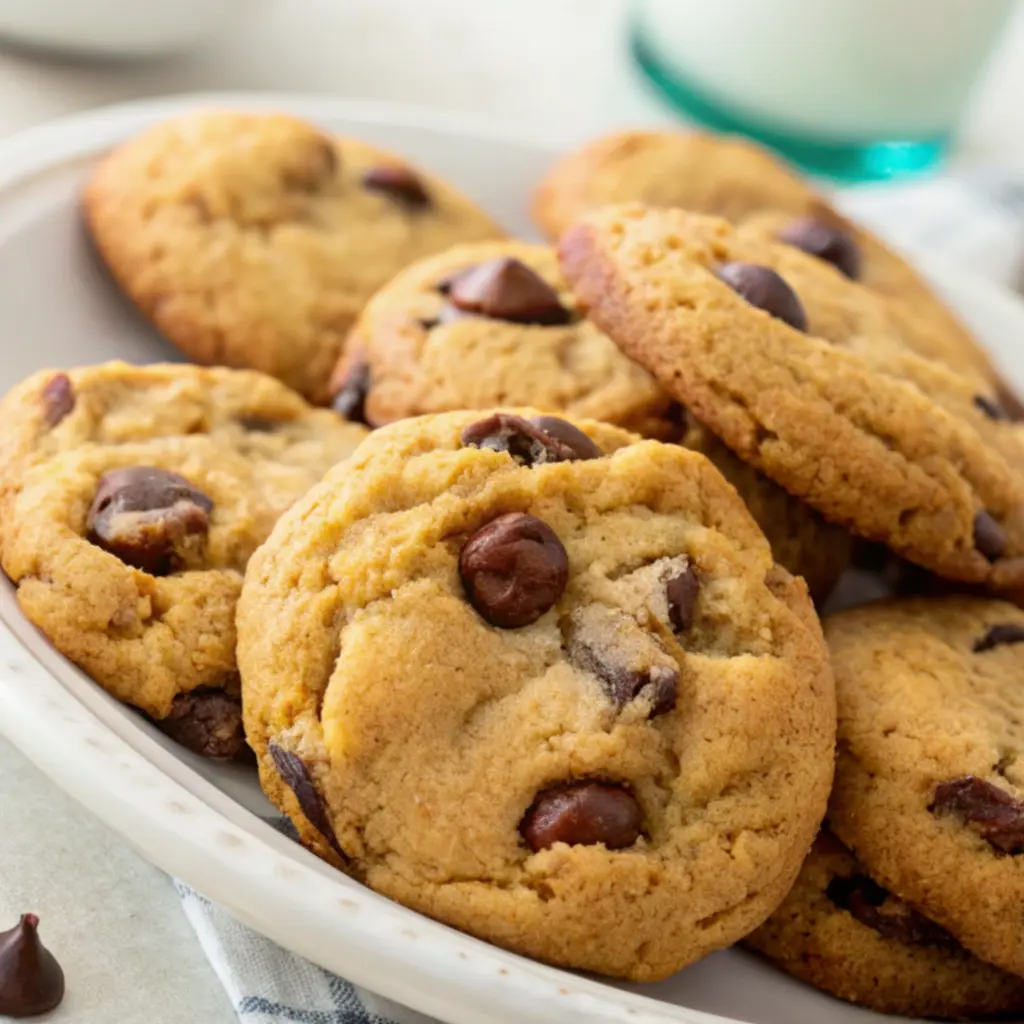
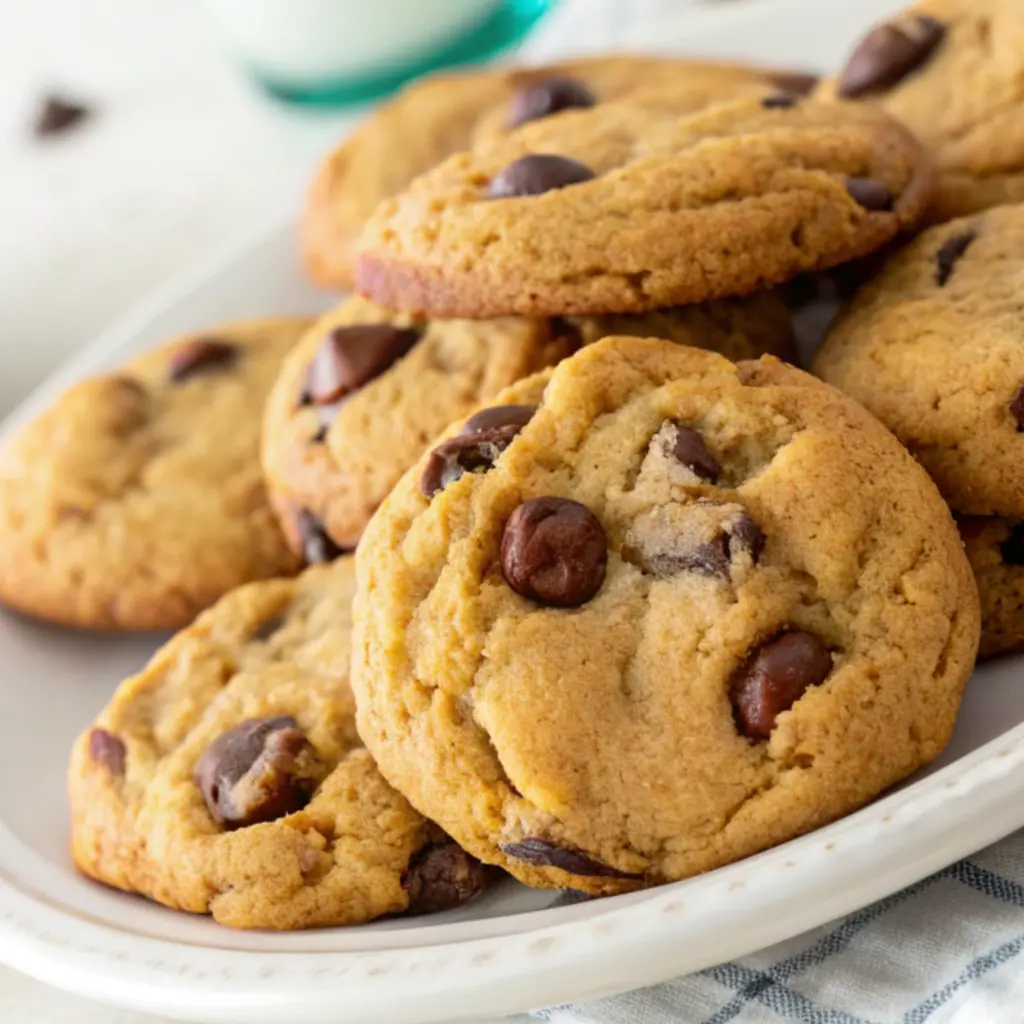
I still remember the first time I tried baking chocolate chip cookies on my own. I was fifteen, standing in my mother’s narrow galley kitchen, covered in flour and full of more confidence than skill. The cookies came out pale, puffy, and oddly bland—my attempt at halving the sugar had backfired spectacularly. But I can tell you this: even those less-than-perfect cookies disappeared by morning, and I was hooked. Since then, I’ve baked dozens of versions—chewy ones, cakey ones, ones with browned butter and fancy sea salt—and through all that, I’ve come to this recipe. It’s simple, it’s forgiving, and it’s everything I want in a chocolate chip cookie: golden edges, soft centers, pools of melted chocolate, and just the right hit of salt to keep you reaching for another.
These are the cookies I make for bake sales, rainy afternoons, neighbors who just had babies, and evenings when the world feels a little too loud. They’ve seen me through heartbreaks and housewarmings, and over the years, I’ve learned that a warm cookie, fresh out of the oven, is never just about sugar and flour—it’s about sharing something made with your own hands. So let’s bake these together, just you and me, and I’ll walk you through every crumb.
Why You’ll Love This Recipe:
- Soft and chewy with crispy golden edges
- No fancy equipment or ingredients needed
- Comes together in one bowl
- Perfectly sweet with just the right amount of salt
- Freezer-friendly dough for cookies anytime
Ingredients You’ll Need:
- 1 cup (2 sticks) unsalted butter, softened – I always start with room-temperature butter. If yours is too cold, it won’t cream properly, and if it’s too melted, you’ll lose that fluffy structure. When I’m in a rush, I cut the butter into chunks and let it sit near the preheating oven for a few minutes.
- 1 cup brown sugar, packed – I prefer dark brown sugar for the deeper molasses flavor, but light brown works too. Brown sugar is the key to that chewy, caramelized texture.
- ½ cup granulated sugar – This gives balance and crispness to the edges.
- 2 large eggs – Room temp is best. If you forget (I often do), just submerge them in warm water for 10 minutes.
- 2 teaspoons vanilla extract – Real vanilla makes a difference. I splurge on a good bottle every winter and stretch it through the year.
- 2 ½ cups all-purpose flour – Measured properly (spooned and leveled), not scooped straight from the bag. Too much flour is the #1 cookie killer.
- 1 teaspoon baking soda – Gives them lift and helps that golden browning along.
- ¾ teaspoon kosher salt – If you’re using table salt, scale it down a bit. Salt sharpens the flavor of everything else.
- 2 cups semisweet chocolate chips or chopped chocolate – I’ve used everything from chips to chopped bars to the odds and ends of a leftover chocolate bunny. Use what you love.
- Flaky sea salt for sprinkling (optional) – A light sprinkle just before baking takes these from delicious to irresistible.
How to Make It (Step-by-Step Instructions):
Start by preheating your oven to 350°F (175°C) and lining a couple of baking sheets with parchment paper. I always say this: don’t skip parchment. It keeps the bottoms from over-browning and makes cleanup a breeze. In a large mixing bowl, beat your softened butter with both sugars until it’s light and fluffy—about 2–3 minutes with a hand mixer, or a little longer if you’re creaming by hand (which I’ve done many times when the mixer was buried under a pile of dishes). That creaming step is what gives you a good rise and a tender center.
Crack in the eggs one at a time, beating well after each. This is one of those moments where patience matters—don’t rush. Stir in the vanilla and take a deep breath—the scent alone is half the joy of baking. In a separate bowl (or honestly, right on top if you’re careful), whisk together the flour, baking soda, and salt. Add this dry mix to the wet ingredients in stages, stirring gently. Overmixing here will give you tough cookies, so I stop the moment the streaks of flour disappear.
Fold in the chocolate. Gently. I once let my toddler stir the chips in and ended up with a dough that looked more like chocolate paste—but it still baked up into something delicious. If you’re adding flaky salt, sprinkle just a pinch over each dough ball once they’re scooped onto the trays. I use a medium cookie scoop, or two spoons when that mysteriously vanishes into the utensil drawer.
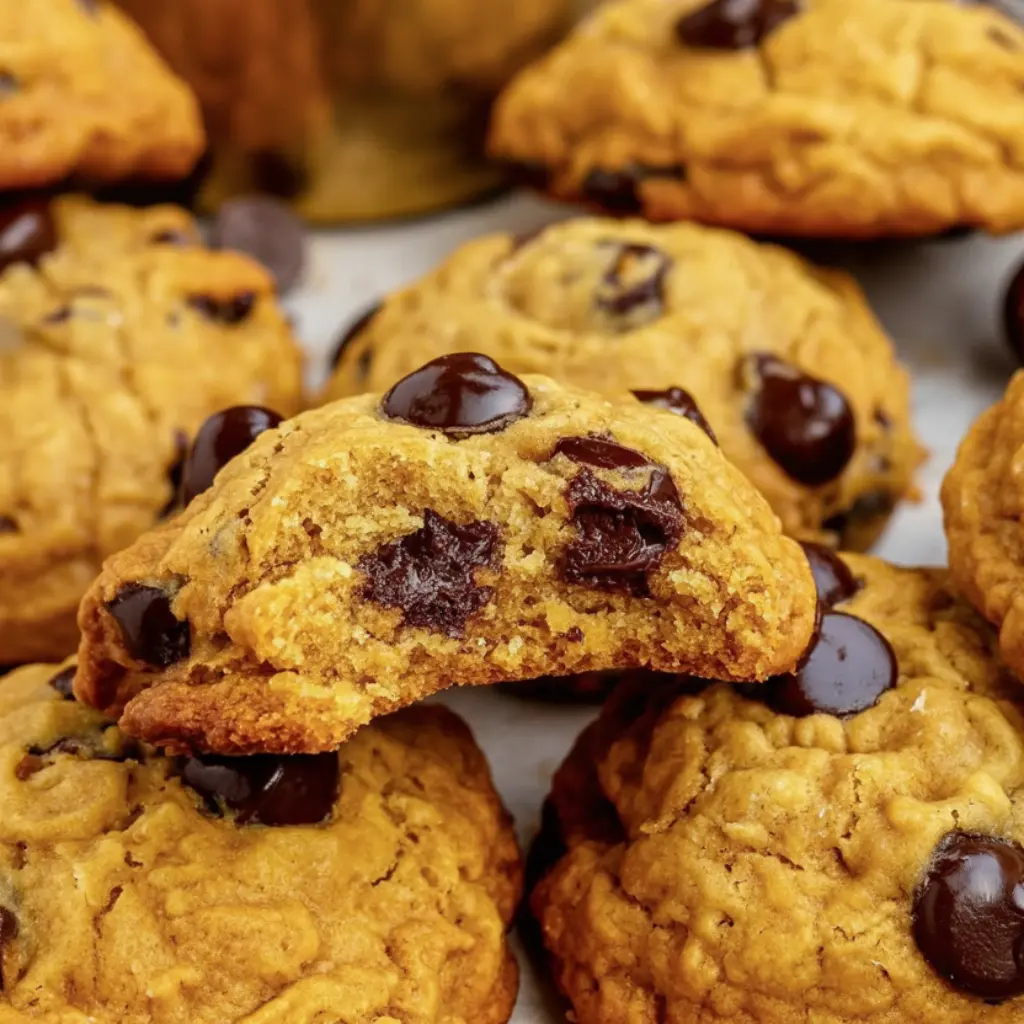
Bake for 10–12 minutes, just until the edges are golden and the centers look a little underdone. They’ll continue to set on the tray, so don’t wait for a fully firm center in the oven—that’s how you end up with dry cookies. Let them cool for a few minutes on the tray before transferring to a rack (or straight to a plate if you can’t wait—I never can).
Expert Tips for the Best Results:
The biggest lesson I’ve learned is to trust the dough. If it feels too soft to scoop, chill it for 20–30 minutes. Temperature affects everything in cookie baking, especially the butter. Use a light-colored baking sheet when you can—dark metal tends to brown the bottoms too quickly. And don’t skip the resting time after baking; it’s tempting to dive in, but a five-minute rest brings the texture right into that soft-chewy sweet spot. Also, bake one tray at a time in the center of the oven for even heat. If you’re doubling the recipe, rotate halfway through. And above all, taste the dough. It should make you smile even before it bakes.
Variations & Substitutions:
There have been plenty of times I’ve baked these with what I had on hand and the results were just as lovely. Swap in chopped white chocolate or add a handful of crushed pretzels for crunch. When I was out of brown sugar once, I mixed granulated sugar with a bit of molasses and it worked like a charm. A spoonful of instant espresso powder deepens the flavor without making it taste like coffee, and if you’re baking for someone dairy-free, I’ve had decent luck with vegan butter (though the texture softens a bit more). Don’t be afraid to make them your own. Baking should feel like play, not pressure.
Serving Suggestions:
These cookies are happiest warm, right off the tray, with a glass of cold milk or a cup of tea. I’ve brought them to book clubs, tucked them into lunchboxes, and stacked them into mason jars as simple holiday gifts tied with a ribbon. They’re a crowd-pleaser at potlucks and a comfort on slow Sunday afternoons. I even crumble them over ice cream when I want to turn dessert into something a little more indulgent. However you serve them, they’re meant to be shared.
Storage & Reheating Instructions:
I keep extras in an airtight tin on the counter, where they stay good for 3–4 days (though they rarely last that long). For longer storage, I freeze the dough in scooped portions, ready to bake straight from frozen—just add a minute or two to the baking time. If you’ve baked them already and want that fresh-from-the-oven taste, a quick 8–10 seconds in the microwave softens the center just enough without melting the chips entirely. They’re still delicious the next day, just a little less crisp around the edges.
Recipe FAQs (Answered by Clara):
Can I use salted butter instead of unsalted?
You can, and I have in a pinch. Just reduce the added salt by half and maybe skip the flaky sea salt on top.
What if I don’t have a mixer?
No problem. Just use a sturdy wooden spoon and a little elbow grease. Creaming by hand takes longer but gives you a feel for the dough that I honestly love.
Can I freeze the dough?
Absolutely. I always keep a stash in the freezer. Scoop it into balls, freeze on a tray, then transfer to a bag. Bake straight from frozen.
Why did my cookies turn out flat?
Too-warm butter or overmixing can do that. Chill the dough a bit before baking and double-check your flour measurements next time.
I hope you bake these cookies and love them as much as I do. They’ve been with me through so many seasons, and every time I pull a tray from the oven, I’m reminded why I started baking in the first place. If you try them, I’d love to hear how they turned out for you—what tweaks you made, who you shared them with, or how many you snuck before they cooled. Leave a note below or just keep baking from the heart. That’s what matters most.
Nutrition Information (Approximate per cookie):
- Calories: 210
- Fat: 10g
- Carbohydrates: 28g
- Sugar: 18g
- Protein: 2g
- Fiber: 1g


Leave a Reply