
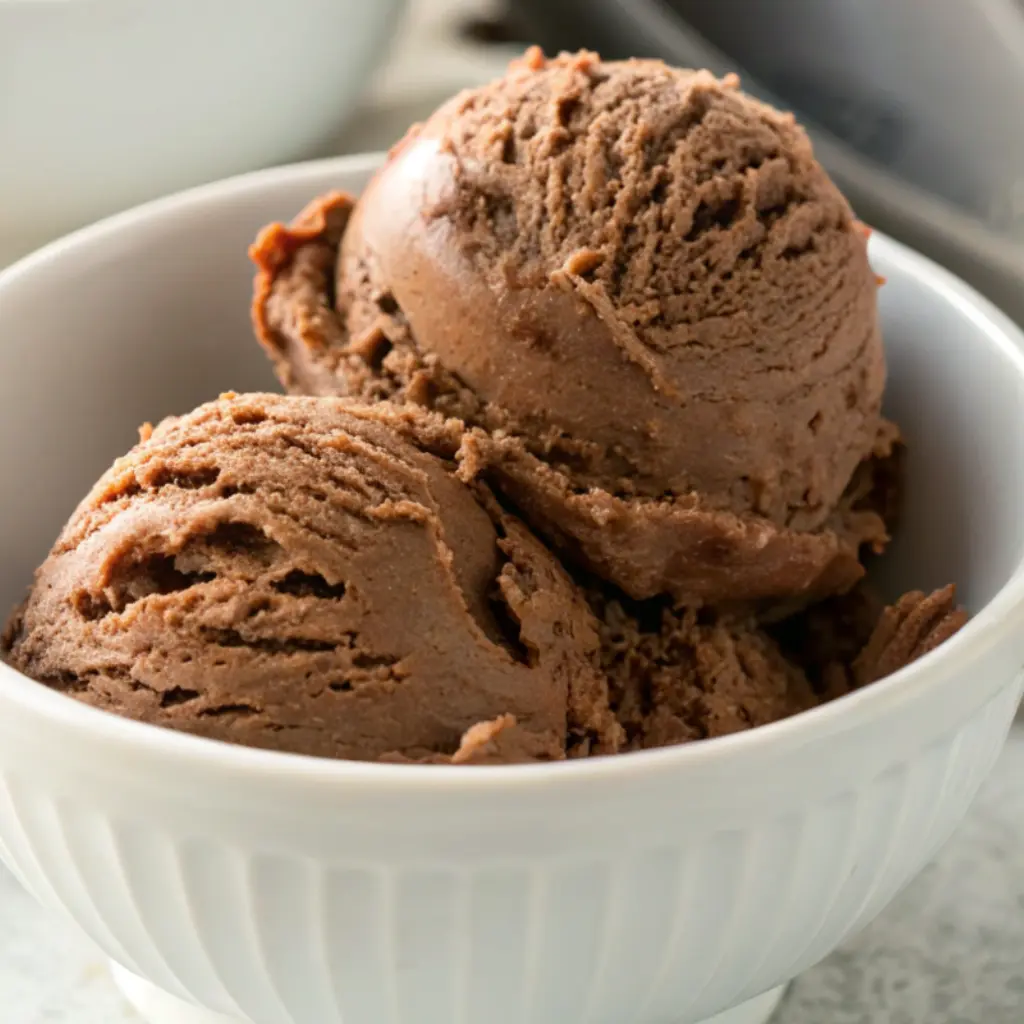
It was one of those breathlessly hot July afternoons when the ceiling fan felt more like a gentle suggestion than actual relief, and the kids were sprawled on the porch with lemonade-sticky hands. I remember standing in the kitchen, barefoot on cool tile, staring down a store-bought carton of chocolate ice cream that just didn’t taste right. You know what I mean—too sweet, too icy, not nearly enough chocolate. I had a moment of rebellion, an “I can do this better” kind of feeling. So I dug out the dusty ice cream maker my sister gifted me years ago (it had lived mostly as a decorative artifact), and I got to work.
That first batch? Not perfect. But it was rich and cold and ours. There’s something about making ice cream at home that pulls you back into the kind of summer you had as a kid—messy, slow, and full of joy. Over the years, I’ve tested, tweaked, and tinkered with this recipe until it became the one I reach for without thinking. It’s not just a dessert—it’s my go-to comfort project when the world feels too fast. And the best part? You don’t need to be a pastry chef or own a fancy machine. Just a little patience, a little chocolate, and a lot of love.

Why You’ll Love This Recipe:
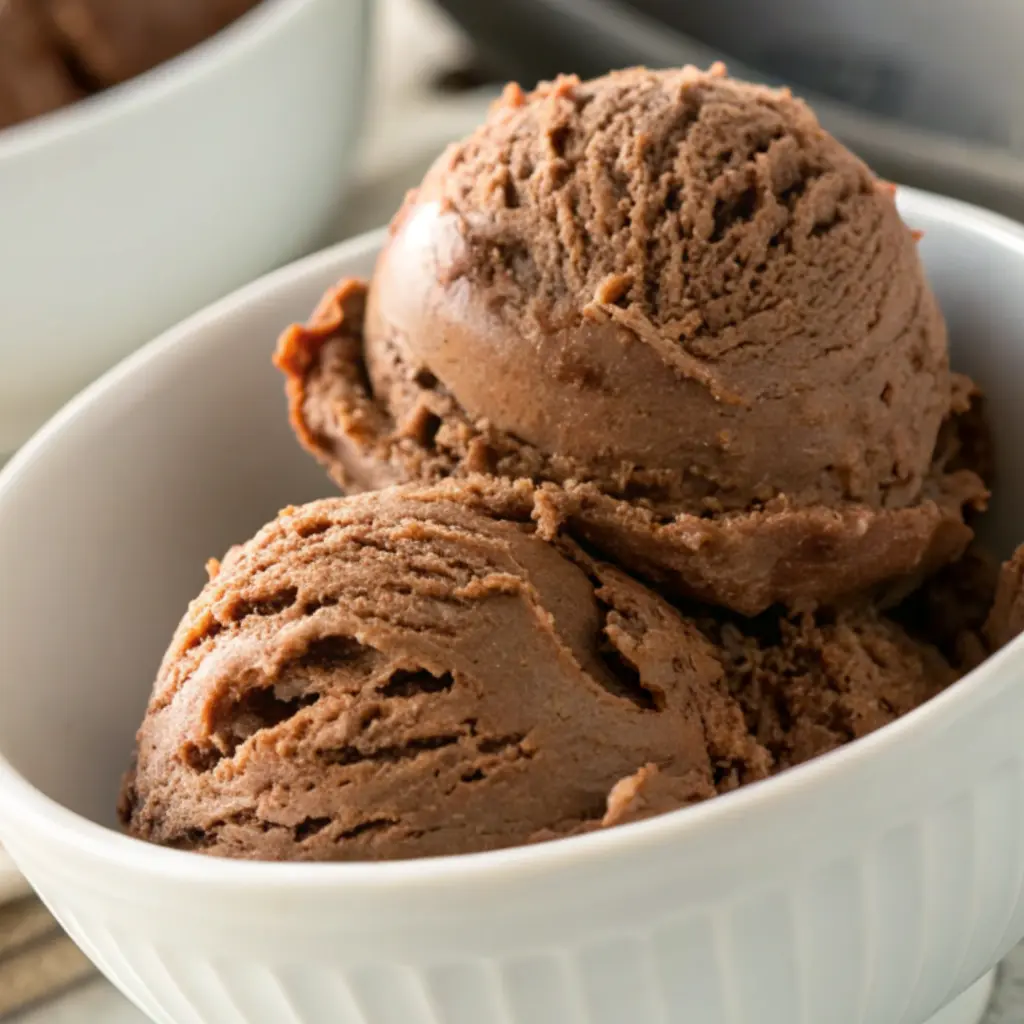
- Intensely chocolatey with a creamy, custard-style base
- No complicated tools—just a saucepan and an ice cream maker (or freezer method)
- Easily customizable for dietary needs or flavor twists
- Feels like a fancy treat, but made from everyday ingredients
- A make-ahead dessert that gets better with time
Ingredients You’ll Need:
- 2 cups heavy cream – This is your richness. I’ve tried half-and-half, but it lacks that luscious mouthfeel. Stick with cream for the real deal.
- 1 cup whole milk – Don’t go low-fat here unless you want an icier finish.
- ¾ cup granulated sugar – Just enough to balance the bitterness of the chocolate.
- 5 large egg yolks – These create that silky custard base. Save the whites for a meringue or an omelet.
- ½ cup unsweetened cocoa powder – I prefer Dutch-process for its deep, mellow flavor, but natural cocoa works in a pinch.
- 4 oz bittersweet chocolate, chopped – Somewhere around 60-70% cocoa is ideal. I’ve used chocolate chips in emergencies—they’ll do.
- 1 tsp vanilla extract – The finishing note that rounds out the richness.
- Pinch of salt – Trust me, it makes the chocolate sing.
If you’re dairy-free, I’ve used coconut milk and cashew cream as subs—different but still dreamy. Just keep the fat content high for a creamy texture.
How to Make It (Step-by-Step Instructions):
Start by warming the milk, cream, sugar, and cocoa powder in a medium saucepan over medium heat. Don’t let it boil—just aim for steamy and nicely blended. Whisk the mixture gently, breaking up any cocoa clumps. I learned the hard way that cocoa powder doesn’t dissolve itself. Once it’s warm and smooth, remove it from the heat.
In a medium bowl, whisk your egg yolks. Slowly, slowly, pour in a ladle of the hot cream mixture while whisking constantly—this tempers the eggs so they don’t scramble. Add one more ladle, whisk again, and then pour the egg mixture back into the saucepan. Return the pan to medium-low heat and cook, stirring with a wooden spoon, until the mixture thickens enough to coat the back of the spoon. Don’t rush this part. I’ve scrambled a custard or two in my day because I got impatient. Low and slow is the mantra here.
Once thickened, turn off the heat and add your chopped chocolate. Stir until it’s completely melted and glossy. Then add the vanilla and salt. Strain the custard through a fine mesh sieve into a clean bowl—yes, it’s an extra step, but it catches any tiny bits of egg or unmelted chocolate. Worth it.
Let it cool to room temp (I usually stir it over an ice bath if I’m in a hurry), then cover and chill it in the fridge for at least four hours, preferably overnight. When it’s cold, churn it in your ice cream maker according to the manufacturer’s instructions. If you don’t have one, pour it into a shallow dish, freeze, and stir it every 30 minutes until it firms up. It won’t be exactly the same—but it’ll still be homemade and delightful.
Transfer the churned ice cream to a lidded container and freeze for another 4-6 hours, or until it firms up to a scoopable consistency. It’s a labor of love, yes—but one bite in and you’ll forget the wait.
Expert Tips for the Best Results:
The custard base is where all the magic happens, so don’t skip the egg tempering or the straining. If you ever feel like your custard is cooking too fast, just lift the pan off the heat for a moment. I’ve done this dance enough times to know that gentle heat and a calm hand make all the difference. Chilling the base thoroughly before churning also matters more than you might think—it gives the ice cream better body and prevents large ice crystals. And if you’re using an ice cream maker with a freezer bowl, make sure it’s fully frozen—overnight, at least. Trust me, I’ve tried to shortcut that step and ended up with slush.
Variations & Substitutions:
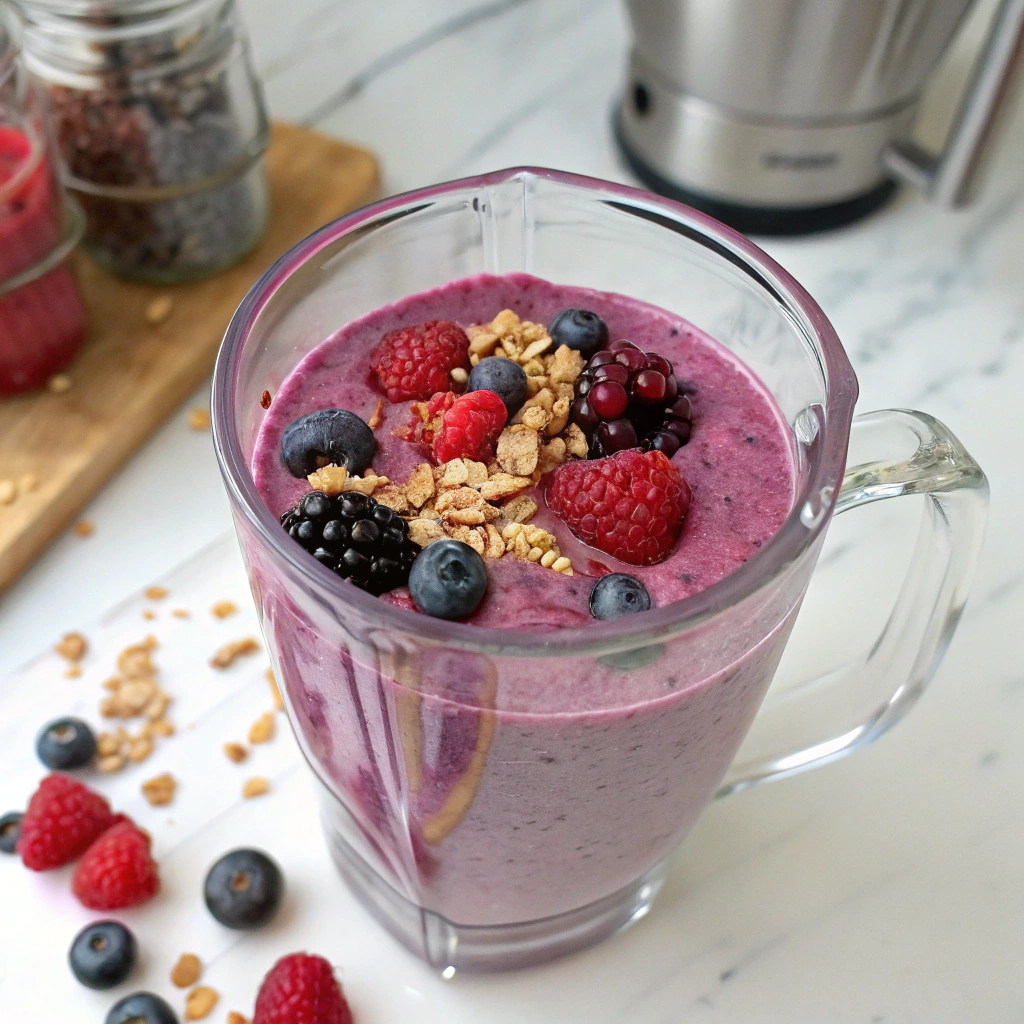
I’ve played with this recipe in more ways than I can count. Once, out of chocolate, I stirred in a swirl of peanut butter and a handful of crushed pretzels—it was like a late-night snack in ice cream form. Another time, I folded in fresh raspberries at the end of churning, and the tangy burst against the chocolate was unforgettable. For a dairy-free version, I’ve used full-fat coconut milk and skipped the egg yolks entirely for a simpler, lighter version—it’s not quite as custardy, but still hits the spot. You can also add a splash of espresso or a spoonful of instant coffee for a mocha twist, which I highly recommend if you’re a fan of deeper flavor.
Serving Suggestions:
There’s nothing wrong with a plain scoop in a bowl (especially when it’s just for you, late at night), but I love this chocolate ice cream tucked between two homemade cookies for an ice cream sandwich, or alongside a warm brownie where it gets all melty and dramatic. It’s also a lovely ending to a casual dinner party, served in small glasses with a drizzle of olive oil and a sprinkle of flaky sea salt—sounds fancy, but it’s simple magic. Kids love it in cones with rainbow sprinkles, and honestly, so do I.
Storage & Reheating Instructions:
Homemade ice cream keeps well in a tightly sealed container in the freezer for about two weeks, though the texture starts to firm up more after the first few days. If it’s too hard to scoop, just let it sit on the counter for five to ten minutes. I’ve found that keeping a piece of parchment pressed directly onto the surface helps prevent ice crystals. And as for reheating—well, don’t. Just give it a few minutes at room temp and enjoy it as it was meant to be: soft, creamy, and cold.
Recipe FAQs (Answered by Clara):
Can I make this without an ice cream maker?
You sure can. It takes a little extra stirring, but freeze the mixture in a shallow dish and stir every 30 minutes until it firms up. It won’t be quite as smooth, but it’ll still be delicious.
How long does it take from start to finish?
Plan on an overnight chill for best texture. The custard takes about 20 minutes, then at least 4 hours to freeze after churning. It’s a project, but a rewarding one.
Can I use milk chocolate instead of bittersweet?
You can, but it will be sweeter and softer. If using milk chocolate, I’d cut the sugar a bit and expect a lighter flavor.
Is it safe to eat with the eggs?
Yes, because we’re cooking the custard to a safe temperature. If you’re extra cautious, use pasteurized eggs.
Can I double the recipe?
Yes, just make sure your saucepan and ice cream maker can handle the volume. I’ve done this for birthdays and regretted nothing.
If you’ve never made ice cream from scratch, let this be your nudge. It’s not just about the dessert—it’s about slowing down, stirring with intention, and finding joy in small rituals. I hope this chocolate ice cream becomes part of your story, like it’s become part of mine. If you try it, I’d love to hear how it turns out for you—whether it’s your first time or your fiftieth. Leave a comment, share it with a friend, or just savor every cold, rich spoonful.
Optional Nutrition Information (Per ½ cup serving):
Calories: 280 | Fat: 20g | Carbs: 22g | Sugar: 19g | Protein: 4g
Estimates only; actual values may vary based on ingredients used.
Chocolate Ice Cream
Ingredients
- 2 cups heavy cream
- 1 cup whole milk
- ¾ cup granulated sugar
- ½ cup unsweetened cocoa powder Dutch-processed or natural
- 4 oz bittersweet or semisweet chocolate chopped
- 5 large egg yolks
- 1 teaspoon vanilla extract
- Pinch of salt
Instructions
- Heat base: In a medium saucepan, whisk together cream, milk, sugar, cocoa powder, and salt. Heat over medium heat until steaming, then whisk in chopped chocolate until fully melted and smooth.
- Whisk yolks: In a separate bowl, whisk the egg yolks until pale.
- Temper eggs: Gradually whisk some of the hot chocolate mixture into the yolks to temper them. Then slowly whisk the egg mixture back into the saucepan.
- Cook custard: Cook over low heat, stirring constantly, until the mixture thickens slightly and reaches 170–175°F (it should coat the back of a spoon). Do not boil.
- Add vanilla & chill: Remove from heat and stir in vanilla extract. Strain the mixture through a fine-mesh sieve into a clean bowl. Cover and refrigerate for at least 4 hours or overnight.
- Churn: Once chilled, pour the mixture into your ice cream maker and churn according to the manufacturer’s instructions (usually 20–25 minutes).
- Freeze: Transfer to an airtight container and freeze for 2–4 hours until firm.
Notes
- For an ultra-rich flavor, use high-quality dark chocolate and Dutch-processed cocoa.
- Add chocolate chips, brownie chunks, or fudge swirl after churning for texture.
- Keeps well in the freezer for up to 2 weeks.

Leave a Reply