I wasn’t always a chocolate person. I know, that sounds a bit blasphemous coming from someone who now keeps cocoa powder in the pantry like it’s a basic necessity, but it’s true. Growing up, I’d gravitate toward lemon bars, buttery shortbread, or anything spiced with cinnamon. Chocolate desserts always felt a little too rich or, worse, one-dimensional. That changed one chilly November evening, years ago, when I was invited to a potluck at my friend Marianne’s place. I had planned to bring roasted root vegetables—until Marianne gently reminded me, “Clara, you always bring vegetables. We need dessert.”
I panicked, then turned to the internet, flipping through cookbooks, asking my neighbor if she had any ideas. She handed me a wrinkled, butter-stained page torn from a magazine: “Try this chocolate tart,” she said. “It’s foolproof.” Well, it wasn’t exactly foolproof—at least not the first time. I overbaked it slightly, didn’t let the ganache cool enough before pouring, and my crust was more of a crumble than a crust. But the flavor? Deep, intense, and somehow both elegant and cozy. That tart was gone within fifteen minutes, with Marianne asking me, “Clara, where did you get this recipe?” I smiled and said, “It’s a long story.”
Over the years, I’ve tweaked and reworked that tart into something I now know by heart. It’s simple enough for a weeknight dinner party but special enough for holidays. And for anyone who says they’re not into chocolate desserts, this just might be the one to change their mind.
Why You’ll Love This Recipe:
- Rich, silky chocolate filling with balanced sweetness
- Buttery, crisp tart shell that holds its shape beautifully
- Make-ahead friendly—actually tastes better the next day
- Simple ingredients you likely have on hand
- Easily adaptable for dairy-free or gluten-free versions
Ingredients You’ll Need:
For the crust:
- 1 ¼ cups all-purpose flour — I’ve used white whole wheat in a pinch, but regular unbleached flour gives the best texture.
- ¼ cup granulated sugar — just enough to sweeten the crust without competing with the filling.
- ¼ teaspoon fine sea salt — a small but crucial detail; it brings out everything else.
- ½ cup (1 stick) unsalted butter, cold and cubed — I’ve tried this with plant-based butter and it works surprisingly well, though the crust is a touch more delicate.
- 1 large egg yolk — this enriches the dough and helps bind without needing ice water.
- 1–2 tablespoons cold milk or water — add just enough to bring the dough together.
For the filling:
- 1 cup heavy cream — I’ve used full-fat coconut cream too, and it gives a subtle twist.
- 8 oz bittersweet chocolate (60–70%), finely chopped — I always recommend a bar over chips; the texture melts smoother.
- 2 tablespoons unsalted butter — stirs into the chocolate for that luscious, glossy finish.
- 1 teaspoon pure vanilla extract — don’t skip this, it rounds everything out.
- Flaky sea salt, for topping (optional) — but if you know me, you know I always add it.
How to Make It (Step-by-Step Instructions):
Start with the crust. I like to work the flour, sugar, and salt together first in a large bowl, then cut in the cold butter with a pastry cutter or even just my fingers—quick pinches, like you’re snapping green beans. You’re aiming for a sandy texture with a few pea-sized bits of butter still visible. Stir in the egg yolk and one tablespoon of milk. If it still looks too dry, add a bit more milk, one teaspoon at a time. The dough should hold together when squeezed but not feel sticky.
Press the dough into a disc, wrap it up, and let it rest in the fridge for at least 30 minutes. I’ve rushed this step before, and the crust always ends up shrinking or cracking. Patience really does pay off here.
Roll out the dough on a lightly floured surface to about ⅛-inch thick, then gently lift it into a 9-inch tart pan with a removable bottom. If it tears, don’t panic—just patch it gently with scraps. Dock the bottom with a fork and chill the whole thing again for 15–20 minutes. This helps it hold shape in the oven.
Preheat your oven to 375°F (190°C). Line the crust with parchment and fill with pie weights or dried beans. Blind bake for 20 minutes, then remove the weights and parchment and bake another 5–7 minutes until lightly golden. Let it cool completely.
For the filling, heat the cream in a small saucepan over medium heat until just starting to bubble at the edges. Pour it over the chopped chocolate in a heatproof bowl, cover, and let sit for 2–3 minutes. Then whisk slowly, starting in the center and working outward, until smooth and velvety. Stir in the butter and vanilla.
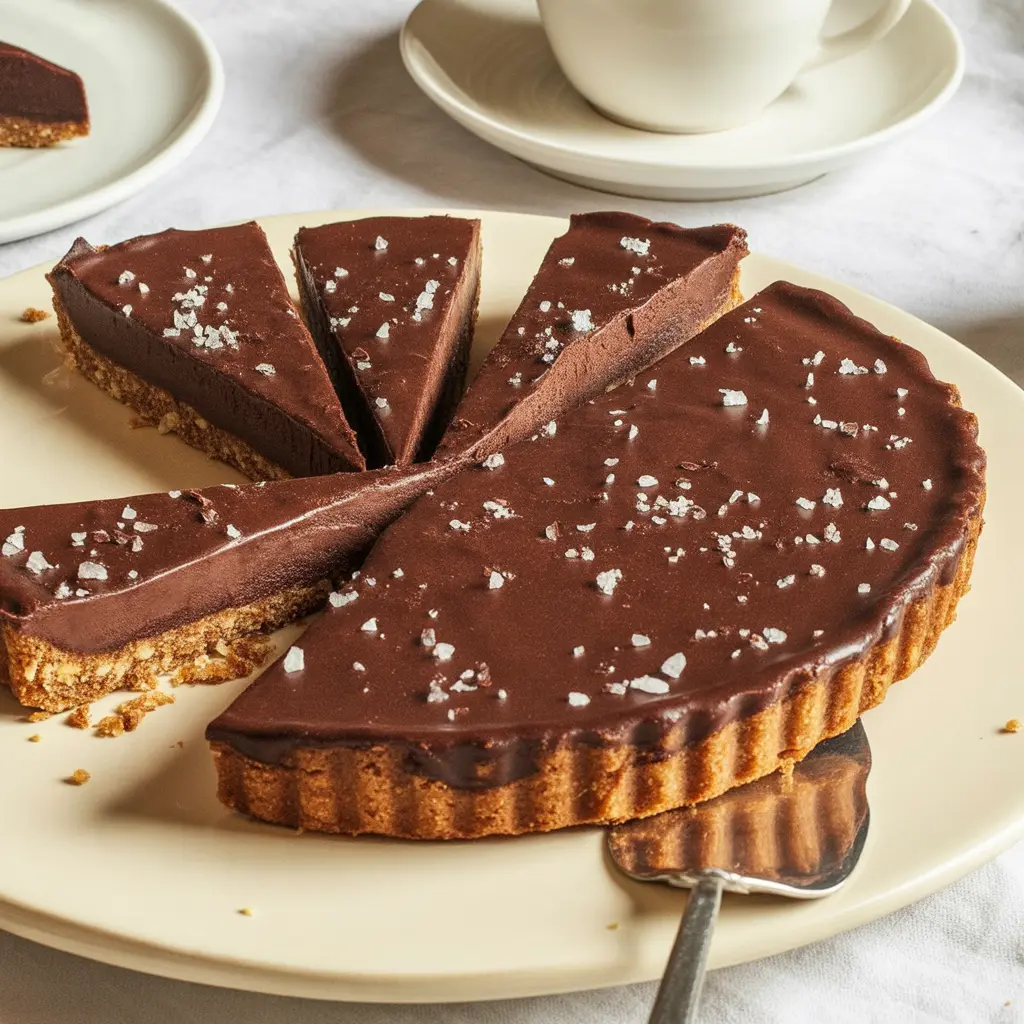
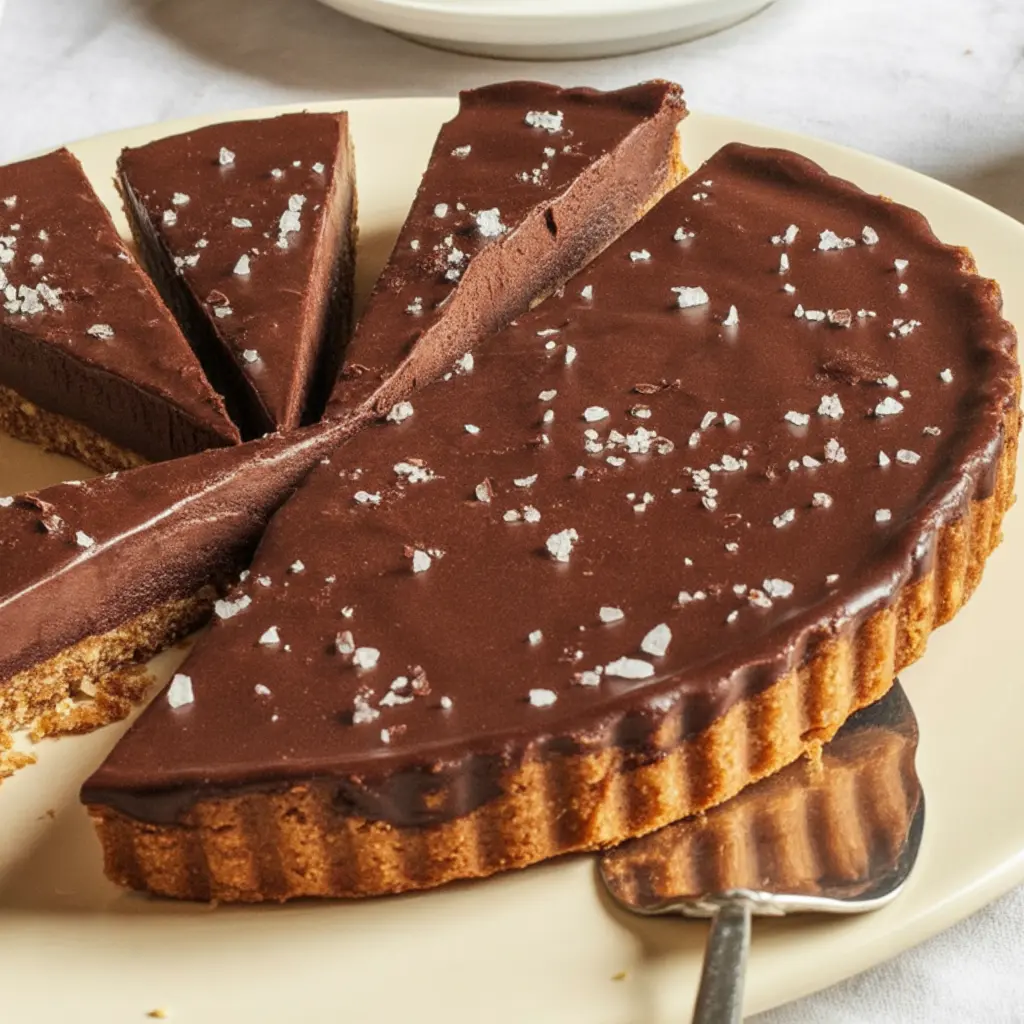
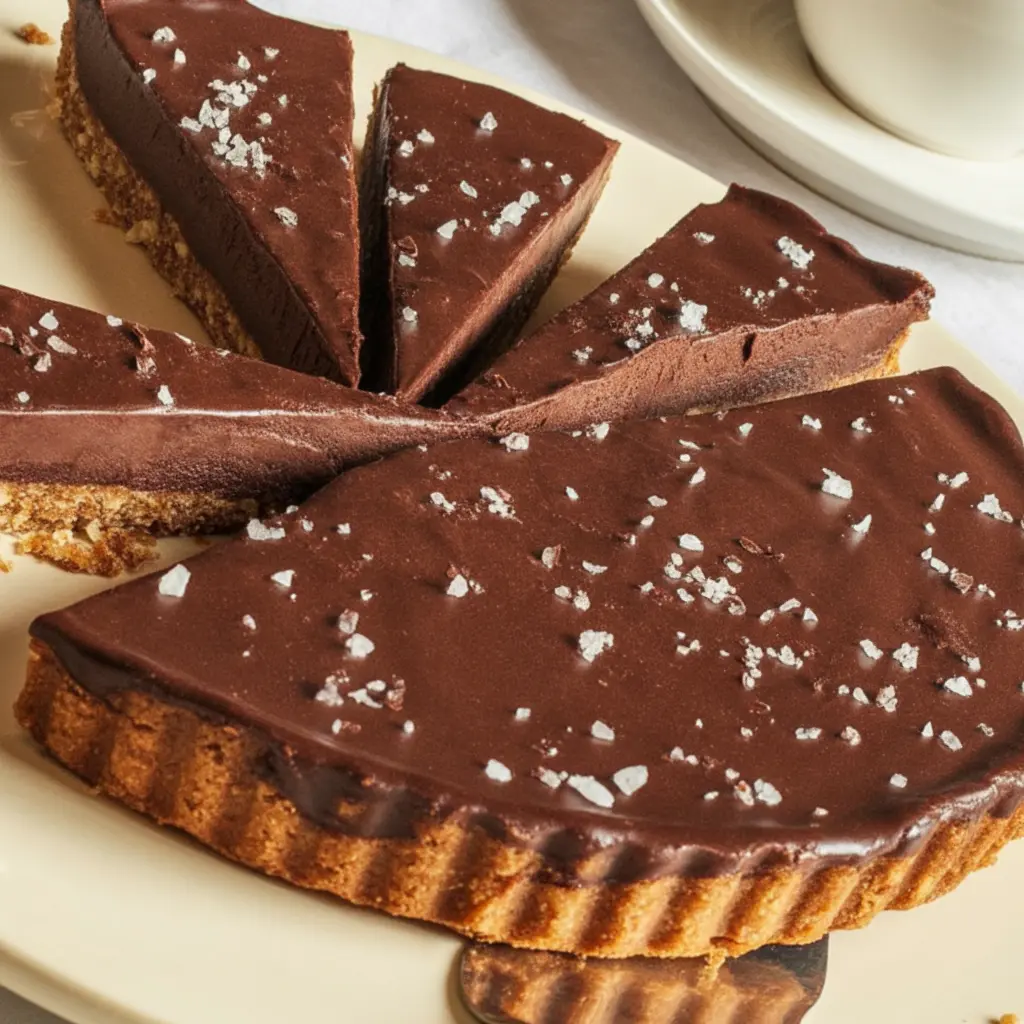
Pour the warm ganache into the cooled crust and give the pan a gentle jiggle to level it out. Let it set at room temperature for an hour, then transfer to the fridge for at least another hour (or overnight) until firm. Just before serving, I like to sprinkle a bit of flaky sea salt on top—it adds a lovely contrast and makes the chocolate sing.
Expert Tips for the Best Results:
If I’ve learned anything making this tart over the years, it’s that temperature matters—especially when it comes to the filling. Let the cream heat gently and pour it over finely chopped chocolate for the smoothest ganache. Don’t rush the crust chilling either; cold dough goes into a hot oven for the crispest, flakiest shell. And take your time whisking the ganache—start slow and stir with intention. Rushing it can lead to graininess or air bubbles, which dull that lovely sheen.
Variations & Substitutions:
One night I realized I was out of cream and ended up using half Greek yogurt and half whole milk—surprisingly, it worked, though the tart had a slightly tangier note. I’ve also swapped the bittersweet chocolate for semisweet when making it for kids, and once, in a pinch, I added a spoonful of instant espresso powder to deepen the flavor (highly recommend). For a gluten-free version, almond flour crusts hold up nicely if pre-baked a bit longer. I even tried swirling raspberry jam into the ganache before it set—beautiful and bright, a happy accident I now recreate on purpose.
Serving Suggestions:
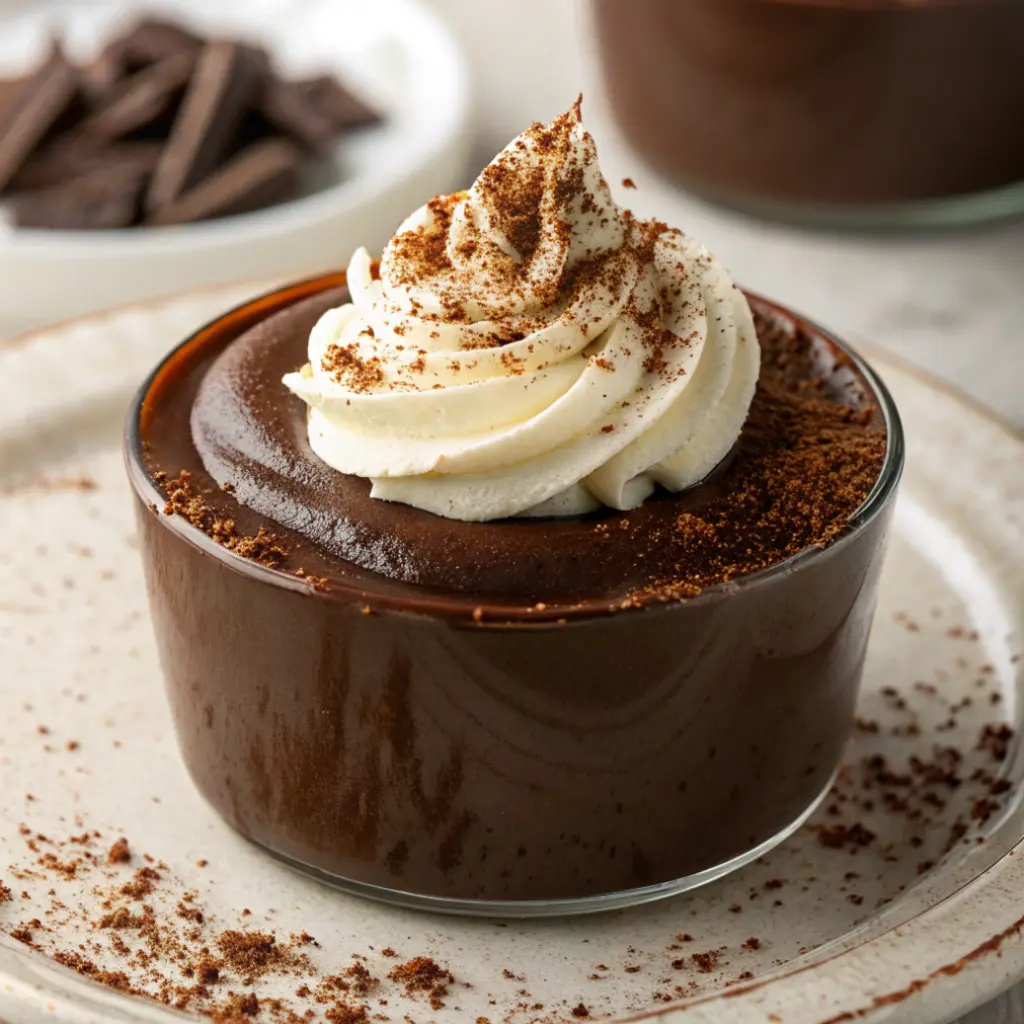
This tart is elegant enough to serve after a dinner party, but I’ve also sliced it thinly for a casual Sunday lunch with friends. It pairs beautifully with freshly whipped cream or a scoop of vanilla ice cream, though I often serve it just as is, with coffee or a good red wine. Around the holidays, I dress it up with sugared cranberries or a dusting of cocoa powder. It’s that little black dress of desserts—timeless, reliable, and always in style.
Storage & Reheating Instructions:
I usually store this tart in the fridge, covered tightly with plastic wrap or a reusable lid. It keeps well for 3–4 days and tastes even better after a day of resting. The crust stays crisp, and the filling firms up without turning stiff. If you prefer a slightly softer bite, let it sit at room temperature for about 30 minutes before serving. I wouldn’t recommend reheating it—this one’s best served cool or just slightly chilled.
Recipe FAQs (Answered by Clara):
Can I make this ahead of time?
Absolutely. I often bake the crust the day before and fill it in the morning. The flavors deepen after a night in the fridge.
What if I don’t have a tart pan?
A pie dish works fine—you’ll just have slightly thicker edges. I’ve done this many times in a pinch.
Can I freeze this tart?
Yes, though I recommend wrapping it tightly and freezing it without the flaky salt. Thaw overnight in the fridge, then add the salt just before serving.
How do I prevent the crust from shrinking?
Chill it thoroughly before baking and don’t skip the pie weights. I learned that one the hard way during a summer heatwave.
Can I use milk chocolate instead of dark?
You can, but it’ll be much sweeter. If you go that route, I suggest cutting back the sugar in the crust slightly or adding a pinch more salt to balance things out.
I hope this chocolate tart finds a place in your kitchen, the way it did in mine—quietly, unexpectedly, and then all at once, becoming something you make again and again. Whether you’re celebrating something big or just craving something rich and comforting, this tart delivers every single time. I’d love to hear how it turns out for you. Leave a note, share a story, or pass it along to someone who might just need a little chocolate in their day.
Nutrition Information (Per Serving, Approx. 1 of 10 Slices):
Calories: 360 | Fat: 27g | Carbohydrates: 28g | Protein: 4g | Sugar: 15g | Fiber: 3g

Chocolate Tart
Ingredients
For the Crust:
- 1½ cups crushed graham crackers or chocolate cookies like Oreos
- 6 tablespoons melted butter
- 2 tablespoons sugar
- Pinch of salt
For the Ganache Filling:
- 1 cup heavy cream
- 8 oz semisweet or bittersweet chocolate chopped
- 2 tablespoons butter
- 1 teaspoon vanilla extract
- Optional: pinch of sea salt
Optional Toppings:
- Flaky sea salt
- Whipped cream
- Fresh berries
- Shaved chocolate or cocoa powder
Instructions
- Make the crust:
- Preheat oven to 350°F (175°C). In a bowl, mix crushed cookies, melted butter, sugar, and salt until combined. Press the mixture firmly into the bottom and sides of a 9-inch tart pan.
- Bake the crust: Bake for 10 minutes. Remove from oven and let cool completely.
- Make the ganache: In a small saucepan, heat heavy cream over medium heat just until simmering. Remove from heat and pour over chopped chocolate in a heatproof bowl. Let sit for 2–3 minutes, then stir until smooth. Add butter, vanilla, and a pinch of salt. Stir until glossy.
- Assemble the tart: Pour ganache into the cooled crust. Smooth the top with a spatula.
- Chill: Refrigerate for at least 2 hours or until set.
- Serve: Slice and serve as-is or top with whipped cream, berries, or a sprinkle of sea salt.
Notes
- You can use store-bought crust to save time.
- For a gluten-free version, use GF cookies for the crust.
- Store leftovers in the refrigerator for up to 4 days.
- Let sit at room temperature for 10 minutes before slicing for clean cuts.