The first time I made cream cheese frosting, I ruined it. Completely. I still remember standing in my tiny kitchen, staring at a soupy, lumpy bowl of what was supposed to crown a beautiful carrot cake. I had rushed. I hadn’t softened the cream cheese properly. I overmixed. And instead of a smooth, luxurious frosting, I ended up with a sad, runny mess that slid right off the cake and onto the counter.
I nearly gave up on cream cheese frosting altogether that day. But something about its promise — that tangy sweetness, that creamy richness — pulled me back. Over the years, I tested, failed, adjusted, and learned. Birthday cakes, holiday cupcakes, late-night baking therapy sessions — this frosting became part of my kitchen rhythm. And slowly, it turned into something I could make without fear, something I could rely on, something I loved.
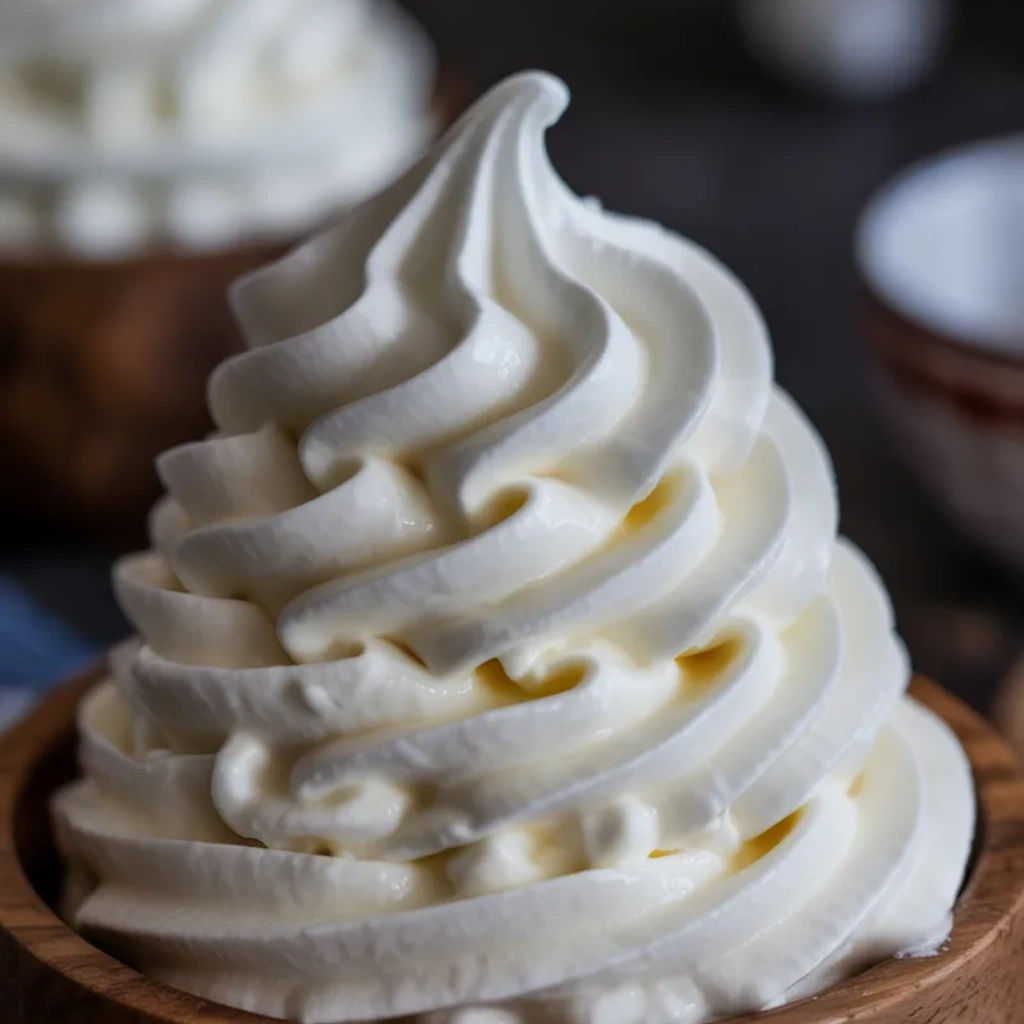
Now, cream cheese frosting is one of those recipes I carry in my hands instead of my head. I know its texture. I feel when it’s right. And today, I’m sharing the version that never lets me down — the one that spreads smoothly, pipes beautifully, and tastes like comfort in frosting form.
Why You’ll Love This Recipe
- Rich, creamy, and perfectly balanced between sweet and tangy
- Foolproof method that prevents lumps and runny frosting
- Uses simple pantry ingredients
- Perfect for cakes, cupcakes, cookies, cinnamon rolls, and more
- Easy to customize for different desserts and flavors
Ingredients You’ll Need
Cream cheese is the heart of this recipe, and full-fat is the only way to go here. I’ve tried low-fat versions more times than I care to admit, and they simply don’t deliver the same structure or flavor. Let your cream cheese soften naturally on the counter so it blends smoothly without lumps.
Unsalted butter gives richness and body to the frosting. I always choose unsalted so I can control the salt level myself. Like the cream cheese, it must be properly softened — not melted, not cold — just soft enough to press with your finger and leave a gentle indentation.
Powdered sugar brings sweetness and structure. Sifting it may seem like an extra step, but it makes all the difference in achieving that smooth, cloud-like texture.
Pure vanilla extract adds warmth and depth. I’ve used everything from fancy vanilla beans to basic store-bought extract, and honestly, any good-quality vanilla will work beautifully.
A tiny pinch of salt balances the sweetness and brings out the flavors. It’s subtle, but it matters more than you might think.
If needed, a tablespoon or two of heavy cream or milk can help adjust the consistency. I only add this when necessary, especially if I’m piping and want a softer flow.
How to Make It (Step-by-Step Instructions)
Step 1: Soften and Prep
Start by taking your cream cheese and butter out of the fridge at least an hour before baking. They should feel soft but still cool. Too cold, and they’ll create lumps. Too warm, and the frosting can become loose and greasy. This step alone solves half of all frosting problems.
Once softened, place both into a large mixing bowl.
Step 2: Cream Until Smooth
Using a hand mixer or stand mixer fitted with the paddle attachment, beat the cream cheese and butter together on medium speed until completely smooth and creamy. This usually takes about two to three minutes. Stop once or twice to scrape down the bowl.
This step builds the base texture. Don’t rush it. The smoother this stage, the silkier your final frosting will be.
Step 3: Add Vanilla and Salt
Mix in the vanilla extract and salt. These small ingredients quietly shape the final flavor, adding depth and balance without overpowering the cream cheese.
Step 4: Slowly Incorporate Powdered Sugar
With the mixer on low speed, gradually add the powdered sugar, about one cup at a time. I learned early on that dumping it all in at once leads to sugar clouds, uneven mixing, and frustration.
Once fully incorporated, increase the speed to medium and beat for another one to two minutes until fluffy and smooth.
Step 5: Adjust Consistency if Needed
If your frosting feels too thick, add a tablespoon of cream or milk and mix briefly. If it feels too soft, refrigerate for 15–20 minutes to help it firm up. I often let it rest briefly before frosting, which gives me better control.
Expert Tips for the Best Results
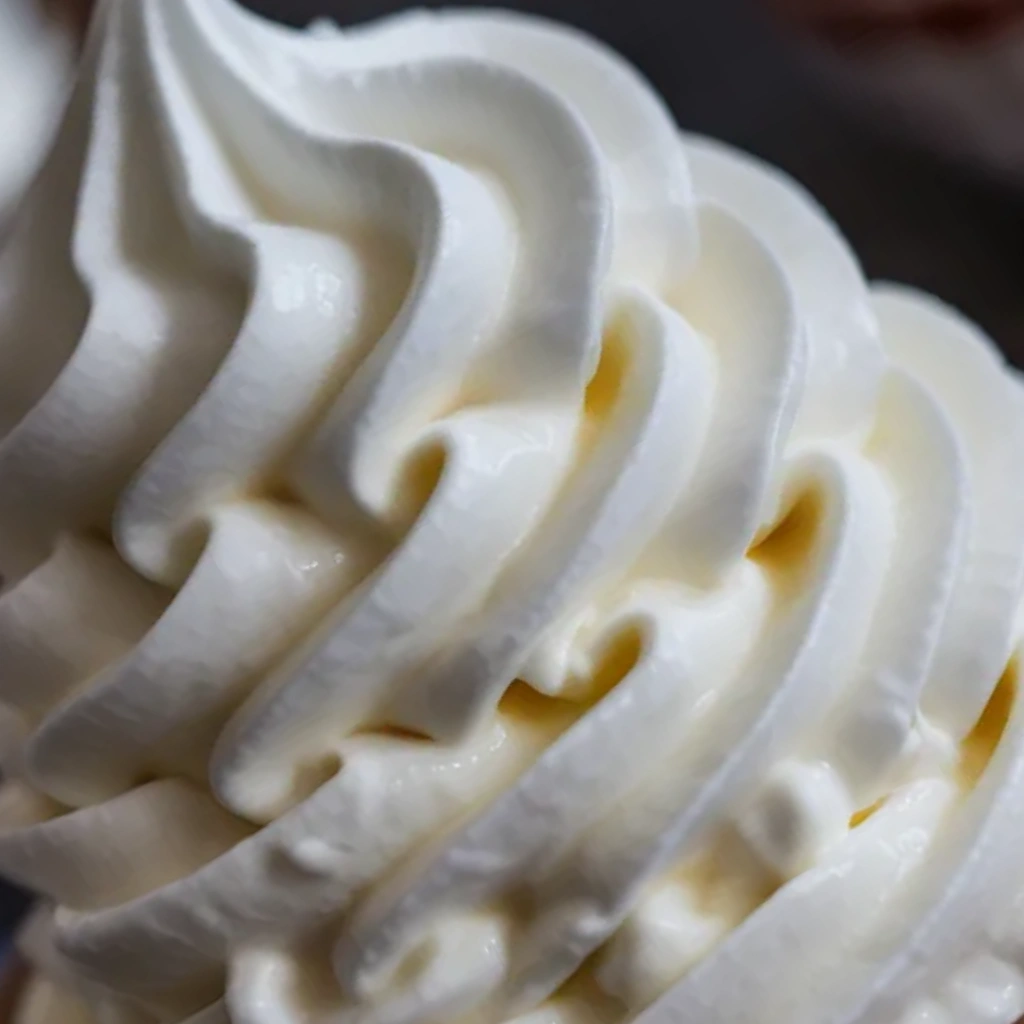
After countless batches, I’ve learned that temperature and patience are everything. Letting your ingredients soften naturally instead of microwaving prevents separation, and beating just until smooth — not overmixing — preserves structure. I also always chill my frosting slightly before piping, especially in warmer kitchens, which keeps the shapes clean and defined. When in doubt, slow down, scrape the bowl often, and trust your eyes and hands more than the clock.
Variations & Substitutions
Some of my favorite frosting discoveries came from missing ingredients late at night. I’ve swapped vanilla for almond extract when I wanted a subtle nutty warmth, added lemon zest for a bright citrus twist, and folded in melted dark chocolate for a richer dessert topping. One winter, I even blended in a spoonful of espresso powder, and the result was surprisingly elegant. This frosting welcomes creativity — just add small amounts, taste often, and let curiosity lead the way.
Serving Suggestions
I spread this frosting generously on carrot cake, red velvet cake, pumpkin bars, banana bread, and classic vanilla cupcakes. It’s equally beautiful piped high or swirled simply with a spatula. For holidays, I sometimes add a touch of cinnamon or citrus zest to complement seasonal flavors. And every now and then, I’ll dip graham crackers or strawberries straight into the bowl — a baker’s reward after a long day.
Storage & Reheating Instructions
Cream cheese frosting should always be stored in the refrigerator in an airtight container. It stays fresh for up to five days. When you’re ready to use it, let it sit at room temperature for about 20–30 minutes, then rewhip gently to restore its creamy texture. Avoid reheating — warmth breaks the structure — but gentle softening brings it back to life beautifully.
Recipe FAQs (Answered by Clara)
Can I make this ahead of time?
You sure can. I often prepare it the night before, cover it tightly, and store it in the fridge. The flavors settle overnight, and it actually tastes even better the next day.
What’s the best spiralizer to use?
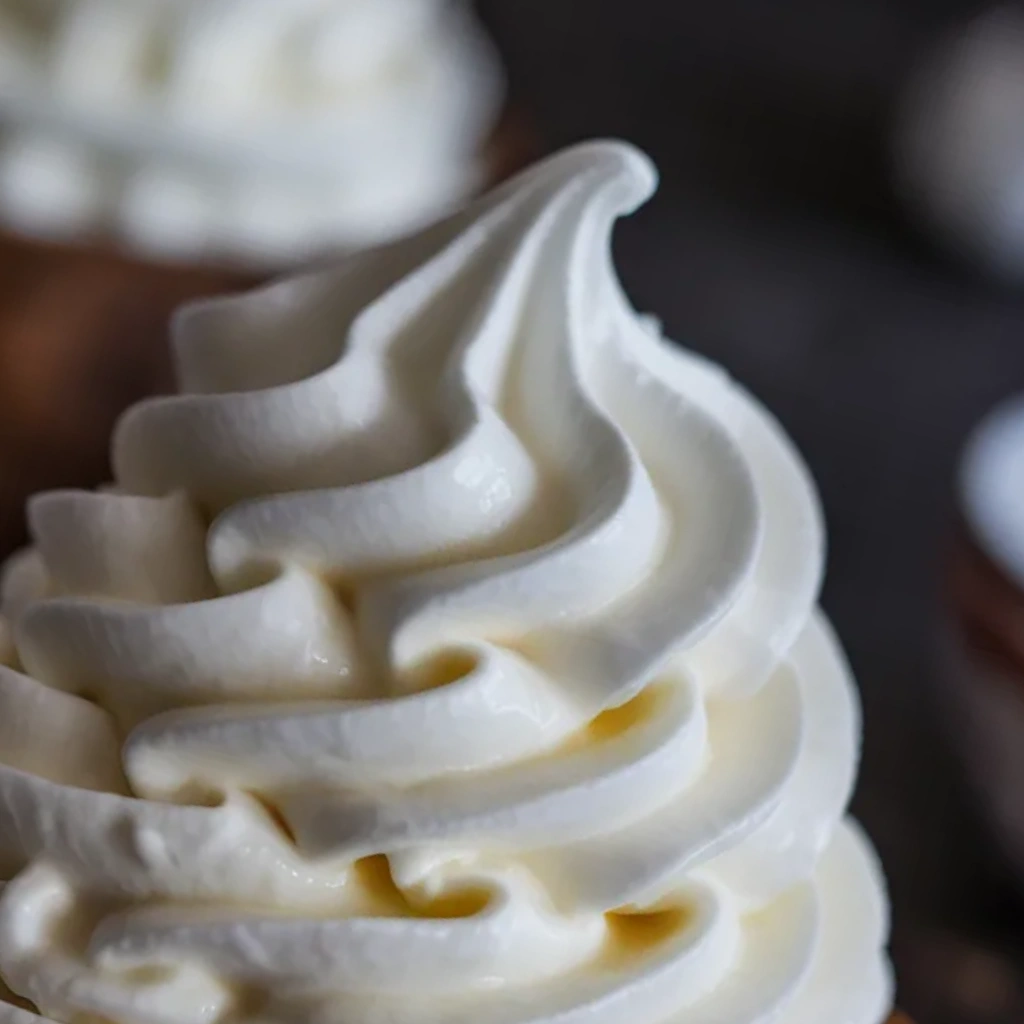
For frosting, I rely more on piping bags and tips than tools. A sturdy reusable piping bag with a large star tip gives beautiful swirls, but a simple zip-top bag with the corner snipped works just fine when I’m keeping things casual.
Can I serve it cold?
I prefer serving it slightly softened. Cold frosting can taste dense and muted, but letting it warm for about 15 minutes brings back its creamy, melt-in-your-mouth texture.
How do I make it less watery?
Watery frosting usually comes from over-softened cream cheese or overmixing. Starting with properly softened ingredients and beating just until smooth makes all the difference. If it happens, chilling the frosting for 20–30 minutes can help it firm up.
Conclusion
Cream cheese frosting is more than just a topping in my kitchen — it’s part of so many memories. Birthday candles, holiday tables, quiet afternoons of baking therapy, and late-night spoonfuls when no one is watching. It’s forgiving, flexible, and deeply comforting.
I hope this recipe becomes a trusted staple in your home the way it has in mine. Make it your own, adjust it to your tastes, and don’t be afraid of a few happy accidents along the way. If you give it a try, I’d love to hear how you used it, what you paired it with, and what memories it helped create.
Nutrition Information (Per Serving – Approximate)
Calories: 180
Fat: 12g
Carbohydrates: 18g
Sugar: 16g
Protein: 2g

Cream Cheese Frosting
Ingredients
- 8 oz cream cheese softened
- ½ cup unsalted butter softened
- 3 –4 cups powdered sugar sifted
- 1½ teaspoons vanilla extract
- Pinch of salt
Instructions
- In a large mixing bowl, beat cream cheese and butter together until smooth and fluffy.
- Gradually add powdered sugar, one cup at a time, mixing well after each addition.
- Add vanilla extract and salt. Beat until light, creamy, and spreadable.
- Adjust consistency by adding more powdered sugar for thickness or a teaspoon of milk for softness.
- Use immediately or refrigerate until ready to frost.
Notes
- Extra smooth frosting: Beat for 2–3 extra minutes for ultra-light texture.
- Thicker frosting: Chill for 20 minutes before piping.
- Flavor twists: Add lemon zest, almond extract, or maple extract.
- Storage: Refrigerate for up to 5 days.
- Freezing: Freeze up to 2 months; thaw overnight in the fridge and rewhip before using.