
Prep Time: 15 minutes
Cook Time: 20 minutes
Servings: 12 bombs
Ingredients
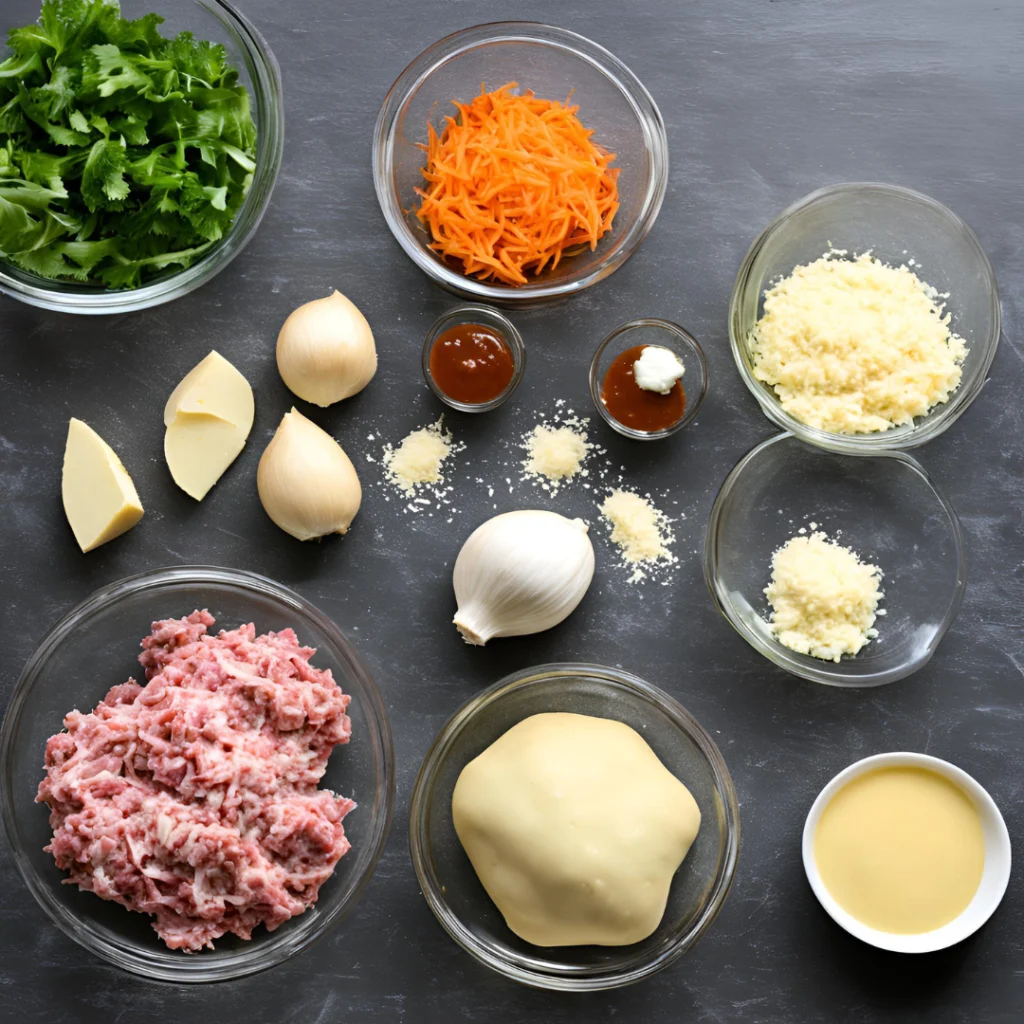
For the Bombs:
- 1 lb ground beef
- 1 teaspoon garlic powder
- 1 teaspoon onion powder
- 1/2 teaspoon salt
- 1/2 teaspoon black pepper
- 1 tablespoon Worcestershire sauce
- 12 small mozzarella cheese sticks (or cheese cubes)
- 1 can (8 oz) refrigerated biscuit dough (or pizza dough)
- 2 tablespoons olive oil or melted butter
For the Garlic Parmesan Coating:
- 1/4 cup grated Parmesan cheese
- 2 tablespoons melted butter
- 1 tablespoon garlic powder
- 1 tablespoon fresh chopped parsley (optional)
- 1/2 teaspoon salt
- 1/4 teaspoon black pepper
Instructions
1. Prepare the Beef Filling
In this stage, you’ll create the beef mixture that holds the cheese center.
Tableau for Clarity:
| Task | Tools Needed | Advice & Tips |
|---|---|---|
| Mix ground beef and seasonings | Mixing bowl, spoon | Make sure to season the beef evenly with garlic powder, onion powder, salt, pepper, and Worcestershire sauce. |
| Divide into portions | Hands, plate | Use a kitchen scale or eye it to create 12 even portions of beef. |
| Stuff with mozzarella | Cheese sticks, hands | Flatten beef, place cheese in the middle, and seal well. |
Tip: If you find the beef mixture too sticky, wet your hands lightly to help form the balls more easily.
2. Prepare the Biscuit Dough
Here, you’ll prepare the dough that will wrap around the beef and cheese, turning everything into a pocket of deliciousness.
Tableau for Clarity:
| Task | Tools Needed | Advice & Tips |
|---|---|---|
| Roll out the dough | Rolling pin, counter | Roll the dough into an even thickness (around 1/4 inch). |
| Cut dough into squares | Knife or pizza cutter | Cut into 12 even squares for consistent sizing. |
Tip: If using pizza dough, you may need to roll it out even thinner than biscuit dough to accommodate the beef and cheese.
3. Assemble the Cheeseburger Bombs
Now you’ll wrap up the cheesy beef balls with the dough. This is where you form the bombs.
Tableau for Clarity:
| Task | Tools Needed | Advice & Tips |
|---|---|---|
| Place beef ball in dough | Dough squares, hands | Be sure to seal the dough completely to avoid leaks while baking. |
| Pinch dough to seal | Hands | Pinch tightly around the beef to form a well-sealed ball. |
Tip: If the dough won’t stay closed, lightly wet the edges to help it seal. You can also roll the edges to help create a secure fold.
4. Prepare the Garlic Parmesan Coating
This stage involves making the flavorful garlic Parmesan butter that will coat your cheeseburger bombs, adding a delicious crust.
Tableau for Clarity:
| Task | Tools Needed | Advice & Tips |
|---|---|---|
| Melt butter and mix seasonings | Small bowl, spoon | Mix the garlic powder, Parmesan, salt, pepper, and parsley into the melted butter. |
| Coat the bombs | Brush or spoon | Generously brush each bomb with the garlic butter to coat evenly. |
Tip: For an extra crispy finish, you can sprinkle a bit more Parmesan on top before baking.
5. Bake the Cheeseburger Bombs
Now you’ll bake these bombs to perfection, creating a golden crust and melting the cheese inside.
Tableau for Clarity:
| Task | Tools Needed | Advice & Tips |
|---|---|---|
| Bake bombs in preheated oven | Oven, baking sheet | Bake at 375°F (190°C) for 15-18 minutes or until golden brown. |
| Check for doneness | Meat thermometer (optional) | Ensure the dough is golden and the cheese is melted inside. |
Tip: If the tops are browning too quickly, cover with foil for the last few minutes of baking.
6. Serve and Enjoy!
The final step is to serve these golden, cheesy bombs to your guests or enjoy them yourself.
Tableau for Clarity:
| Task | Tools Needed | Advice & Tips |
|---|---|---|
| Serve bombs hot | Plate | Let them cool slightly before serving to avoid burns from hot cheese. |
| Pair with sauces | Dipping sauces (optional) | Serve with ketchup, mustard, or ranch for dipping. |
Tip: These are great as a party appetizer or a quick meal served with your favorite sides!
Tips and Tricks
- Dough Choices: You can substitute the biscuit dough with pizza dough or even crescent rolls for a different flavor and texture.
- Cheese Variations: Use mozzarella, cheddar, or even pepper jack for a spicy kick.
- For Crispy Bombs: Brush the dough with a bit more melted butter before baking for an extra crispy golden crust.
- Make Ahead: You can assemble the bombs ahead of time, store them in the fridge, and bake them when ready to serve.
- Alternatives for Meat: Swap ground beef with ground turkey or chicken for a leaner option, or try sausage for a different flavor.
Conclusion
These Garlic Parmesan Cheeseburger Bombs are a delicious and easy-to-make snack or meal that will impress your friends and family. With their savory filling of seasoned beef, gooey cheese, and a crispy garlic Parmesan crust, they are sure to become a favorite. Enjoy the satisfying combination of flavors and textures in each bite!