When I think of ground beef tacos, I don’t think of fancy plating or perfectly measured spice packets—I think of a Tuesday night in my first apartment, with a skillet that was slightly warped, a bag of tortillas from the corner store, and a handful of friends sitting cross-legged on the floor because I didn’t own a dining table yet. I didn’t grow up with tacos as a family tradition.
I learned them through trial, error, and a little desperation on nights when money was tight and we all needed something comforting. Back then, I didn’t know the difference between blooming spices in oil versus tossing them in at the end, or why draining beef at the right moment mattered. But slowly, over dozens of dinners, I figured it out.
The recipe I’m sharing today is the one I’ve landed on after years of tinkering—simple enough for a weeknight, but flavorful enough that my grown kids still request it when they come over.

Why You’ll Love This Recipe
- Quick enough for weeknights without sacrificing flavor
- Uses pantry and fridge staples you probably already have
- Budget-friendly yet satisfying
- Easy to customize with whatever toppings you like
- Works for casual family dinners or larger gatherings
Ingredients You’ll Need
- Ground beef – I prefer 80/20 for the right balance of flavor and tenderness. Leaner beef works, but you may want to add a touch of oil to keep it from drying out. I’ve even used a mix of beef and ground turkey when I was clearing out the freezer, and it worked beautifully.
- Onion – A medium yellow onion, diced. I’ve tried sweet onions too, which mellow the flavor a bit, and they’re lovely.
- Garlic – Fresh cloves, minced. I keep a jar of pre-minced garlic for truly hectic nights, but fresh gives a warmer, more rounded flavor.
- Chili powder – The foundation of the seasoning. If yours is older than a year, treat yourself to a new jar—it makes a world of difference.
- Ground cumin – Adds that earthy, savory note that balances the chili powder.
- Smoked paprika – Optional, but it brings a subtle depth that always gets people asking what’s “different” about these tacos.
- Oregano – A small pinch; I learned from a friend with Mexican heritage that this rounds out the spice profile.
- Tomato paste – Just a tablespoon or two for richness. You can also use a few spoonfuls of canned tomato sauce if that’s what you have.
- Beef broth or water – Helps the seasoning cling to the meat and keeps everything juicy.
- Salt & pepper – To taste, but don’t skip tasting as you go; it’s the difference between good and great tacos.
- Small corn or flour tortillas – Warmed just before serving. I’ve made my own in a pinch, but store-bought works perfectly here.
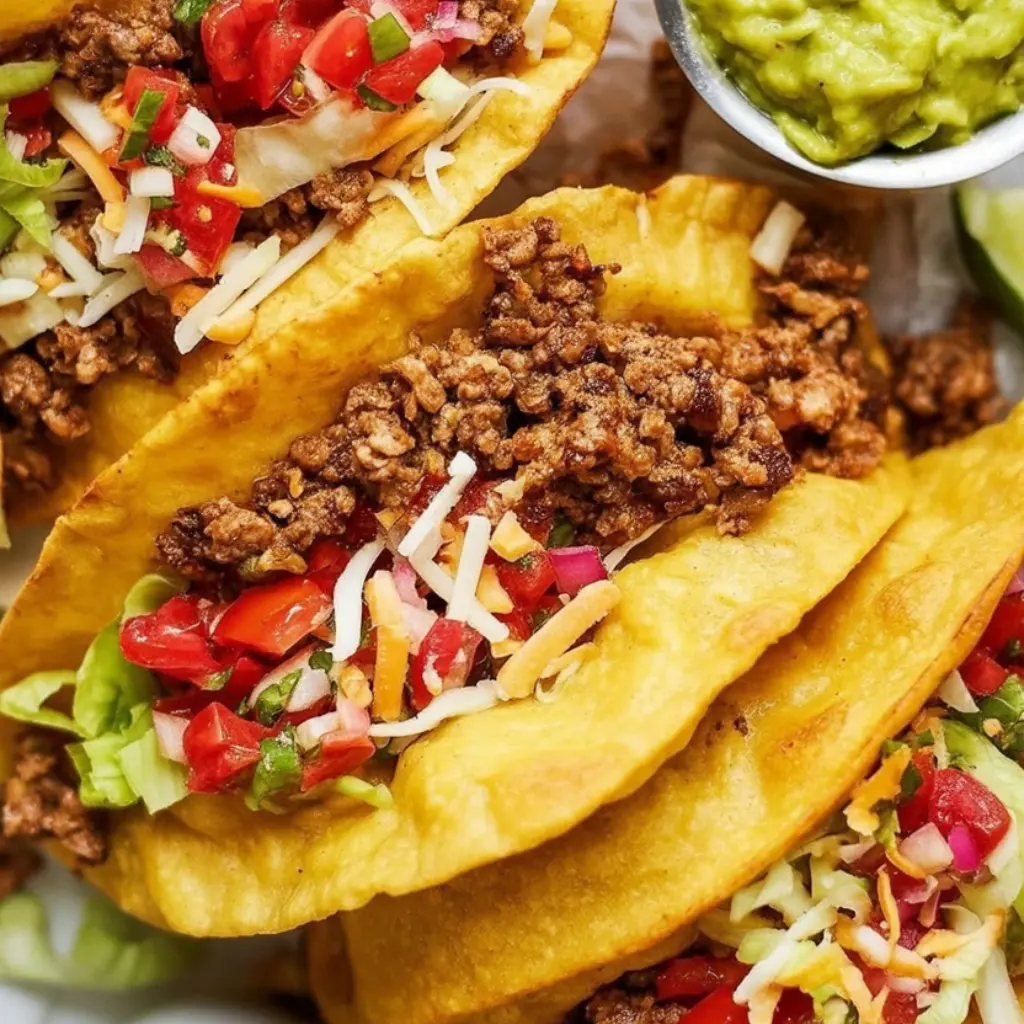
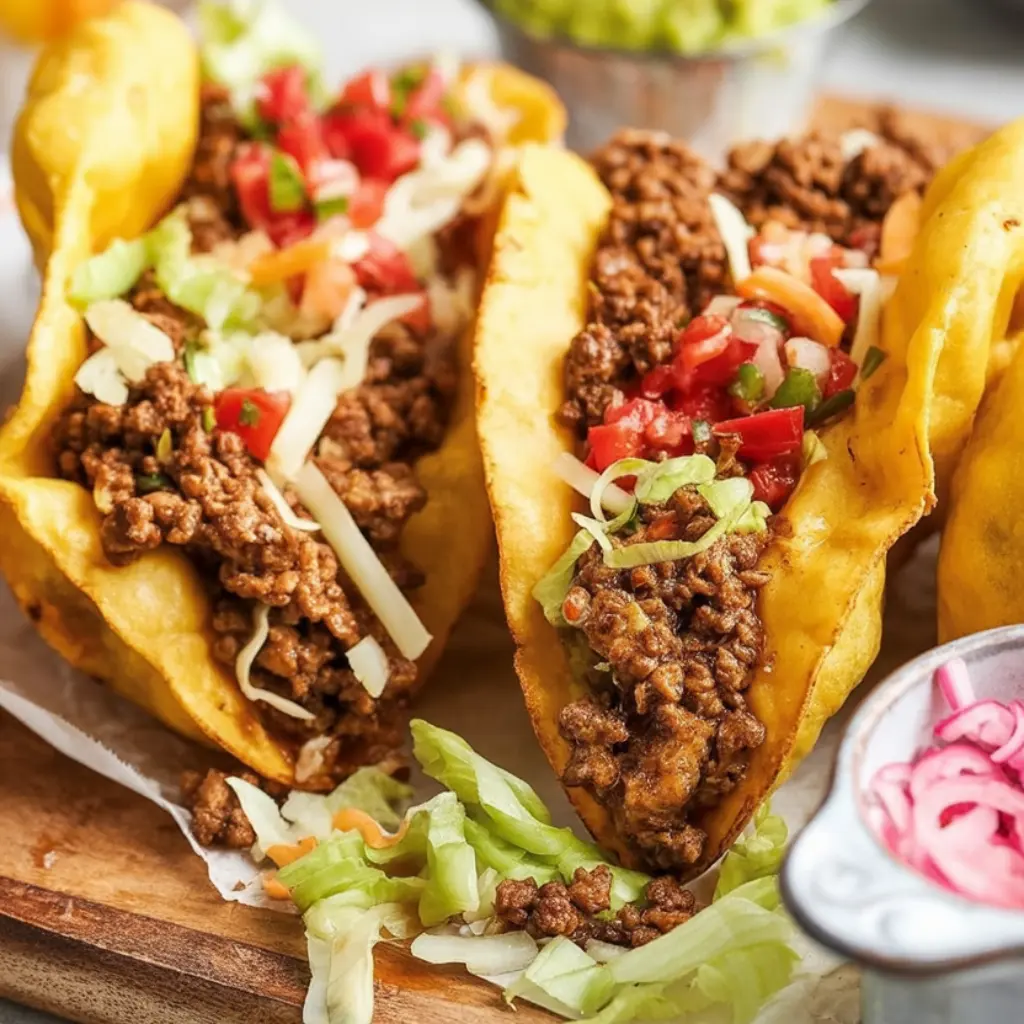
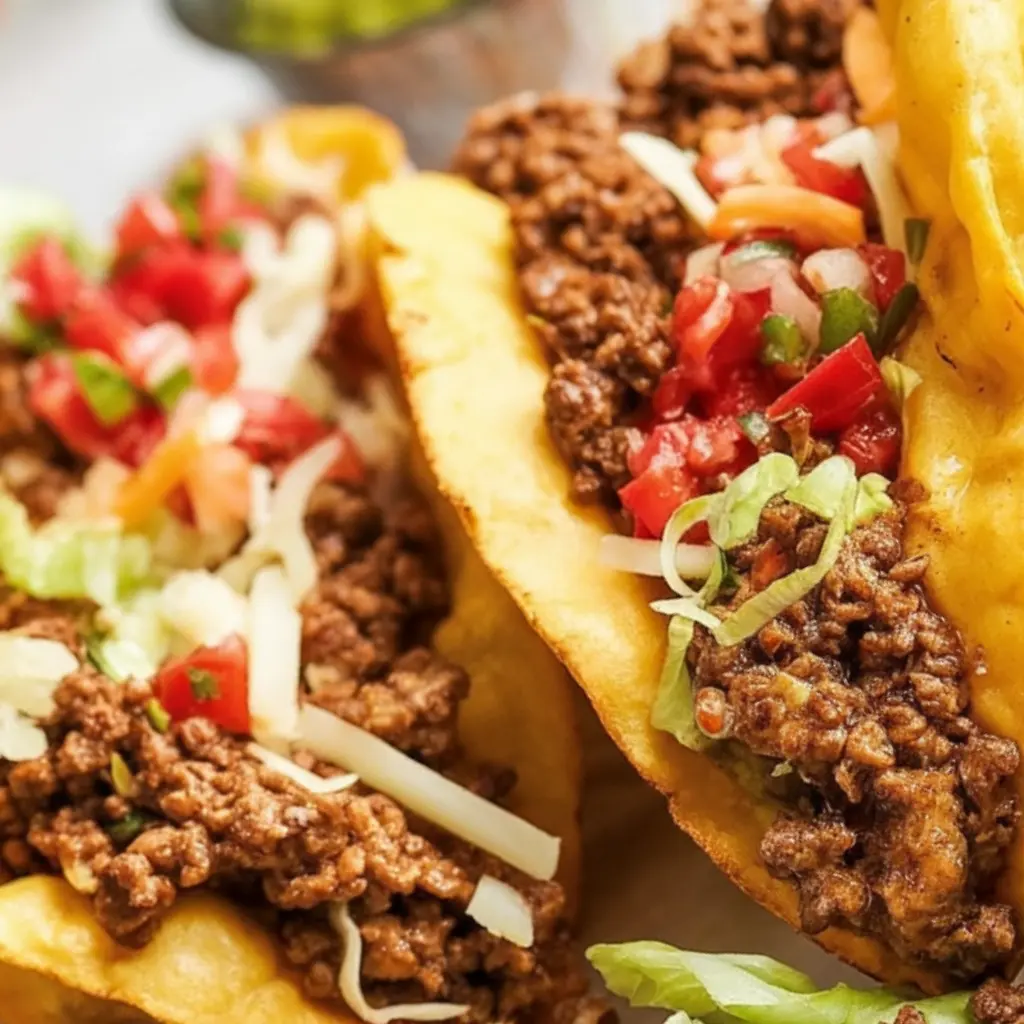
- Toppings – Shredded lettuce, diced tomatoes, cheese, sour cream, salsa, avocado—the fun part is mixing and matching.
How to Make It
Start by heating a large skillet over medium-high heat. I like to let it warm for a good minute before adding the beef—if the pan is too cool, the meat steams instead of browning, and you miss out on that rich, toasty flavor. Break up the beef as it cooks, but don’t stir constantly; let it sit long enough to get those little caramelized edges. Once the beef is mostly browned, I tilt the pan and spoon off excess grease, leaving just enough to sauté the onion. This keeps the filling flavorful without being greasy.
Add the diced onion and cook until softened and lightly golden at the edges. Then stir in the garlic and let it sizzle for about 30 seconds—long enough to release its aroma but not so long that it burns. Sprinkle in the chili powder, cumin, smoked paprika, and oregano. I always bloom my spices in the hot fat for a minute before adding liquid; it coaxes out their essential oils and makes the flavor taste fuller, almost like you’ve been simmering for hours.
Stir in the tomato paste, letting it darken slightly before pouring in the broth or water. This is when the filling comes together—the liquid binds the seasoning to the meat, and as it simmers for a few minutes, everything thickens to the perfect spoonable consistency. Taste and adjust with salt and pepper. I’ve learned not to rush this last step; sometimes all the filling needs is one more pinch of salt to really shine.
While the filling rests for a moment, warm your tortillas. My favorite method is a dry skillet over medium heat, flipping each tortilla after about 30 seconds, but on a busy night, I’ll wrap a stack in a damp towel and microwave them for 20–30 seconds. Fill each tortilla with the beef mixture, then pile on your toppings. Serve right away, while everything is warm and inviting.

Expert Tips for the Best Results
I’ve found that the key to truly memorable tacos is balance—balancing heat and richness, moisture and texture. Don’t skimp on blooming your spices; it’s the difference between flat-tasting tacos and ones that make people ask for seconds. Use fresh tortillas when you can, or at least warm them properly to bring back their suppleness. And above all, taste your filling before serving. Adjusting salt, acid, or heat at the end is the small, five-second step that makes a big difference.
Variations & Substitutions
Over the years, I’ve had plenty of fun tweaking this recipe to fit what I had on hand. One snowy night, I realized I was out of chili powder and ended up using a mix of smoked paprika and cayenne—spicier than usual, but delicious. I’ve swapped in ground chicken with a splash of soy sauce to deepen the flavor, or even lentils when I was cooking for vegetarian friends. Sometimes I’ll toss in diced bell peppers or a handful of corn to stretch the filling and add sweetness. The point is, these tacos are forgiving, and sometimes those last-minute changes lead to a new favorite version.
Serving Suggestions
These tacos shine brightest when served fresh from the skillet, but they’re flexible enough to fit any occasion. On a weeknight, I keep it simple with a side of refried beans or a quick salad. For larger gatherings, I’ll set out a taco bar with different toppings and let everyone build their own. They pair beautifully with Mexican rice, grilled vegetables, or even a chilled corn salad in the summer. And if you’re the type who loves a little crunch, a basket of tortilla chips and salsa on the side never goes amiss.
Storage & Reheating Instructions
If you find yourself with leftovers, store the cooled beef filling in an airtight container in the fridge for up to three days. I reheat it gently in a skillet with a splash of broth or water to keep it moist, though the microwave works in a pinch. The flavor actually deepens overnight, but the texture may be slightly softer, which I don’t mind at all. Tortillas are best warmed fresh, so I store those separately and heat them just before serving again.
Recipe FAQs (Answered by Clara)
Can I make this ahead of time?
You sure can. I often prepare the filling in the morning, cover it tightly, and refrigerate it. The flavors mingle as it rests, so it tastes even better later.
How spicy is this recipe?
That depends on your chili powder. Mine has a mild, earthy heat, but if yours is hotter, you can adjust by adding less and tasting as you go.
Can I freeze the taco filling?
Absolutely. Cool it completely, portion it into freezer bags, and freeze for up to three months. Thaw in the fridge and reheat gently with a splash of liquid.
What’s the best way to keep tortillas warm for a crowd?
I wrap them in a clean kitchen towel and keep them in a covered dish or tortilla warmer. They stay soft for a good half hour this way

Conclusion
Ground beef tacos may be simple, but they’ve become one of those recipes that’s woven into the fabric of my kitchen life—reliable, adaptable, and always welcome. Whether you’re feeding a family on a busy Tuesday or filling plates for a gathering of friends, they never fail to bring smiles. If you try them, I’d love to hear how you make them your own. Share your tweaks, your toppings, or even your happy accidents in the comments. And most of all, enjoy the process—you’re not just making tacos, you’re making a little moment worth remembering.
Nutrition Information (Per Serving, without toppings):
Calories: 285 | Protein: 18g | Carbohydrates: 14g | Fat: 17g | Fiber: 2g | Sodium: 410mg

Ground Beef Tacos
Ingredients
For the beef:
- 1 lb ground beef 80/20 for best flavor
- 1 tbsp olive oil optional
- 1 small onion finely chopped
- 2 cloves garlic minced
- 2 tbsp taco seasoning store-bought or homemade
- ½ cup tomato sauce or beef broth
- Salt and pepper to taste
For serving:
- 8 small corn or flour tortillas
- Shredded lettuce
- Diced tomatoes
- Shredded cheddar or Mexican blend cheese
- Sour cream
- Salsa or hot sauce
- Fresh cilantro chopped
- Lime wedges
Instructions
- Cook beef: Heat a skillet over medium heat. Add olive oil if desired, then cook onion until soft (2–3 minutes). Add garlic and cook 30 seconds.
- Brown meat: Add ground beef and cook, breaking it apart, until browned (5–6 minutes). Drain excess fat if needed.
- Season: Stir in taco seasoning and tomato sauce or broth. Simmer 3–4 minutes until slightly thickened. Adjust salt and pepper to taste.
- Warm tortillas: Heat tortillas in a dry skillet or microwave until warm and pliable.
- Assemble tacos: Spoon beef into tortillas, then top with lettuce, tomatoes, cheese, sour cream, salsa, cilantro, and lime juice.
- Serve: Enjoy immediately.
Notes
- Make-ahead tip: Cook and season the beef up to 2 days in advance, then reheat before serving.
- Healthier option: Swap ground beef for ground turkey or chicken.
- Low-carb version: Serve in lettuce cups instead of tortillas.
- Extra flavor: Add a pinch of smoked paprika or chipotle powder to the seasoning mix.

