There are some recipes that don’t come from cookbooks or Pinterest boards—they come from moments you don’t even realize are becoming memories. For me, oatmeal cookies were born out of quiet afternoons when the house felt a little too still. I started baking them years ago during a season when I needed something dependable, something warm, something that would turn out right even if the rest of the day didn’t. I remember pulling the first tray from the oven, the smell of butter and oats filling the kitchen, and thinking, Okay… this is what comfort feels like. Over the years, these cookies have followed me through busy holidays, last-minute bake sales, and countless “just because” moments. I’ve burned a few batches, made them too flat, too dry, too sweet—but I’ve learned from every mistake. These oatmeal cookies are the result of all that trial and error, and they’re the kind I still make when I want something familiar and deeply satisfying.
Why You’ll Love This Recipe
- Simple pantry ingredients you likely already have
- Soft and chewy with just the right amount of texture
- Easy to customize with add-ins you love
- Perfect for make-ahead baking and sharing
- A timeless, comforting cookie that never goes out of style
Ingredients You’ll Need
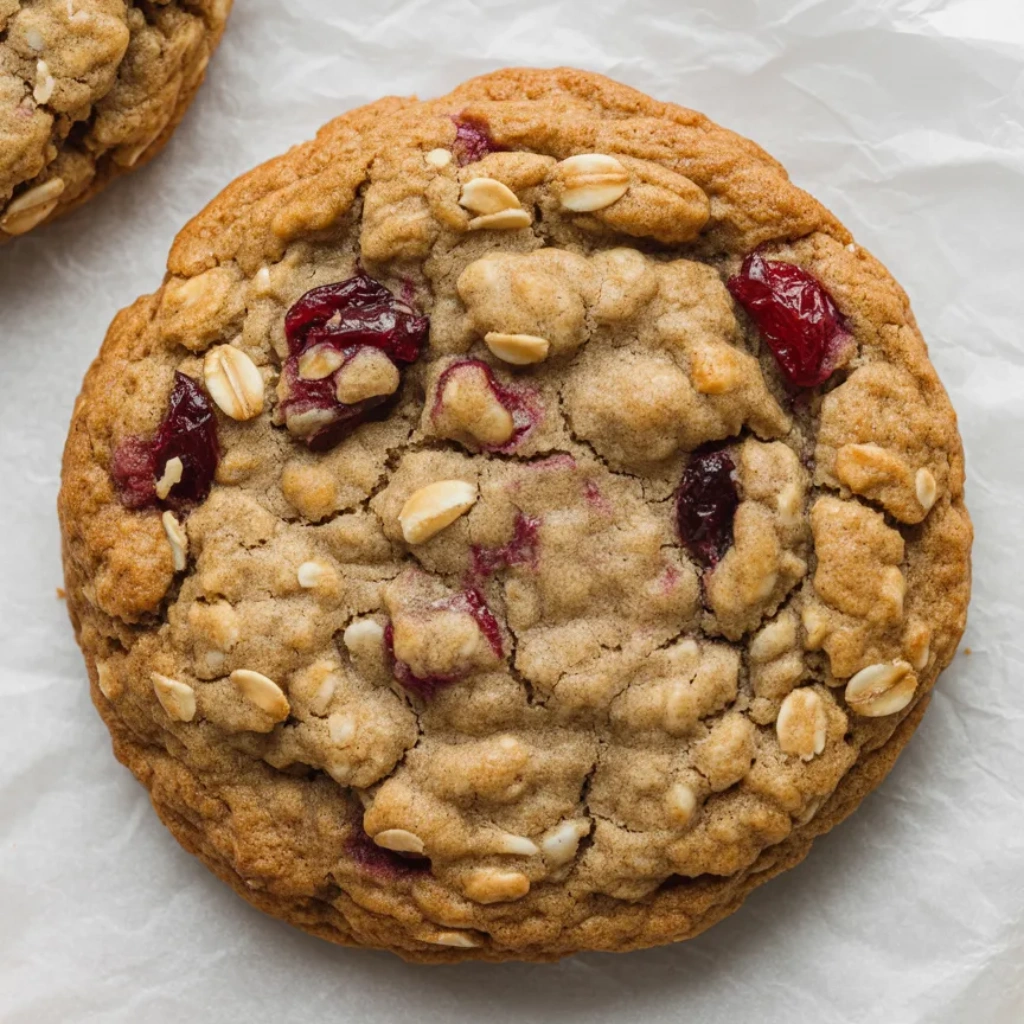
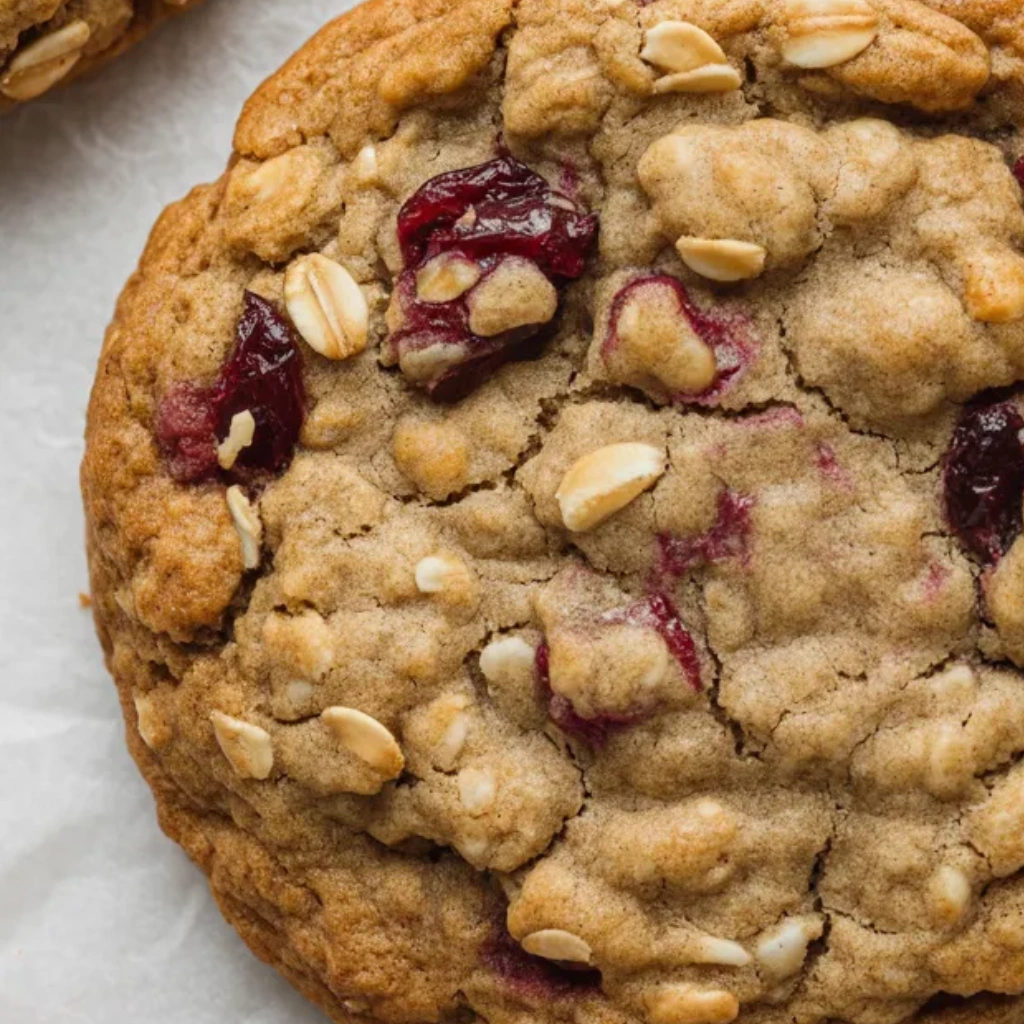
Rolled oats are the heart of these cookies. I always use old-fashioned rolled oats because they give the cookies structure and that classic chew. Quick oats will work in a pinch, but the texture won’t be quite the same, and I’ve learned that the hard way more than once. All-purpose flour keeps things simple and reliable, while baking soda gives the cookies just enough lift without making them cakey. I use a combination of brown sugar and granulated sugar—brown sugar brings moisture and that deep, caramel-like flavor, while white sugar helps the edges crisp just slightly. Unsalted butter is my go-to so I can control the salt, and I always let it soften naturally on the counter. Eggs bind everything together, and real vanilla extract adds warmth you don’t want to skip. A pinch of salt balances the sweetness, and cinnamon is optional, but I rarely leave it out—it adds a cozy note that makes these cookies feel special.
How to Make It (Step-by-Step Instructions)
Step 1:
Start by preheating your oven and lining your baking sheets with parchment paper. I used to skip parchment, thinking it was unnecessary, but once I saw how evenly it helped the cookies bake—and how much easier cleanup became—I never looked back.
Step 2:
In a medium bowl, whisk together the flour, baking soda, salt, and cinnamon. I always do this first so I’m not rushing later. It also helps distribute the baking soda evenly, which prevents those odd bites where the cookie tastes slightly off.
Step 3:
In a larger bowl, cream the softened butter with both sugars until the mixture looks light and fluffy. This step matters more than people think. I’ve rushed it before and ended up with dense cookies. Take an extra minute here—it’s worth it.
Step 4:
Add the eggs one at a time, mixing well after each. Then stir in the vanilla extract. At this point, the dough should look smooth and rich, almost like a thick caramel.
Step 5:
Gradually add the dry ingredients to the wet ingredients, mixing just until combined. Overmixing is the enemy here. I stop as soon as I don’t see dry flour anymore.
Step 6:
Fold in the rolled oats by hand. This is where the dough really comes together. If you’re adding extras like raisins, chocolate chips, or nuts, now’s the time.
Step 7:
Scoop the dough onto your prepared baking sheets, leaving room for the cookies to spread. I like slightly larger scoops because these cookies are meant to feel generous.
Step 8:
Bake until the edges are lightly golden and the centers still look soft. They may seem underdone, but trust me—they’ll finish setting as they cool. Pulling them at the right moment is the difference between soft and dry.

Expert Tips for the Best Results
After years of baking these cookies, I’ve learned that patience is just as important as ingredients. Letting the butter soften naturally instead of microwaving it prevents greasy dough, and resting the dough for even ten minutes before baking helps the oats absorb moisture, leading to better texture. Watching the cookies closely in the last few minutes is key—they should look slightly underbaked when they come out. That’s when they’re perfect.
Variations & Substitutions
Some of my best batches came from improvisation. I’ve swapped half the flour for whole wheat when that’s all I had, added chopped apples on a fall afternoon, and once used honey instead of part of the sugar during a late-night baking session. These cookies are forgiving. If you’re out of butter, a neutral oil will work, though the flavor will change slightly. Missing eggs? I’ve used a flax egg before with surprisingly good results.
Serving Suggestions
I love these cookies slightly warm, paired with a mug of coffee early in the morning or a cold glass of milk in the evening. They’re perfect for lunchboxes, road trips, or stacked on a plate for unexpected guests. During the holidays, I’ll tuck them into cookie tins, but honestly, they shine just as much on an ordinary day.
Storage & Reheating Instructions
Once cooled, I store these cookies in an airtight container on the counter, where they stay soft for several days. If they start to dry out, a quick 10-second warm-up in the microwave brings them right back. I often freeze the dough in scoops, which makes fresh cookies possible anytime—I just add an extra minute to the bake time.
Recipe FAQs (Answered by Clara)
Can I make this ahead of time?
Absolutely. I often make the dough the night before and keep it covered in the fridge. The flavor actually deepens overnight, and baking them the next day feels effortless.
What’s the best tool for shaping the cookies?
I usually use a simple cookie scoop or even a tablespoon. I’ve tried fancy tools, but consistency matters more than anything, and a scoop keeps the cookies baking evenly.
Can I serve them warm?
Yes—and I encourage it. Fresh from the oven or gently reheated, they’re soft, comforting, and hard to resist.
How do I keep them from spreading too much?
Chilling the dough for a short time helps, and making sure your butter isn’t overly soft makes a big difference. I learned that lesson after a tray of very flat cookies one summer afternoon.
Conclusion
These oatmeal cookies have been with me through so many seasons of life, and I still feel a small sense of joy every time I bake them. They’re reliable, forgiving, and endlessly adaptable—just like the best recipes should be. I hope you give them a try, make them your own, and maybe even pass them along to someone you love. If you do, I’d love to hear how they turned out for you.
Nutrition Information (Per Cookie, Approximate)
Calories: 180
Carbohydrates: 26g
Protein: 3g
Fat: 8g
Sugar: 14g

Oatmeal Cookies
Ingredients
- 1 cup unsalted butter softened
- 1 cup brown sugar
- ½ cup granulated sugar
- 2 large eggs
- 1 teaspoon vanilla extract
- 1½ cups all-purpose flour
- 1 teaspoon baking soda
- 1 teaspoon cinnamon
- ½ teaspoon salt
- 3 cups old-fashioned rolled oats
- Optional add-ins: raisins chocolate chips, chopped nuts
Instructions
- Preheat oven to 350°F (175°C).
- Cream butter and sugars until light and fluffy.
- Beat in eggs one at a time, then add vanilla.
- In a separate bowl, whisk flour, baking soda, cinnamon, and salt.
- Gradually mix dry ingredients into wet ingredients.
- Stir in oats and optional add-ins.
- Scoop dough onto lined baking sheets, spacing evenly.
- Bake for 10–12 minutes until edges are lightly golden.
- Cool on baking sheet for 5 minutes before transferring to a wire rack.
Notes
- Chewy texture: Do not overbake; centers should look slightly underdone.
- Healthier option: Substitute half the flour with whole wheat flour.
- Flavor boost: Add nutmeg or orange zest.
- Storage: Store in an airtight container up to 5 days.
- Freezer-friendly: Freeze dough balls for up to 3 months.