
It was the second week of September—one of those bridge weeks between summer and fall—when the days still feel warm but the evenings start whispering about sweaters and earlier dinners.
I remember standing in my little kitchen, flipping through an old, handwritten recipe book my mother had passed down to me, its pages stained with sauce splatters and time. That night, I was craving something comforting but not heavy, flavorful but not fussy. That’s when I saw it, scribbled faintly in the corner of a yellowing page: “Parmesan Chicken – crispy edges – try again w/ garlic next time.” It was my own note from years ago, from a time when I was still learning how not to burn the crust. And just like that, dinner had a plan.
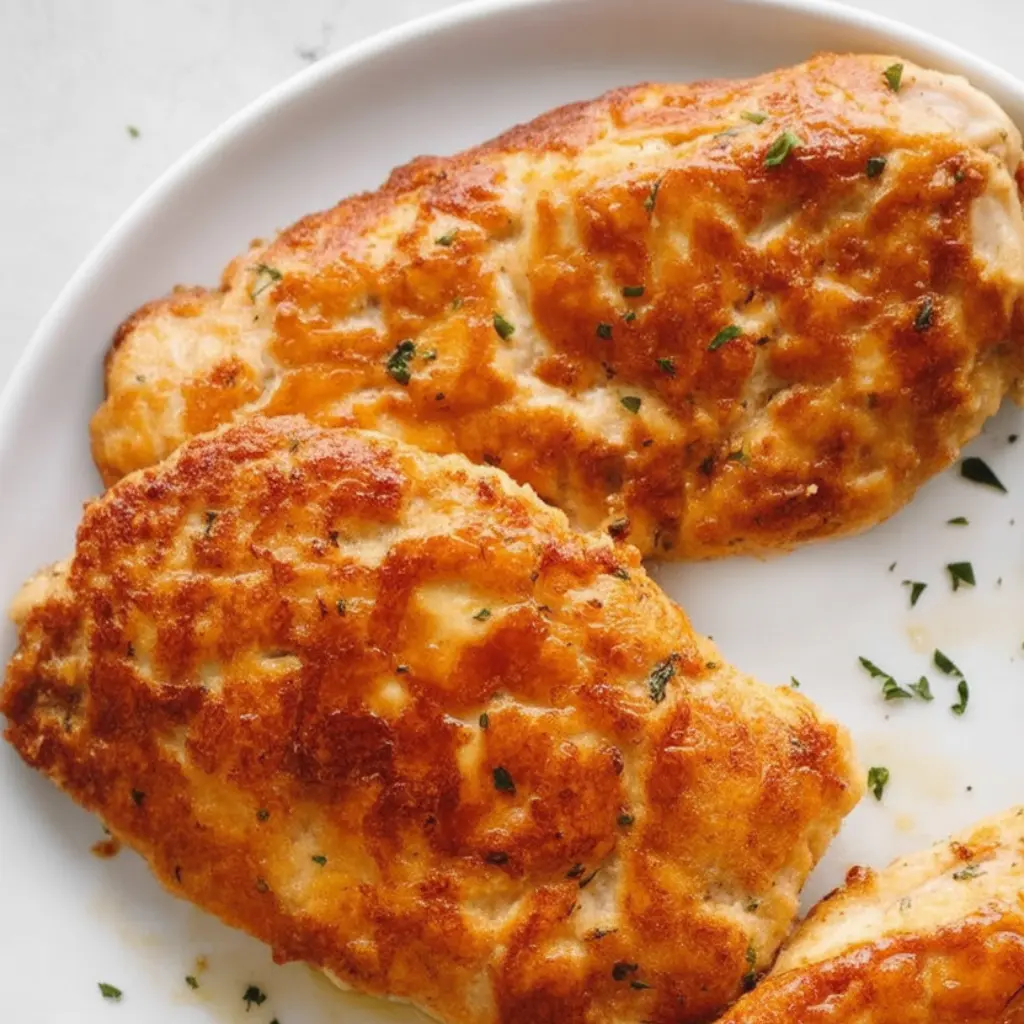
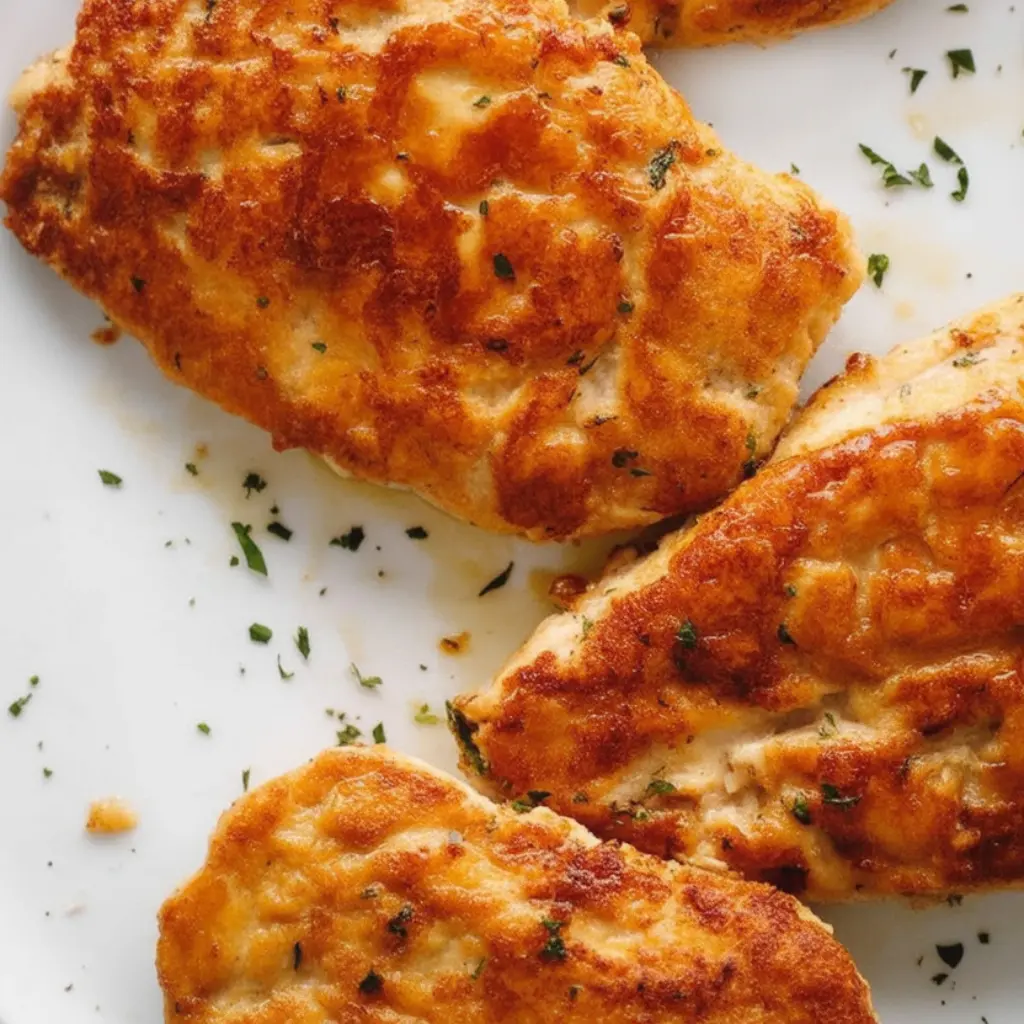
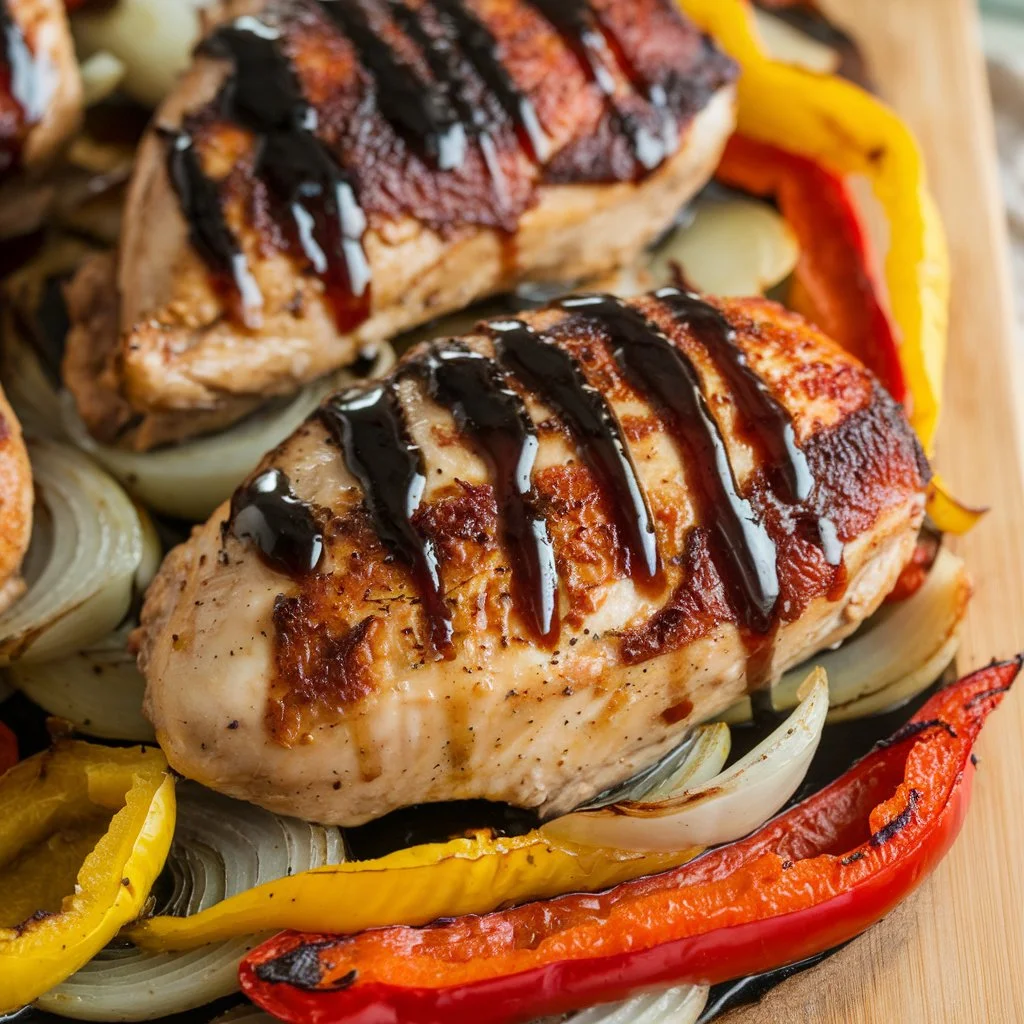
What came out of the oven that evening was simple but unforgettable: a golden, crispy parmesan crust wrapped around tender chicken—just salty enough, perfectly savory, and done in under an hour.
I served it with a quick green salad and roasted potatoes, and my husband went quiet with that first bite. That’s when I knew it was a keeper. Since then, I’ve made this recipe more times than I can count—sometimes for Sunday dinner, sometimes on a busy Wednesday when I only have 30 minutes and a single chicken breast left in the fridge. It never disappoints.
Why You’ll Love This Recipe:
- Crispy, cheesy crust with just the right crunch
- Quick and easy to make on weeknights
- Family-friendly and picky-eater approved
- Uses pantry staples—no fancy ingredients needed
- Great for meal prep and reheats beautifully
Ingredients You’ll Need:
Chicken breasts – Boneless, skinless, and sliced evenly for faster, more even cooking. If yours are thick, I suggest halving them horizontally. I’ve also made this with boneless thighs when that’s what I had—delicious, just a bit juicier and with more cooking time.
Parmesan cheese – Freshly grated is key here. The kind in the green can won’t melt or crisp the same way. I like to use a microplane grater so it’s fluffy and light, which helps it stick to the coating.
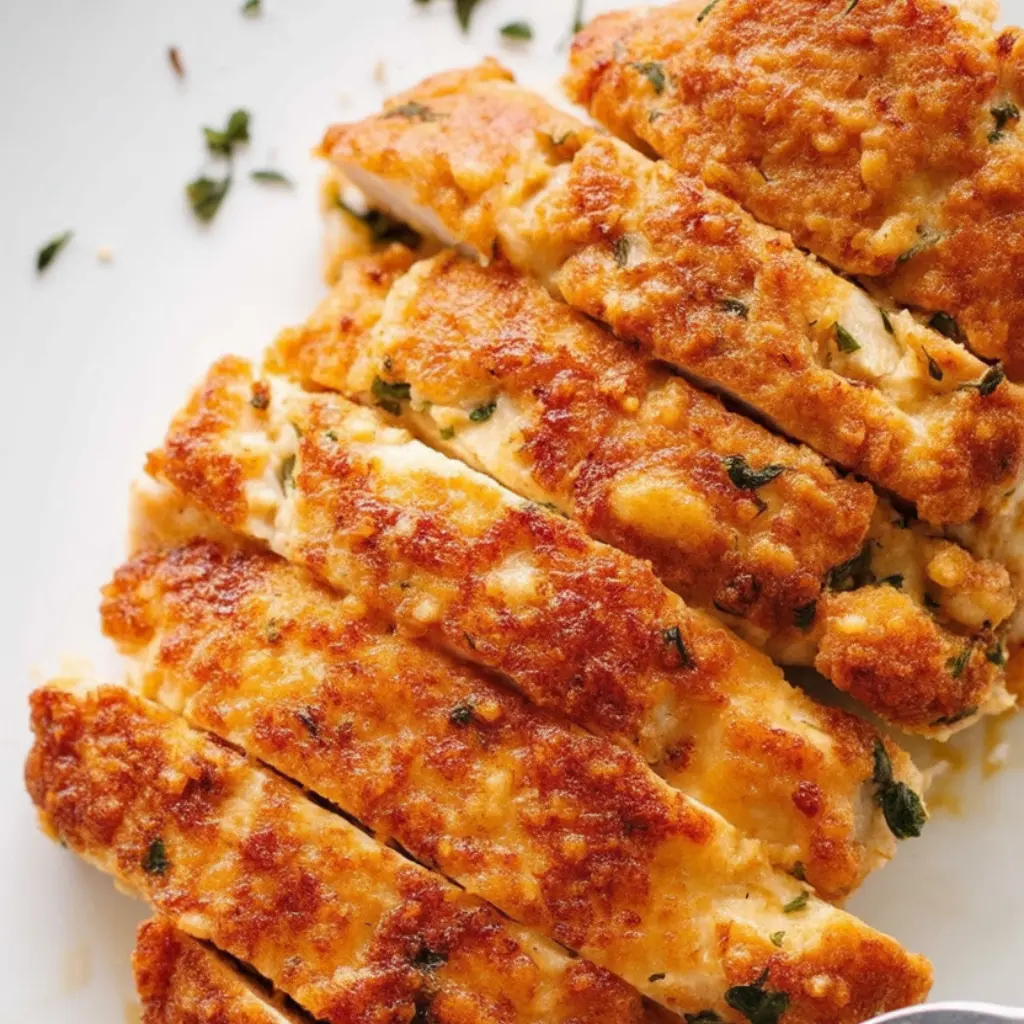
Panko breadcrumbs – They give a better crunch than regular breadcrumbs. I mix them with the parmesan for that signature golden crust. If all you have is regular breadcrumbs, it’ll still work, just not quite as crispy.
All-purpose flour – A light dredge before the egg helps everything stick. I’ve skipped it before and the crust didn’t hold as well, so I recommend keeping it in.
Eggs – Helps bind everything together. One or two eggs, beaten well, depending on how much chicken you’re making.
Garlic powder and paprika – My go-to seasonings for this recipe. They’re subtle but round out the flavor. I’ve added a pinch of cayenne before for a little heat, and that works too.
Salt and pepper – Always, always season your chicken. I do it before dredging to make sure the flavor goes all the way through.
Olive oil or neutral oil for pan-frying – I use olive oil most days, but any light cooking oil will do. Don’t skimp—you want a good shallow fry for that crispy finish.
How to Make It (Step-by-Step Instructions):
Start by prepping your chicken. If your breasts are thick, slice them lengthwise into thinner cutlets. I place them between two pieces of parchment and give them a light pound with my rolling pin—not to flatten them, but just to even them out. Season both sides with salt and pepper. Don’t rush this part. Seasoned meat makes all the difference.
Set up your breading station with three shallow bowls: one for flour, one for the beaten eggs, and one with your parmesan and panko mixture. I mix in the garlic powder and paprika here too, right into the breadcrumb bowl. Dredge each piece of chicken lightly in flour, shake off the excess, dip into the egg, and then press it firmly into the parmesan-panko mixture. I’ve learned to really press it in—don’t just coat it. You want that crust to stick.
Heat your oil in a large skillet over medium heat. I test the heat by dropping in a breadcrumb—if it sizzles, it’s ready. Carefully lay your chicken pieces in the pan, working in batches if needed. Don’t crowd the skillet. Let them cook about 4–5 minutes per side, or until golden and cooked through. Resist the urge to move them around too much. Let them get that color.
Once done, I transfer them to a wire rack set over a sheet pan to rest for a few minutes. This keeps them crisp, not soggy. If I’m cooking for a crowd or need to hold them while finishing sides, I pop them in a warm oven (around 200°F) to keep them hot.
Expert Tips for the Best Results:
After making this recipe more times than I can count, I’ve found that the key is in the breading technique and the pan temperature. Pressing the parmesan mixture onto the chicken firmly helps create that signature crust that won’t flake off in the pan. Also, don’t rush the cooking—medium heat gives the crust time to crisp without burning the cheese. If you go too hot, the parmesan can scorch before the chicken’s cooked through. And finally, use a wire rack after frying; laying the chicken directly on a plate traps steam and softens the crust.
Variations & Substitutions:
One night I was out of panko and used crushed cornflakes instead—they made a slightly sweeter, crunchier crust that my kids actually loved. Another time, I mixed in some finely chopped fresh rosemary and lemon zest into the breadcrumbs, which added a bright, savory twist. If you’re dairy-free, I’ve done this with nutritional yeast in place of parmesan, and it surprisingly held up pretty well. Not quite the same richness, but it worked in a pinch. And I’ve swapped chicken for pork cutlets more than once—it’s just as satisfying.
Serving Suggestions:
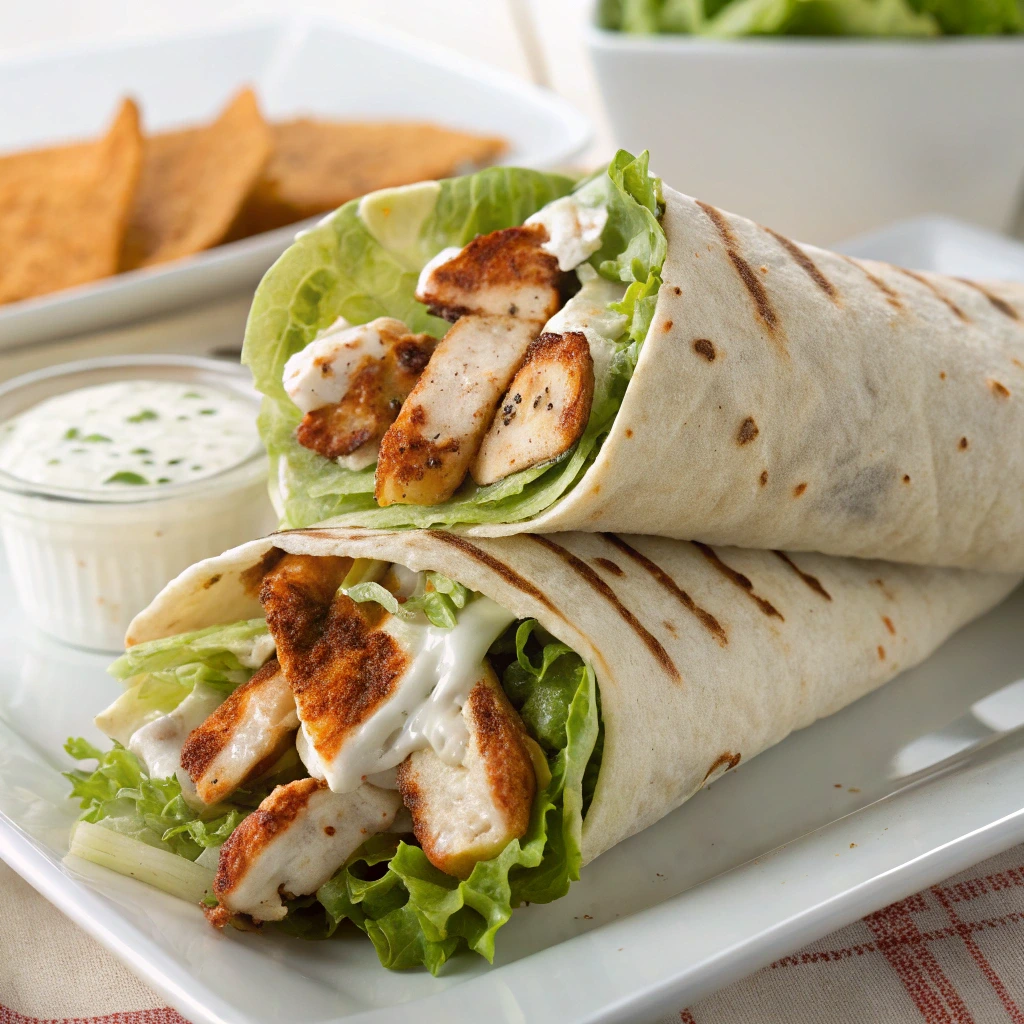
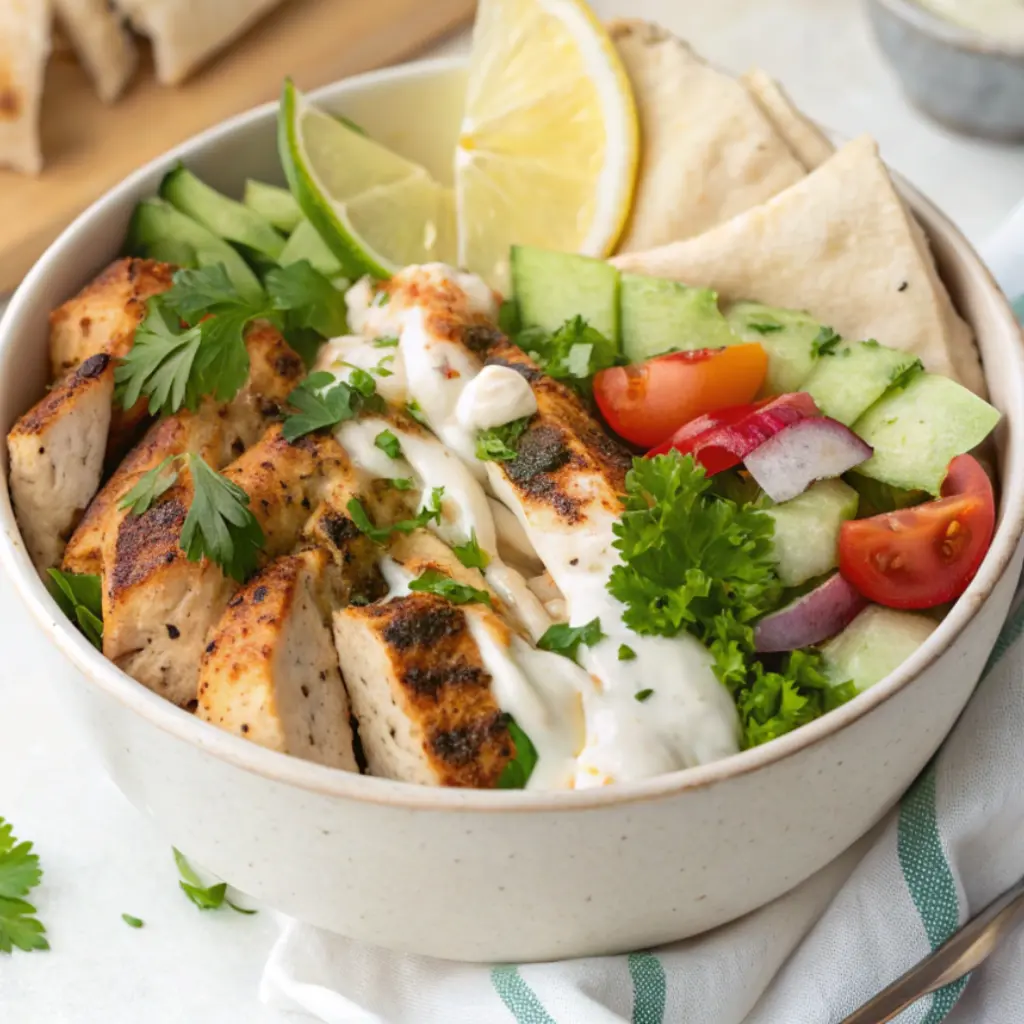
I often serve this chicken with a big green salad and roasted vegetables, especially when I want something easy and wholesome. If I’m feeling a little indulgent, I’ll whip up a pot of mashed potatoes or a buttery pasta on the side. It’s a great dinner party option too, paired with a crisp white wine and some warm bread. Honestly, this recipe fits anywhere—busy weeknight, cozy Sunday, or even as cold leftovers in a sandwich the next day.
Storage & Reheating Instructions:
I usually store leftovers in an airtight container in the fridge for up to three days. To reheat, I skip the microwave and use the oven or a skillet—about 10 minutes at 350°F, or a few minutes in a hot pan to bring back that crispy texture. The crust won’t be exactly the same as day one, but it’s still flavorful and satisfying. If I know I’ll be reheating, I avoid stacking the pieces when storing to help keep them from getting soggy.
Recipe FAQs (Answered by Clara):
Can I bake this instead of frying it?
Yes, you can. I’ve done it at 425°F on a parchment-lined baking sheet with a drizzle of oil. It won’t get quite as crisp, but it’s still delicious and less cleanup.
Can I freeze parmesan crusted chicken?
You can, though I find the crust softens a bit after thawing. If you do freeze it, reheat it in the oven straight from frozen at 375°F until hot and crisp.
Do I need to marinate the chicken first?
Not for this recipe. The seasoning and crust bring plenty of flavor. That said, I’ve soaked it in buttermilk once or twice when I had time, and it added a nice tenderness.
What can I use as an alternative to eggs?
I’ve used plain Greek yogurt thinned with a little milk when I was out of eggs. It helped the crust stick, though the flavor was slightly tangier.
There’s something timeless about Parmesan-crusted chicken. It’s not flashy or trendy—but it’s reliable, comforting, and always hits the spot. I hope this recipe finds a place in your kitchen the way it has in mine. Whether you’re cooking for your family, yourself, or someone special, there’s joy in watching simple ingredients come together into something golden and good. If you give it a try, I’d love to hear how it turned out. Leave a comment, share your tweaks, or just tell me what you served it with. And most of all, enjoy the cooking—it’s the best part.
Nutrition Information (per serving, approx.):
Calories: 390 | Protein: 34g | Carbohydrates: 12g | Fat: 22g | Fiber: 1g | Sodium: 520mg

Parmesan Crusted Chicken
Ingredients
- 2 large boneless skinless chicken breasts (cut horizontally into 4 thin cutlets)
- Salt and pepper to taste
- ½ cup all-purpose flour
- 2 large eggs beaten
- 1 tablespoon milk
- ¾ cup grated Parmesan cheese
- ¾ cup breadcrumbs panko or Italian-style
- ½ teaspoon garlic powder
- ½ teaspoon paprika
- 2 tablespoons olive oil or more for pan-frying
- Optional: lemon wedges and parsley for serving
Instructions
- Prep the chicken: Season both sides of chicken cutlets with salt and pepper.
- Coat the chicken: Dredge each chicken piece in flour, dip in egg mixture, then coat with the Parmesan-breadcrumb mixture. Press gently to adhere.
- Pan-fry method: Heat oil in a large skillet over medium heat. Cook chicken for 4–5 minutes per side until golden brown and cooked through (internal temp 165°F / 74°C). Transfer to a paper towel-lined plate.
- Bake method (optional): Preheat oven to 425°F (220°C). Place breaded chicken on a greased baking sheet. Spray tops with oil. Bake 18–20 minutes, flipping halfway, until crisp and cooked through.
- Serve: Garnish with parsley and lemon wedges. Serve warm over pasta, salad, or with vegetables.
Notes
- Use freshly grated Parmesan for the best flavor and texture.
- For extra crunch, use panko breadcrumbs.
- Add Italian seasoning to the breadcrumb mix for a herb-forward flavor.
- Leftovers can be reheated in the oven or air fryer to maintain crispiness.

Leave a Reply