I still remember the first time I tried to make potato wedges at home. I had this picture in my head—crispy edges, fluffy centers, just the right amount of seasoning—and what I pulled out of the oven was… well, let’s just say they were more soft than crisp, and a little too pale to be exciting. I almost gave up on them entirely. But something about potato wedges feels like home to me—simple, humble, and comforting in a way that never gets old. So I kept trying, tweaking little things each time, learning what works and what really doesn’t. Over the years, this version became my go-to. It’s the one I make when friends come over, when I need something easy after a long day, or when I just want a tray of something warm and satisfying straight from the oven. If you’ve ever struggled to get that perfect crisp at home, I promise you—you’re closer than you think.

Why You’ll Love This Recipe
- Made with simple, budget-friendly ingredients you likely already have
- Perfectly crispy on the outside and soft on the inside
- No deep frying required—just a hot oven and a good technique
- Easy to customize with your favorite spices
- Great as a side dish, snack, or even a casual main
- Holds up well for leftovers and reheats beautifully
Ingredients You’ll Need
- 4 large russet potatoes
I always reach for russets because they have that starchy texture that crisps up beautifully. I’ve tried Yukon Gold in a pinch—they’re good, just a bit softer. - 3 tablespoons olive oil
Don’t skimp here. Oil is what helps create that golden, crisp exterior. I’ve tried using less, and it just doesn’t give the same result. - 1 teaspoon salt
Adjust to taste, but don’t be shy. Potatoes need proper seasoning. - 1 teaspoon paprika
This adds a warm color and a subtle depth. Sometimes I use smoked paprika for a deeper flavor. - 1 teaspoon garlic powder
A must for me. It gives that savory note without overpowering. - ½ teaspoon black pepper
Freshly cracked if you can—it really makes a difference. - Optional: ½ teaspoon dried oregano or thyme
I like adding this when I want a slightly herby flavor. - Optional: 2 tablespoons cornstarch
This is one of those tricks I learned later. It helps create an extra crisp coating, especially if your oven tends to run a bit cooler.
How to Make It (Step-by-Step Instructions)
Step 1: Prep the potatoes
Start by washing and scrubbing your potatoes well. I like to leave the skin on—it adds texture and flavor. Cut each potato in half lengthwise, then cut each half into wedges. I usually aim for 6–8 wedges per potato, depending on size. Try to keep them fairly even so they cook at the same rate.
Step 2: Soak for better texture
This step made a huge difference for me. Place the cut wedges in a bowl of cold water and let them soak for at least 30 minutes. If I have time, I let them sit for an hour. This helps remove excess starch, which is key for getting that crisp exterior.
Step 3: Dry thoroughly
Drain the potatoes and pat them completely dry with a clean kitchen towel. I mean really dry—any leftover moisture will steam them instead of crisping them. This is one of those small details that makes a big difference.
Step 4: Season and coat
Transfer the dried wedges to a large bowl. Drizzle with olive oil, then sprinkle in the salt, paprika, garlic powder, pepper, and any optional herbs. If you’re using cornstarch, sprinkle it in now. Toss everything together until the wedges are evenly coated. I usually use my hands for this—it’s the easiest way to make sure every piece gets a little love.
Step 5: Arrange properly
Preheat your oven to 220°C (425°F). Line a baking sheet with parchment paper or lightly grease it. Spread the wedges out in a single layer, making sure they’re not overcrowded. This is important—if they’re too close together, they’ll steam instead of crisp.
Step 6: Bake to golden perfection
Bake for 20 minutes, then flip each wedge carefully. I know it’s a bit tedious, but it’s worth it for even browning. Return them to the oven and bake for another 15–20 minutes, or until they’re golden brown and crispy on the edges.
Step 7: Serve warm
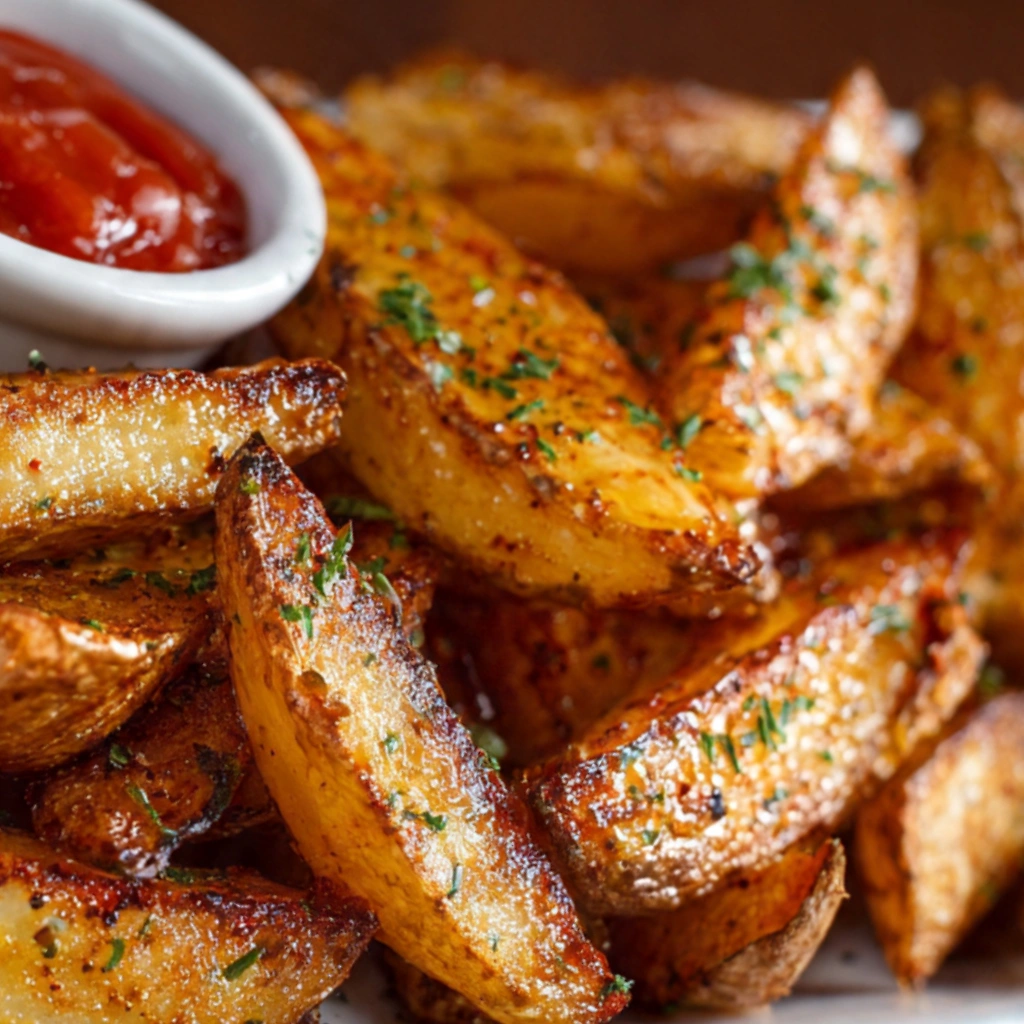
Once out of the oven, I like to sprinkle a tiny bit more salt while they’re still hot. It clings better and brings everything together.
Expert Tips for the Best Results
Over time, I’ve learned that great potato wedges aren’t about fancy ingredients—they’re about respecting the small steps. Drying the potatoes properly is probably the most important thing I can emphasize because even a little moisture can undo all your effort. A hot oven is non-negotiable too; if your oven runs cool, let it preheat longer than you think. And don’t rush the spacing on the tray—I’ve made that mistake more times than I’d like to admit, piling them too close together when I’m in a hurry, and they always come out softer than I want. If you really want that extra crisp, the cornstarch trick works wonders, but even without it, good technique will get you very close.
Variations & Substitutions
There have been plenty of evenings where I opened my spice cabinet and realized I was missing something, and honestly, that’s where some of my favorite variations came from. I’ve used curry powder instead of paprika for a warm, spiced version, and once even tossed them with a little grated parmesan halfway through baking, which created this salty, crispy crust that disappeared almost immediately from the tray. If you don’t have olive oil, a neutral oil works just fine, though I find olive oil adds a bit more flavor. Sweet potatoes can be used too, though they behave a little differently—they won’t get quite as crisp, but they bring a natural sweetness that’s lovely in its own way.
Serving Suggestions
Potato wedges have a way of fitting into just about any meal without feeling out of place. I serve them alongside roasted chicken on quiet weeknights, or with burgers when friends come over and everything is a bit more casual and lively. Sometimes, I’ll just make a tray of wedges with a few dipping sauces—ketchup, garlic mayo, maybe something spicy—and call it a night. They’re the kind of food that invites people to gather around the table, reaching for one more piece without thinking twice.
Storage & Reheating Instructions
If you happen to have leftovers—which doesn’t always happen in my house—store them in an airtight container in the fridge for up to three days. When it comes to reheating, the oven is your best friend. Spread them out on a baking sheet and heat at 200°C (400°F) for about 10–15 minutes until they’re warmed through and crisp again. I’ve tried microwaving them before, and while it works in a pinch, you lose that texture that makes them so good in the first place. Expect them to be slightly less crisp than fresh, but still very enjoyable.
Recipe FAQs (Answered by Clara)
Can I make this ahead of time?
You sure can. I often cut and soak the potatoes earlier in the day, then drain and dry them just before baking. It makes the whole process feel a lot easier when you’re ready to cook.
What’s the best spiralizer to use?
For this recipe, you won’t need one at all. A good sharp knife does the job perfectly. I’ve found that hand-cut wedges have a more natural shape, which actually helps them crisp better.
Can I serve it cold?
You can, but I’ll be honest—they’re at their best when warm and fresh from the oven. Cold wedges tend to lose that crisp edge, though I’ve still snacked on them straight from the fridge without much complaint.
How do I make it less watery?
The key is soaking and drying properly. Removing excess starch and making sure the potatoes are completely dry before baking will prevent that soft, almost watery texture.
Conclusion
There’s something deeply satisfying about getting a simple recipe just right, and potato wedges are a perfect example of that. They don’t ask for much—just a little patience, a bit of attention, and a willingness to learn from the process. If you give these a try, I hope they become a staple in your kitchen the way they have in mine. And if you find your own little twist or trick along the way, I’d love to hear about it. That’s how the best recipes grow—one kitchen, one story at a time.
Nutrition Information (Optional)
Per serving (approximate):
- Calories: 220
- Carbohydrates: 32g
- Protein: 4g
- Fat: 9g
- Fiber: 3g
- Sodium: 300mg
Potato Wedges
Ingredients
- 4 large russet potatoes cut into wedges
- 2 tablespoons olive oil
- 1 teaspoon paprika
- 1 teaspoon garlic powder
- ½ teaspoon onion powder
- ½ teaspoon salt
- ½ teaspoon black pepper
- ½ teaspoon dried oregano or Italian seasoning optional
Instructions
- Preheat oven to 425°F (220°C).
- Wash and scrub potatoes, then cut into evenly sized wedges.
- (Optional) Soak wedges in cold water for 20 minutes, then dry thoroughly for extra crispiness.
- In a large bowl, toss wedges with olive oil and seasonings.
- Arrange wedges in a single layer on a baking sheet, skin-side down if possible.
- Bake for 30–35 minutes, flipping halfway through, until golden and crispy.
- Serve hot with your favorite dipping sauces.
Notes
- Extra crispy: Don’t overcrowd the pan and dry potatoes well before baking.
- Air fryer option: Cook at 400°F (205°C) for 18–22 minutes, shaking halfway.
- Flavor variations: Try Cajun seasoning, parmesan, or lemon pepper.
- Serving ideas: Pair with ketchup, ranch, garlic aioli, or cheese sauce.
- Storage: Best fresh, but can be reheated in oven or air fryer.