
It was the summer I learned that waiting can be an ingredient all its own. The window unit in our tiny Chicago apartment rattled day and night, but it never stood a chance against the July heat. My then-toddler, Nora, had discovered the word “ice-cream” and practiced it every fifteen minutes with the conviction of a born negotiator. I was fresh off a tight grocery budget and determined to stretch every dollar, so store-bought pints felt like a splurge I couldn’t justify. One sticky afternoon, after Nora had nodded off for her nap, I rummaged through the fridge and realized I already owned everything I needed: milk, cream, eggs, sugar, and the lonely vanilla bean left from holiday baking. I whisked, chilled, churned—and three agonizing hours later, I watched Nora take her first spoonful of what has since become our family’s “house flavor.” She turned to me with a grin that outshone the afternoon sun and whispered, “More.” That single word launched a ritual I’ve repeated hundreds of times, tweaking here, adjusting there, but always returning to the same silken scoop that tastes like childhood summers stretched into forever.

Why You’ll Love This Recipe
- Five pantry-friendly ingredients—no specialty shopping required
- Hands-on time under 20 minutes; the freezer does the rest
- Rich custard base means no icy shards, even after days in the freezer
- Scales up beautifully for parties or down to a cozy pint
- Naturally gluten-free and easy to adapt for most dietary needs
- A perfect blank canvas for mix-ins, sauces, and late-night cravings
Ingredients You’ll Need
2 cups (480 ml) heavy cream – The backbone of richness; I’ve swapped in half-and-half during lean weeks, but you’ll sacrifice a touch of silk.
1 cup (240 ml) whole milk – Anything less than 3.25 % fat can make the texture slightly brittle. If you only have 2 %, add an extra tablespoon of cream.
¾ cup (150 g) granulated sugar – White sugar keeps the flavor clean. I once tried turbinado; delicious, but it muted the vanilla’s floral notes.
5 large egg yolks – Yes, yolks. They’re the secret to custard’s velvety body. Save the whites for tomorrow’s omelet or a pavlova.
1 plump vanilla bean (or 1 tablespoon high-quality vanilla paste, or 2 teaspoons pure extract) – Split and scrape every aromatic seed. If you use extract, stir it in after cooking so the alcohol doesn’t evaporate off.
Big pinch of fine sea salt – Optional, but a little salt sharpens sweetness and rounds out flavor.
Clara’s note: If dairy is off the table, full-fat canned coconut milk plus a teaspoon of neutral oil mimics cream shockingly well. You’ll catch a whisper of coconut, but my vegan neighbor swears it’s a feature, not a bug.
How to Make It (Step-by-Step Instructions)
- Warm the base. In a medium saucepan, whisk together cream, milk, half the sugar, the salt, and the scraped vanilla seeds (toss the pod in too—waste not). Set over medium heat until it’s steaming but not quite simmering. Tiny bubbles on the edges are your cue; an actual boil can curdle dairy and dull vanilla.
- Whisk the yolks. Meanwhile, in a heat-proof bowl, whisk the yolks with the remaining sugar until the mixture lightens from sunflower yellow to the shade of pale butter. That airy color means sugar crystals have started dissolving, giving you a smoother custard later.
- Temper without terror. This is the moment that once sent me into sweats: slowly ladle a third of the hot cream into the yolks, whisking constantly. Rush it, and you’ll end up with sugary scrambled eggs; take your time, and the yolks relax into silky compliance.
- Cook to nappe. Pour the tempered yolk mixture back into the pot. Switch to a wooden spoon and stir over low heat until the custard thickens enough to coat the back of the spoon. Drag your finger through the film—if the line holds clean, you’re done. My kitchen thermometer usually reads between 175 °F and 180 °F (79 °C–82 °C). Go higher, and the proteins tighten into lumps.
- Strain and chill hard. Fish out the spent vanilla pod (wash and dry it for homemade vanilla sugar). Strain the custard through a fine-mesh sieve into a clean bowl—this catches any knotty protein bits you may have missed. Press a piece of parchment or plastic wrap directly onto the surface to prevent a skin, then refrigerate for at least four hours. Overnight is better; patience builds flavor.
- Churn with confidence. When the custard is thoroughly cold (below 40 °F/4 °C), pour it into your ice cream maker and churn per the manufacturer’s instructions. Mine takes about 20 minutes to reach soft-serve thickness. Resist the urge to over-churn; too much air will cause your ice cream to taste fluffy instead of luscious.
- Freeze firm. Scrape the soft ice cream into a chilled loaf pan or lidded quart container. Smooth the top, press parchment against the surface, and freeze for at least two hours. The texture transforms from soft clouds to scoopable satin.
Expert Tips for the Best Results
Chill everything—bowl, churn canister, even the spatula—because low temperatures fend off ice crystals before they hatch. Stream your hot cream into yolks in a slow ribbon rather than a waterfall; this keeps proteins from seizing. If you crave that elusive “ice-cream-shop chew,” add a teaspoon of powdered milk to the warm base to bump up milk solids. Finally, let the finished ice cream sit at room temp for three to five minutes before scooping; it wakes up the vanilla perfume and protects your wrist from heroic digging.
Variations & Substitutions
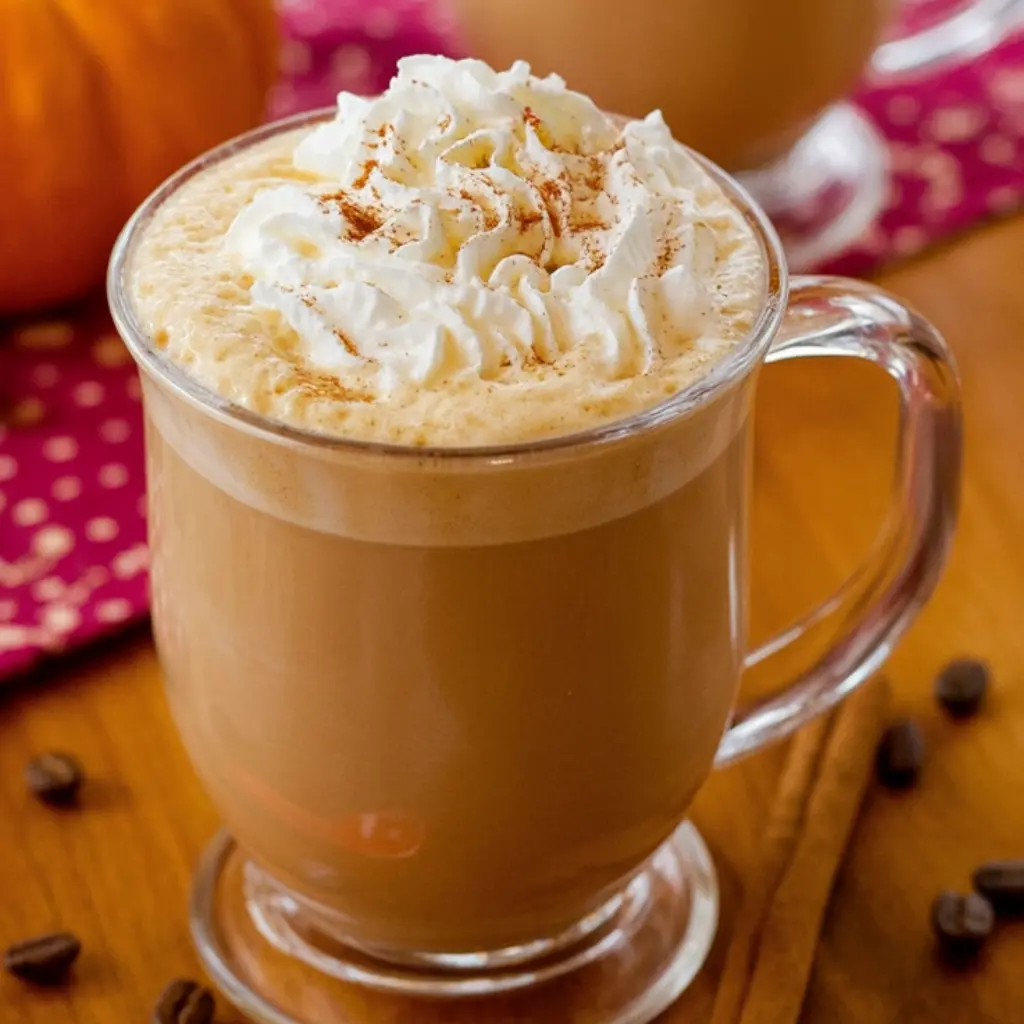
On rainy evenings I’ve whisked two tablespoons of instant espresso into the hot cream, creating a gentle latte hue that disappears alarmingly fast from the freezer; chopped dark chocolate folded in during the last minute of churning turns the base into classic stracciatella; a swirl of strawberry jam gives retro diner vibes; bourbon lovers can splash in a tablespoon of their favorite bottle (alcohol lowers freezing point, yielding dreamy softness); and when eggs ran short during 2020’s scramble-for-groceries, I swapped the yolks for three tablespoons of cornstarch and still earned a thumbs-up from my brutally honest teenagers.
Serving Suggestions
I love scooping this vanilla alongside warm fruit pies where it puddles into the crust, or plopping a generous quenelle over espresso for an affogato that feels fancier than it is; dress it up with macerated peaches in July or sprinkle toasted pecans and maple syrup for a late-autumn sundae; when birthdays roll around, I sandwich slabs between chewy chocolate-chip cookies and refreeze them for portable desserts that disappear before the candles are blown out.
Storage & Reheating Instructions
Homemade ice cream keeps best in a shallow, airtight container pressed with parchment to block freezer burn; stored at a steady 0 °F (-18 °C), it tastes fresh for up to two weeks, though ours rarely survives beyond day four; if the surface dulls or tiny frost freckles appear, lightly warm the closed container between your palms, then stir the top half-inch back into creaminess—reheating isn’t really a thing with ice cream, but a strategic tempering softens it without turning the edges soupy.
Recipe FAQs
Can I make this without an ice-cream machine?
“Absolutely. After the custard chills, pour it into a metal bowl, freeze for 45 minutes, then whisk vigorously to break up crystals; repeat every half hour for about three hours. The texture won’t be quite as airy, but it beats another appliance crowding your cabinet.”
Is it safe to eat raw eggs if I skip tempering?
“I wouldn’t recommend skipping the cook—it’s not just about food safety, it’s about that custardy mouthfeel. But if you have pasteurized yolks and insist on a quick-and-dirty version, blend everything cold, strain, and churn. Expect a lighter body.”
How do I stop it from freezing rock solid?
“A tablespoon of alcohol (think vodka for neutrality or rum for flavor) lowers the freezing point just enough. Corn syrup—two teaspoons—also helps without tasting overly sweet.”
Can I cut back on sugar?
“Sugar isn’t only a sweetener here—it’s an antifreeze. Drop it by more than 20 %, and you’ll invite ice shards. If you need less sweetness, lean on stevia or monk-fruit for part of the reduction, but keep at least half a cup of real sugar for texture.”
What can I do with leftover egg whites?
“Freeze them in an ice-cube tray for future meringues, macaroons, or a snowy angel-food cake. Label the bag with the number of whites—ask me how many times I’ve played kitchen roulette guessing that.”
If this homemade vanilla ice cream makes its way into your freezer, I hope it brings you the same hush of delight I saw on Nora’s face that first sweltering afternoon. Let the hum of your churn—or the clink of your whisk—become background music to stories you’ll retell later, sticky-fingered bowls and all. Try the recipe, make it yours, and come back to tell me how it went. Your tweaks, triumphs, and even the flops are the heartbeat of this cozy corner of the internet. Happy scooping, friend—and don’t forget to leave a comment so we can swap sundae stories.
Nutrition Information (per ½-cup serving, approximate)
Calories 265 | Fat 19 g | Saturated Fat 11 g | Carbohydrates 22 g | Protein 4 g
(Data calculated with 5 % tolerance for home-kitchen variability)
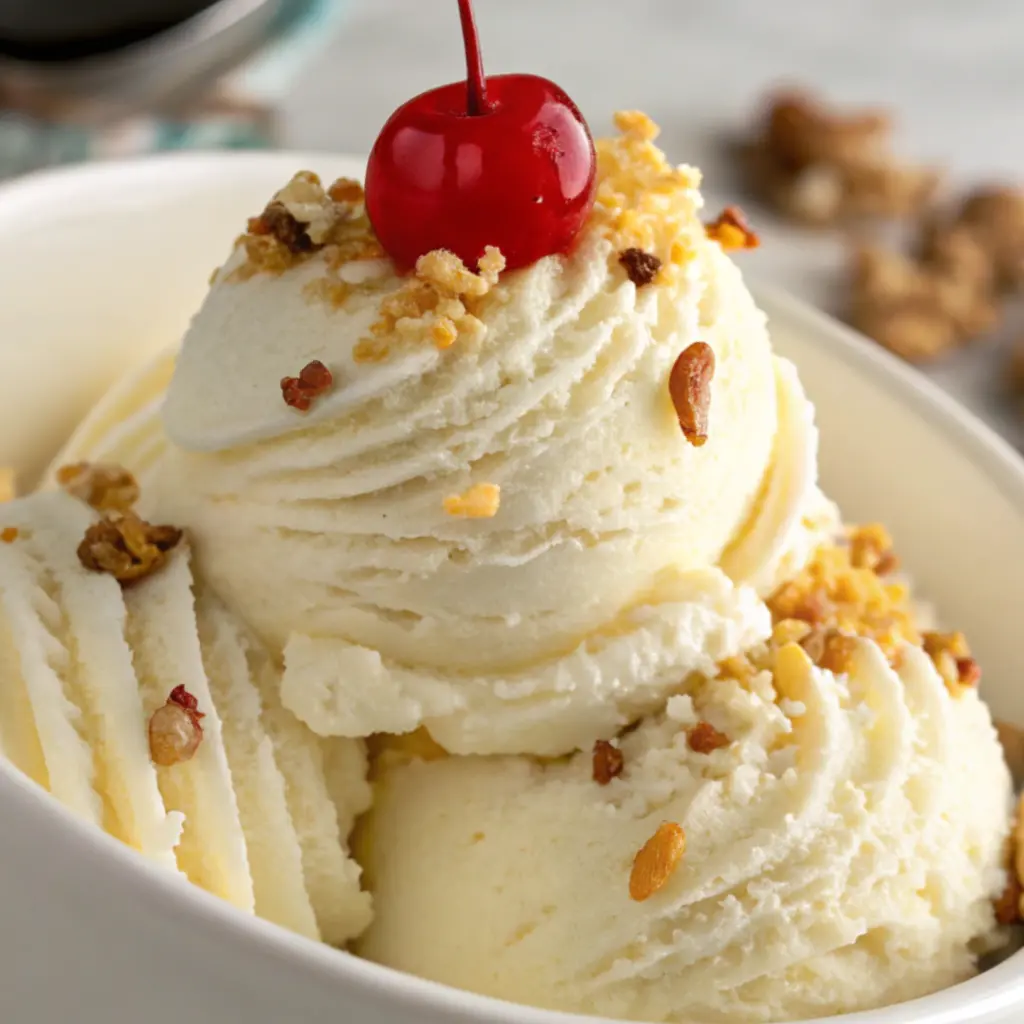
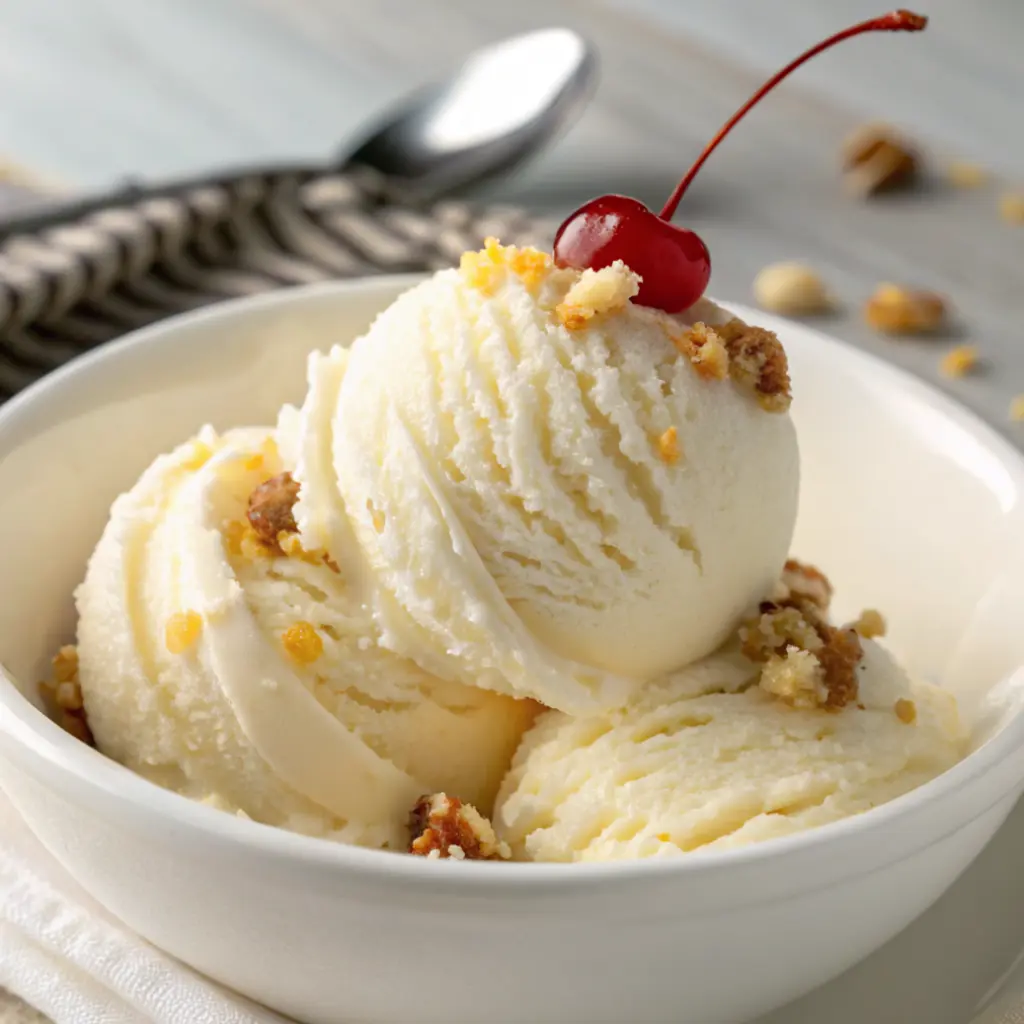
Vanilla Ice Cream
Ingredients
- 2 cups heavy cream
- 1 cup whole milk
- ¾ cup granulated sugar
- 5 large egg yolks
- 2 teaspoons pure vanilla extract
- Optional: 1 vanilla bean split and seeds scraped
Instructions
- Warm the milk and cream: In a medium saucepan, combine heavy cream and milk. Heat over medium until just steaming (do not boil).
- Whisk egg yolks and sugar: In a bowl, whisk egg yolks and sugar until pale and thickened.
- Temper the eggs: Slowly pour a bit of the warm cream mixture into the yolks while whisking constantly. Then pour the yolk mixture back into the saucepan.
- Cook custard: Stir constantly over low heat until the mixture thickens slightly and coats the back of a spoon (170–175°F). Do not boil.
- Add vanilla: Remove from heat. Stir in vanilla extract and vanilla bean seeds (if using).
- Chill: Pour custard through a fine-mesh sieve into a clean bowl. Cover and refrigerate until fully chilled (at least 4 hours or overnight).
- Churn: Pour chilled mixture into an ice cream maker and churn according to manufacturer’s instructions (usually 20–25 minutes).
- Freeze: Transfer to an airtight container and freeze for 2–4 hours until firm.
Notes
- No ice cream maker? Pour chilled custard into a shallow dish, freeze, and stir vigorously every 30 minutes until smooth (about 3 hours).
- Add-ins like chocolate chips, crushed cookies, or berries can be folded in after churning.
- Keeps well in the freezer for up to 2 weeks.
Leave a Reply