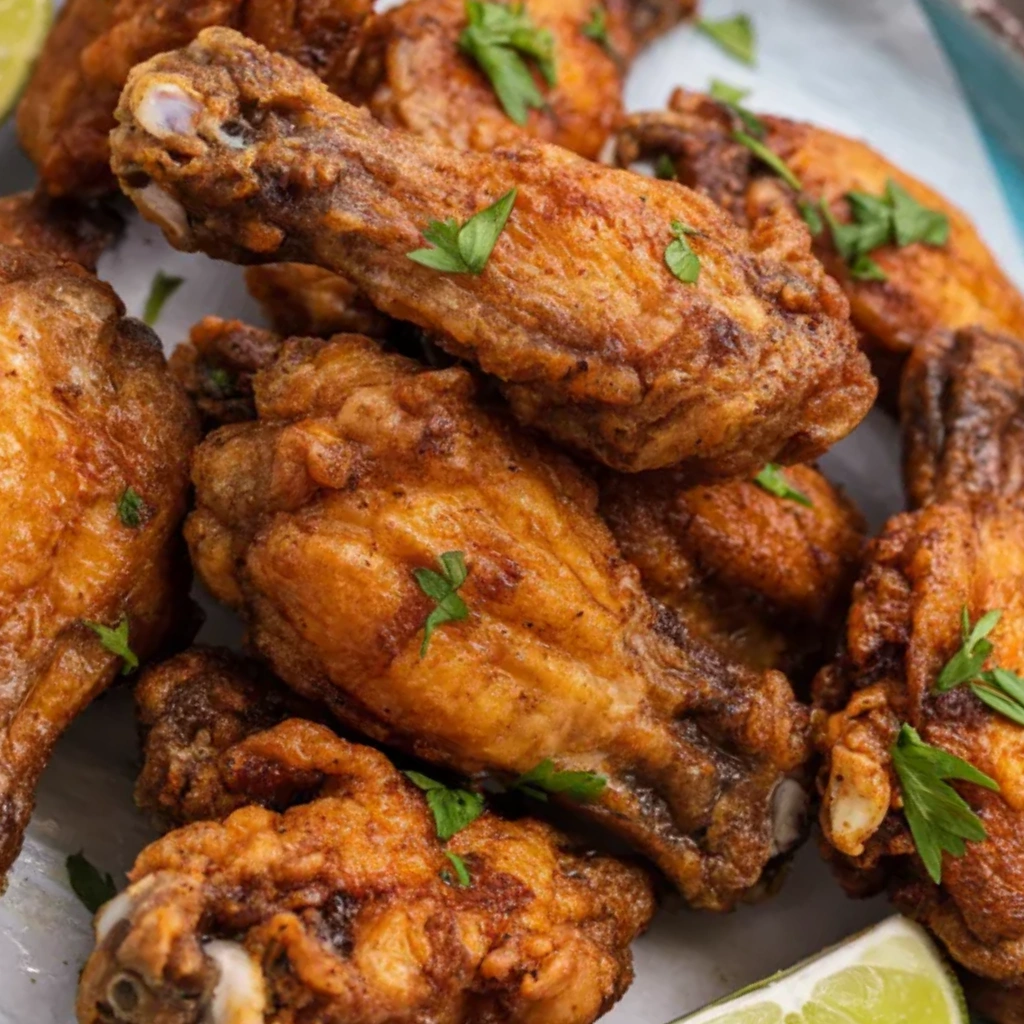
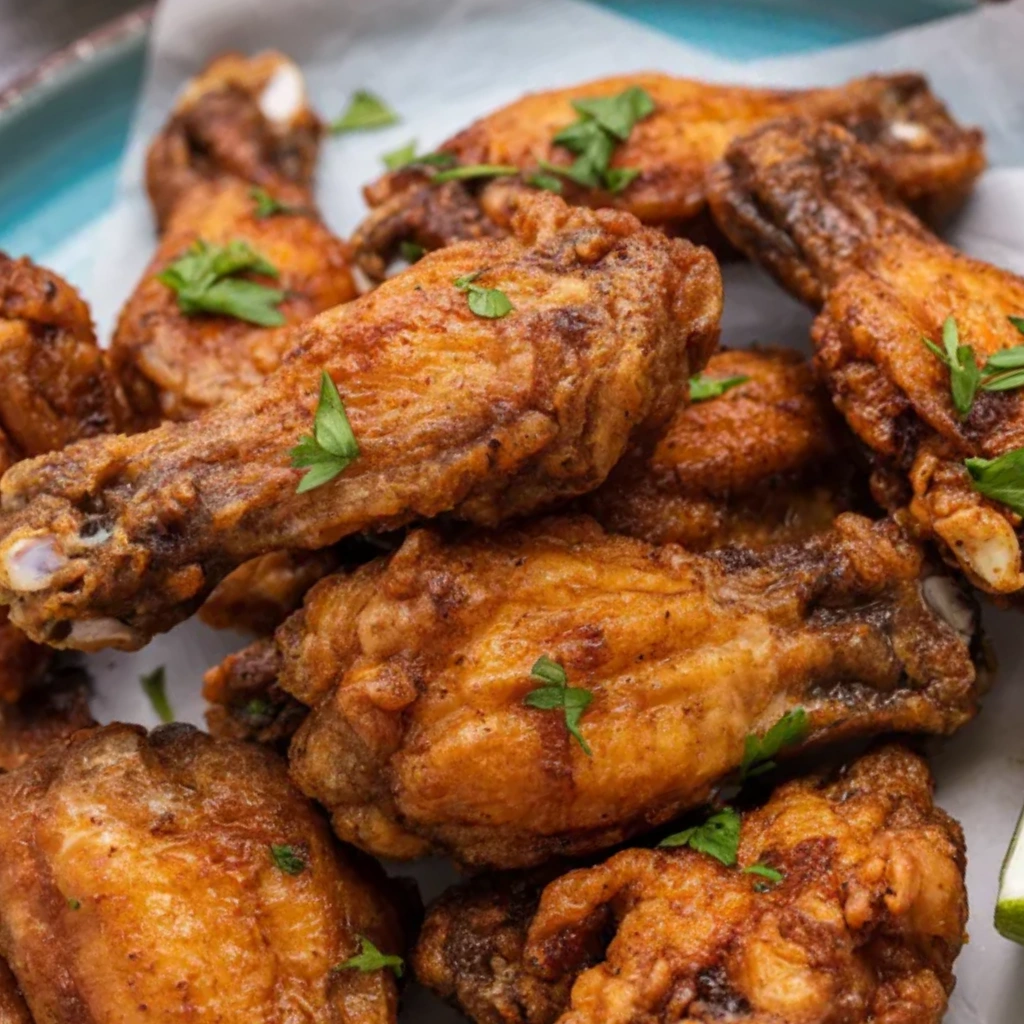
The first time I made chicken wings in my air fryer, I didn’t expect much. I had grown up believing that truly great wings required a bubbling pot of oil, a smoky grill, or at the very least, a blazing hot oven. Air fryers felt like shortcuts, and shortcuts rarely delivered real flavor in my kitchen. But one chilly evening, when I didn’t want to heat up the whole house or deal with splattering oil, I gave it a try. I tossed a batch of wings with a simple seasoning, slid them into the basket, and crossed my fingers. Twenty minutes later, I pulled out the crispiest, juiciest wings I’d ever made at home. I stood there at my kitchen counter, eating one wing after another, wondering how I had gone so long without discovering this little miracle.
Since then, air fryer chicken wings have become a regular guest in my kitchen. They show up on busy weeknights, game days, casual gatherings, and even quiet evenings when I just want something comforting and satisfying. Over time, I’ve tested different seasonings, cooking times, and techniques, learning exactly what makes wings crisp on the outside while staying tender inside. I’ve burned a batch or two, under-seasoned more than I care to admit, and crowded the basket one too many times. Each mistake taught me something, and now, I’m sharing all of it with you. If you’re looking for foolproof, restaurant-style chicken wings you can make right at home, this recipe will become your go-to.

Why You’ll Love This Recipe
- Perfectly crispy skin without deep frying
- Juicy, tender meat every single time
- Quick and easy preparation
- Budget-friendly and great for feeding a crowd
- Endless flavor variations
- Minimal cleanup
Ingredients You’ll Need
Chicken wings are wonderfully simple, and you don’t need anything fancy to make them shine. Over the years, I’ve learned that starting with quality ingredients and treating them right makes all the difference.
Chicken Wings (2 pounds): Look for fresh wings if possible, but frozen wings work too as long as they’re fully thawed and thoroughly dried. I usually buy whole wings and separate them myself into drumettes and flats. It takes just a few minutes and saves a little money.
Baking Powder (1 tablespoon): This might surprise you, but baking powder is the secret to ultra-crispy skin. It raises the pH level of the chicken skin, helping it brown better and crisp up beautifully in the air fryer. Be sure to use aluminum-free baking powder, and never baking soda, which can leave a bitter taste.
Olive Oil or Avocado Oil (1 tablespoon): Just a light coating helps the seasoning stick and promotes even browning. I’ve tried skipping it, but a tiny bit of oil truly improves the final texture.
Garlic Powder (1 teaspoon): Adds savory depth without overpowering the wings.
Onion Powder (1 teaspoon): Brings a subtle sweetness that balances the salt.
Paprika (1 teaspoon): I often use smoked paprika for deeper flavor, but regular paprika works beautifully too.
Salt (1 teaspoon): Adjust to taste. Wings love salt, but it’s always better to start modestly.
Black Pepper (½ teaspoon): Freshly ground if you can.
From here, the flavor possibilities are endless. Sometimes I add cayenne for heat, lemon pepper for brightness, or a dash of cumin for warmth. This basic seasoning is my foundation, and from it, I branch out depending on my mood.
How to Make It (Step-by-Step Instructions)
Step 1: Prep the Wings
Start by patting the chicken wings completely dry using paper towels. This step is absolutely essential. Any moisture left on the skin will prevent crisping. I learned this the hard way after pulling out a batch of pale, rubbery wings that simply wouldn’t brown. Dry wings equal crispy wings.
If your wings are whole, separate them into drumettes and flats. I discard the wing tips or save them for homemade stock. Place the wings in a large bowl.
Step 2: Season and Coat
Sprinkle the baking powder, garlic powder, onion powder, paprika, salt, and black pepper over the wings. Drizzle with oil. Using clean hands, toss everything together until the wings are evenly coated. Take your time here. Every wing should be lightly seasoned and glossy, but not dripping.
Let the wings rest for about 10 minutes while your air fryer preheats. This gives the seasoning time to adhere and the baking powder to begin its magic.
Step 3: Preheat the Air Fryer
Preheat your air fryer to 380°F (193°C) for about 5 minutes. Preheating ensures that the wings start cooking immediately when they hit the basket, which helps lock in moisture and kick-start crisping.
Step 4: Arrange the Wings
Place the wings in a single layer in the air fryer basket, leaving a little space between each piece. Crowding is the enemy of crispiness. If needed, cook in batches. I know it’s tempting to pile everything in at once, but trust me, patience pays off here.
Step 5: Cook and Flip
Air fry the wings for 12 minutes, then carefully flip each piece. Return them to the air fryer and cook for another 10–12 minutes, or until deeply golden brown and crispy. Every air fryer is slightly different, so check at the 20-minute mark and adjust as needed.
Step 6: Final Crisp
For extra crunch, increase the temperature to 400°F (204°C) and cook for an additional 2–3 minutes. This final blast of heat creates that irresistible crackly skin.
Let the wings rest for about 5 minutes before serving. This short wait allows the juices to redistribute, keeping the meat tender.
Expert Tips for the Best Results
Over countless batches, I’ve learned that the smallest details make the biggest difference. Drying the wings thoroughly before seasoning is non-negotiable, and giving them enough space in the basket ensures proper air circulation. I always cook in batches if needed, even when I’m short on time, because soggy wings simply aren’t worth the shortcut. Using baking powder instead of cornstarch or flour gives consistently crisp results without heaviness, and that final high-heat blast seals the deal. Above all, I remind myself to trust my instincts and watch the wings closely, because air fryers can vary and a minute or two can mean the difference between golden perfection and overdone skin.
Variations & Substitutions
One of the joys of chicken wings is how endlessly adaptable they are. Some nights I toss them in buffalo sauce and serve them with crisp celery and homemade ranch. Other evenings, I glaze them with honey and garlic for a sticky-sweet finish. When I’m craving something bold, I mix soy sauce, ginger, and a touch of brown sugar for an Asian-inspired twist. There was even a night when I realized I was out of paprika and substituted chili powder instead, which turned out to be a happy accident that added unexpected warmth and depth. Don’t be afraid to play around. Wings are forgiving, and sometimes the best flavors are born from last-minute improvisation.
Serving Suggestions
These wings fit beautifully into just about any occasion. I love serving them as a casual dinner alongside a crisp salad or roasted vegetables, but they also shine as party food. Set them out with a variety of dipping sauces like ranch, blue cheese, honey mustard, or garlic aioli, and watch them disappear. They’re perfect for game days, movie nights, backyard gatherings, and even simple family dinners when everyone needs a little comfort. I often pair them with oven fries or coleslaw, and on especially indulgent days, macaroni and cheese makes a pretty irresistible companion.
Storage & Reheating Instructions
If you’re lucky enough to have leftovers, store the wings in an airtight container in the refrigerator for up to four days. When reheating, I always return them to the air fryer at 375°F for about 5–7 minutes. This restores much of their original crispiness and prevents them from turning soggy, which often happens in the microwave. The texture may not be quite as perfect as fresh, but the flavor remains wonderful. I sometimes sneak cold wings straight from the fridge, especially when they’ve been tossed in sauce, and while the skin loses its crunch, the taste is still deeply satisfying.
Recipe FAQs (Answered by Clara)
Can I make this ahead of time?
You sure can. I often season the wings in the morning, cover them tightly, and refrigerate until dinnertime. This not only saves time but allows the flavors to soak in even more deeply. Just be sure to pat them dry again before cooking, as moisture tends to accumulate in the fridge.
What’s the best spiralizer to use?
Since this recipe doesn’t require spiralizing, I usually serve these wings alongside spiralized zucchini or carrot noodles when I want a lighter meal. I use a simple handheld spiralizer because it’s easy to clean and store, and it gives me control over the thickness of the noodles.
Can I serve it cold?
While wings are best hot and crispy, I’ve enjoyed them cold more times than I can count, especially the sauced varieties. They become almost like a cold chicken appetizer, and while the texture changes, the flavor still holds up beautifully.
How do I make it less watery?
Watery wings usually come from excess moisture. Drying the wings thoroughly before seasoning, avoiding overcrowding, and cooking at a high enough temperature are the keys to preventing this. If you notice liquid pooling in the basket, carefully drain it halfway through cooking and continue air frying until the wings are fully crisped.
Conclusion
These air fryer chicken wings have earned a permanent place in my kitchen, and I hope they find their way into yours as well. There’s something deeply comforting about making food that brings people together, whether it’s for a celebration or a quiet evening at home. I encourage you to try this recipe, tweak it to suit your taste, and make it your own. If you do, I’d love to hear how it turned out for you. Cooking is a journey, and sharing it makes the experience all the richer. So roll up your sleeves, trust your instincts, and enjoy every crispy, juicy bite.
Nutrition Information (Optional)
Approximate values per serving (based on 4 servings):
Calories: 320
Protein: 24g
Fat: 22g
Carbohydrates: 2g
Sodium: 620mg

Air Fryer Chicken Wings
Ingredients
- 2 lbs chicken wings split and tips removed
- 1 tablespoon olive oil
- 1 teaspoon garlic powder
- 1 teaspoon paprika
- ½ teaspoon salt
- ½ teaspoon black pepper
- ½ teaspoon baking powder optional, for extra crispiness
Optional Sauces:
- Buffalo sauce
- BBQ sauce
- Honey garlic sauce
- Teriyaki sauce
Instructions
- Preheat air fryer to 400°F (205°C) for 5 minutes.
- Pat chicken wings completely dry with paper towels.
- In a large bowl, toss wings with olive oil, garlic powder, paprika, salt, pepper, and baking powder if using.
- Arrange wings in a single layer in the air fryer basket.
- Cook for 20–24 minutes, shaking the basket and flipping wings halfway through.
- For extra crispiness, cook an additional 3–5 minutes.
- Toss wings in sauce if desired and serve immediately
Notes
- Extra crispy tip: Dry wings thoroughly and avoid overcrowding the basket.
- Sauce timing: Toss wings in sauce right before serving to maintain crispness.
- Make ahead: Cook wings, refrigerate, and reheat at 400°F for 5 minutes.
- Flavor variations: Cajun, lemon pepper, garlic parmesan, or Korean-style.
- Serving ideas: Pair with celery sticks, carrot sticks, and ranch or blue cheese dip.