There was a time when I thought baked sweet potatoes were supposed to be bland. I’d wrap them in foil, slide them into the oven, and wait patiently—only to end up with something watery, unevenly cooked, and honestly a little disappointing. I kept making them anyway because they were affordable, filling, and always in my pantry. It wasn’t until one particularly long winter afternoon, when I was craving something warm and comforting but didn’t want to cook anything complicated, that I finally slowed down and paid attention. I skipped the foil, cranked up the oven just a bit higher, rubbed the skins with olive oil, and sprinkled on a little salt. When I pulled them out an hour later, the skins were crisp, the insides fluffy and caramelized, and the flavor was naturally sweet and rich. I remember standing at the counter, steam rising from the split potato, thinking, Why did this take me so long to figure out?
Since that day, baked sweet potatoes have become a steady presence in my kitchen. They show up as easy dinners, simple lunches, and comforting late-night snacks. They remind me that sometimes the simplest recipes just need a little attention and respect to truly shine. This recipe isn’t fancy. It doesn’t rely on complicated steps or trendy ingredients. It’s just a well-made baked sweet potato, done thoughtfully, with care and experience guiding each step.
Why You’ll Love This Recipe
- Easy and nearly hands-off once it’s in the oven
- Budget-friendly with simple pantry ingredients
- Naturally flavorful without heavy seasonings
- Perfect for meal prep and leftovers
- Customizable for both sweet and savory meals
- Comforting, filling, and satisfying
Ingredients You’ll Need
Sweet Potatoes: I usually reach for medium to large sweet potatoes with smooth skin and no soft spots. The deeper the orange inside, the sweeter and creamier the texture tends to be once baked. I’ve used white and purple sweet potatoes too, and while they bake slightly differently, they still turn out delicious.
Olive Oil: Just a small amount goes a long way here. Rubbing oil directly onto the skin helps it crisp beautifully and prevents dryness. If I’m out, I’ll use avocado oil or even melted butter.
Salt: A simple sprinkle of salt enhances the natural sweetness. I like flaky sea salt, but any salt you have works just fine.
That’s it for the basic recipe. From there, you can build in any direction — sweet toppings, savory fillings, herbs, spices, or sauces.
How to Make It (Step-by-Step Instructions)
Step 1: Choose and Prep Your Sweet Potatoes
Start by selecting sweet potatoes that are similar in size so they cook evenly. I’ve learned the hard way that mixing a giant potato with a tiny one leads to frustration — one ends up overcooked while the other stays firm in the middle.
Wash them thoroughly under running water, gently scrubbing away any dirt. Sweet potatoes grow underground, and even if they look clean, they usually need a good rinse. Dry them completely with a kitchen towel. This step matters more than people realize. Dry skin helps the oil stick and encourages crispness instead of steaming.
Once dry, use a fork to poke holes all around each potato. This allows steam to escape as they bake, preventing pressure buildup and uneven cooking.
Step 2: Season Simply and Thoughtfully
Place the sweet potatoes directly on a baking sheet lined with parchment paper or foil. Drizzle them lightly with olive oil and rub it over the skin using your hands. I always take a moment here because this little ritual reminds me that cooking doesn’t have to be rushed. Sprinkle generously with salt, turning the potatoes so they’re evenly seasoned.
Avoid wrapping them in foil. I used to do that all the time, thinking it would keep them moist, but what it actually does is trap steam, leading to soft, soggy skins and watery flesh. Letting them bake uncovered is what creates that beautiful contrast between crisp skin and fluffy interior.
Step 3: Bake Until Perfectly Tender
Place the tray in a preheated oven at 425°F (220°C). Bake for 45 to 60 minutes, depending on size. I usually check around the 45-minute mark by gently squeezing the potato with an oven mitt. It should give easily and feel soft all the way through.
If a knife slides effortlessly into the center, you’re good to go. Larger sweet potatoes may need closer to an hour, sometimes even a little more. There’s no harm in giving them extra time — underbaking is the real culprit behind dense, starchy centers.
Step 4: Rest, Slice, and Serve
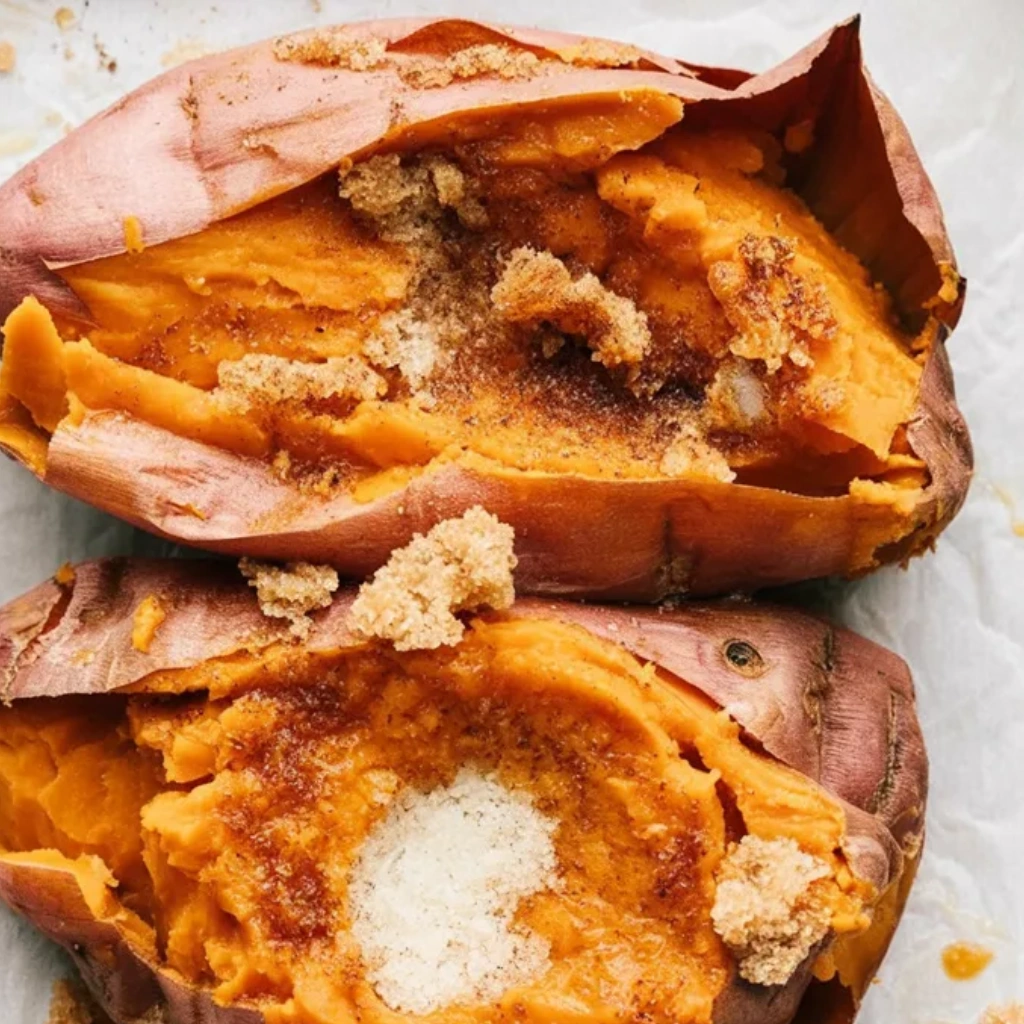
Once baked, let them rest for about five minutes. This short pause allows the interior to settle and become even fluffier. Slice them open lengthwise, gently fluff the inside with a fork, and add your favorite toppings or fillings.
Expert Tips for the Best Results
Over the years, I’ve learned that patience and temperature are everything when it comes to baking sweet potatoes. A hot oven encourages caramelization, which brings out their natural sweetness, while slower baking at lower temperatures often results in bland, watery flesh. Skipping the foil is one of the biggest upgrades you can make. Rubbing the skins with oil ensures crispness and flavor, and letting them bake until fully tender avoids that dreaded chalky center. If your oven runs unevenly, rotate the tray halfway through to guarantee consistent cooking. And most importantly, trust your senses — soft texture, sweet aroma, and slightly crisp skin are your best indicators that they’re ready.
Variations & Substitutions
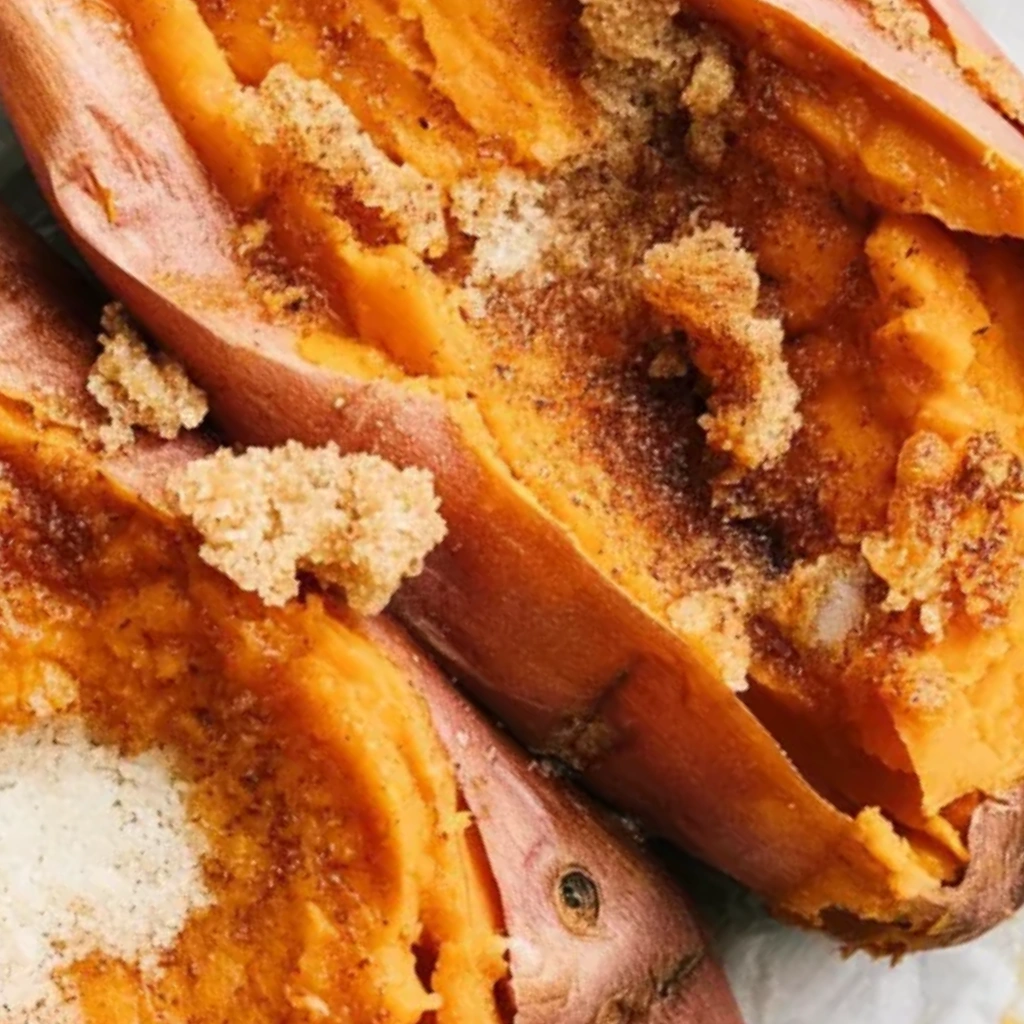
Some of my favorite sweet potato discoveries came from working with what I had. On nights when I didn’t have olive oil, I used melted butter and ended up with a richer, more indulgent flavor. I’ve stuffed baked sweet potatoes with leftover chili, roasted vegetables, shredded chicken, and even scrambled eggs for breakfast. When I’m craving something sweet, I top them with cinnamon, honey, and a small pat of butter. Once, when I ran out of salt, I sprinkled on a little garlic powder and smoked paprika, and the result was unexpectedly wonderful. Sweet potatoes are forgiving and adaptable, which makes them one of my favorite ingredients to play with.
Serving Suggestions
Baked sweet potatoes fit beautifully into almost any meal. I often serve them alongside roasted chicken, grilled fish, or a simple green salad for a balanced dinner. They’re wonderful topped with black beans, avocado, and a spoonful of yogurt or sour cream for an easy vegetarian meal. On chilly evenings, I turn them into cozy comfort food by stuffing them with warm stews or slow-cooked meats. And for breakfast or brunch, I love them split open and topped with Greek yogurt, berries, and a drizzle of honey — a combination that feels indulgent but nourishing.
Storage & Reheating Instructions
Leftover baked sweet potatoes store surprisingly well. I usually let them cool completely, then place them in an airtight container in the refrigerator for up to four days. When reheating, I prefer using the oven or air fryer rather than the microwave, since this helps restore the skin’s texture and prevents sogginess. If I’m in a hurry, the microwave works fine — just cover loosely and heat in short intervals. The flavor deepens slightly after resting, and while the texture becomes softer, it remains delicious and satisfying.
Recipe FAQs (Answered by Clara)
Can I make this ahead of time?
You sure can. I often bake a batch on Sunday and store them in the fridge for easy lunches and dinners throughout the week. They reheat beautifully and save so much time on busy days.
What’s the best way to get crispy skin?
Skipping the foil, drying the skins thoroughly, and using a light coating of oil are the secrets. A hot oven also plays a big role, so don’t be tempted to lower the temperature.
Can I serve it cold?
You can, and sometimes I do, especially in salads or grain bowls. Cold sweet potato has a slightly firmer texture and a mellow sweetness that pairs nicely with tangy dressings and fresh vegetables.
How do I make it less watery?
Watery sweet potatoes usually come from low oven temperatures or wrapping them in foil. Baking uncovered at high heat allows moisture to evaporate, leaving behind that fluffy, concentrated interior we’re after.
Conclusion
Baked sweet potatoes may seem simple, but they’ve taught me more about patience, attention, and respect for ingredients than many complicated recipes ever could. They remind me that comfort food doesn’t need to be elaborate to be deeply satisfying. If you’ve ever dismissed sweet potatoes as boring or unpredictable, I hope this recipe changes your mind. Try it once, and you might find, like I did, that it becomes a staple you return to again and again. If you give it your own twist, I’d love to hear about it — every kitchen has its own story, and sharing those stories is what keeps cooking joyful.
Nutrition Information (Optional)
Per serving (1 medium baked sweet potato, plain):
Calories: 180
Carbohydrates: 41g
Protein: 4g
Fat: 2g
Fiber: 6g
Sugar: 8g

Baked Sweet Potato
Ingredients
- 4 medium sweet potatoes
- 1 tablespoon olive oil optional
- ½ teaspoon salt
- ¼ teaspoon black pepper (optional
Instructions
- Preheat oven to 400°F (205°C).
- Wash and scrub sweet potatoes well. Pat dry.
- Pierce each potato several times with a fork.
- Rub lightly with olive oil and sprinkle with salt and pepper if desired.
- Place directly on the oven rack or on a baking sheet.
- Bake for 45–55 minutes, or until fork-tender.
- Slice open, fluff with a fork, and add desired toppings.
Notes
- Extra caramelized skin: Bake directly on the rack with a tray underneath.
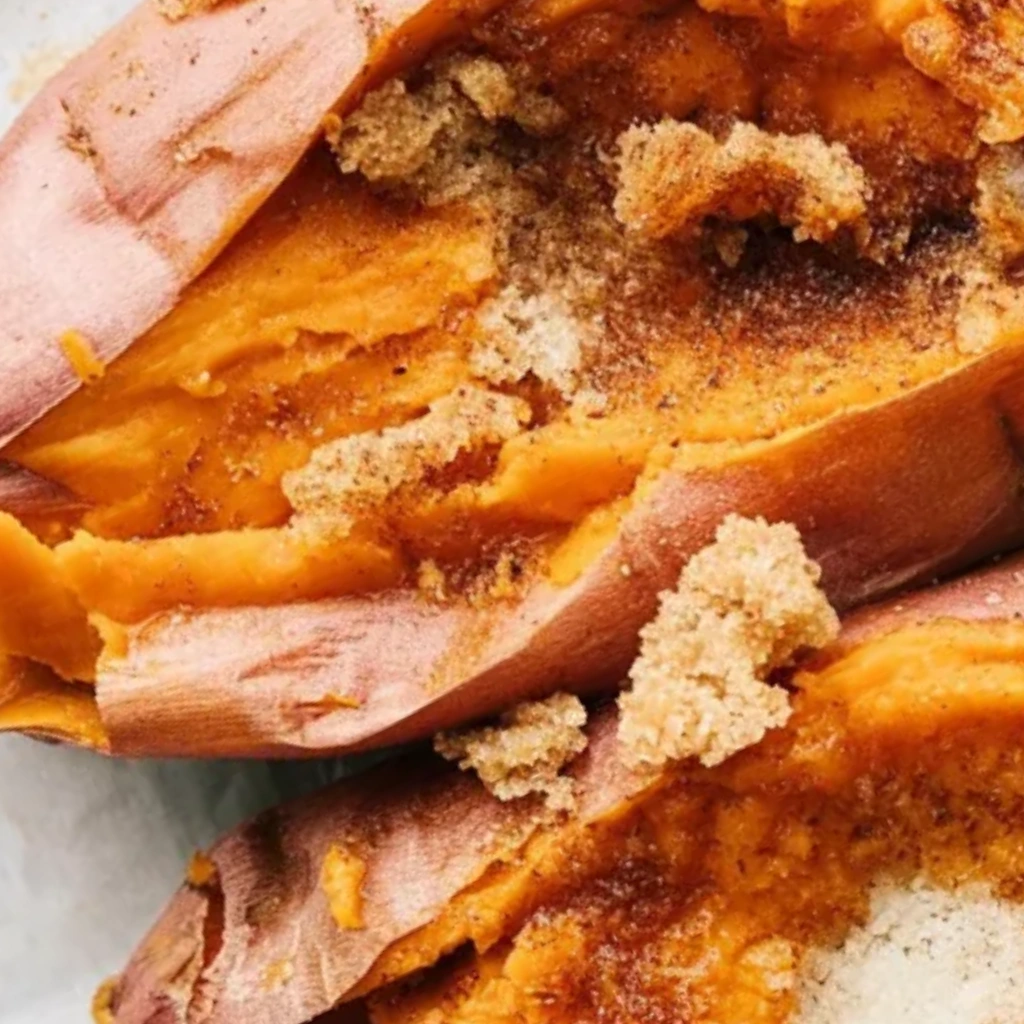
- Topping ideas: Butter, cinnamon, maple syrup, Greek yogurt, marshmallows, pecans, or chili.
- Microwave option: Cook on high for 5–8 minutes, turning halfway.
- Storage: Refrigerate leftovers up to 4 days.
- Meal prep: Great for make-ahead lunches and bowls.