The first time I made chicken parmesan, I was newly married, cooking in a kitchen so small that opening the oven door meant stepping back into the hallway. I had a handwritten recipe card from my aunt, splattered with tomato sauce stains and softened by time, and a nervous determination to get it right. I still remember standing there, watching the breadcrumbs turn golden in the skillet, wondering if this dish would become one of those recipes I’d make again and again — or one I’d quietly forget.
It became a forever recipe.
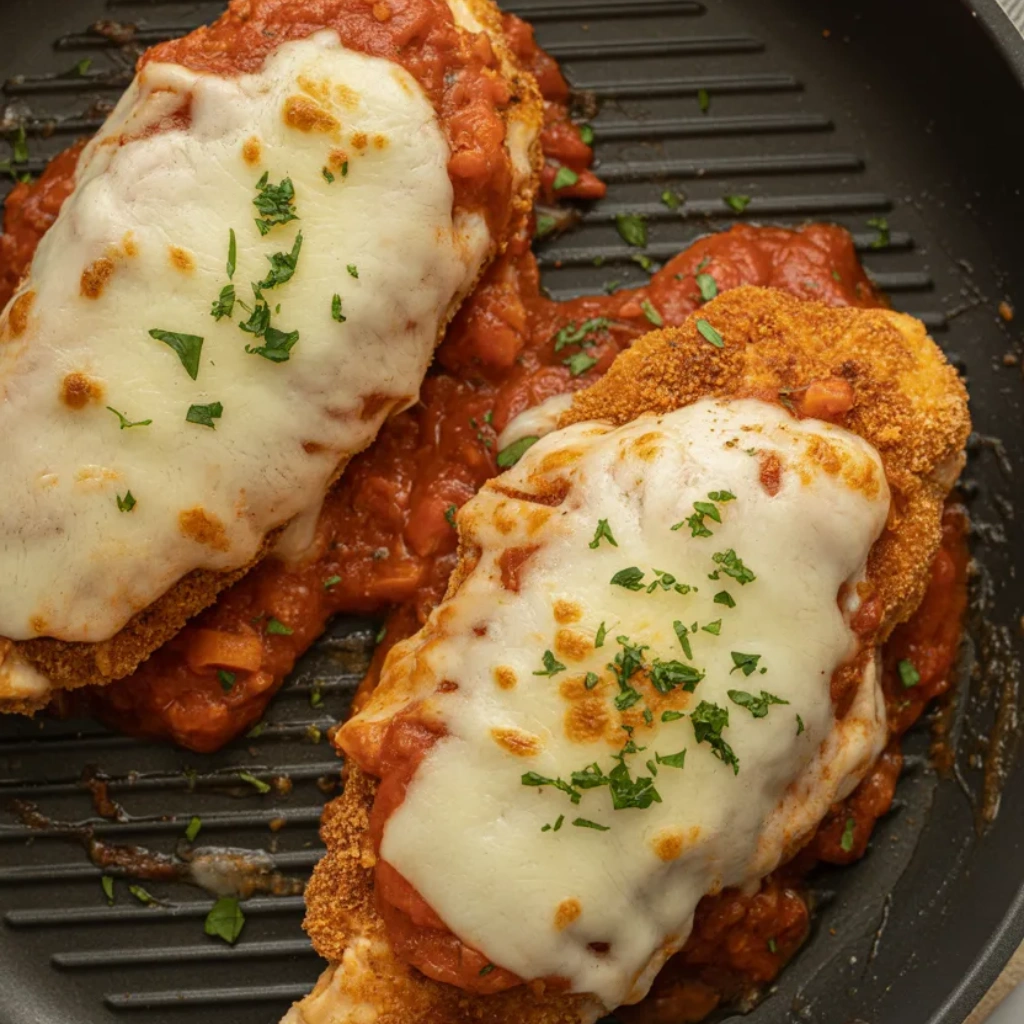
Over the years, chicken parmesan has followed me through every season of life: busy work weeks, lazy Sunday dinners, family gatherings, and even a few emotional evenings when comfort food was the only thing that made sense. I’ve overcooked the chicken, burned the breadcrumbs, and used the wrong cheese more times than I can count. And every mistake taught me something valuable. Today, this version is the result of all that trial and error — tender chicken, crisp coating, rich tomato sauce, and bubbling cheese that stretches just enough when you pull it apart.
This is the chicken parmesan I trust. The one I make when someone needs a comforting meal, when guests are coming, or when I just want my kitchen to smell like warmth and home.
Why You’ll Love This Recipe
- Simple, everyday ingredients you likely already have
- Crispy on the outside, juicy on the inside
- Cozy, comforting flavors the whole family loves
- Perfect for weeknight dinners or special occasions
- Leftovers reheat beautifully
Ingredients You’ll Need
Chicken parmesan is wonderfully simple, and that’s part of its charm. Every ingredient has a role, and small choices can make a big difference.
Boneless, skinless chicken breasts – I like to slice them in half horizontally so they cook evenly. Thick chicken can stay raw inside while the coating overcooks, and I learned that lesson the hard way.
Salt and black pepper – Seasoning every layer matters. A little salt on the chicken before breading makes all the difference.
All-purpose flour – This first coating helps the egg stick, which keeps the breadcrumbs from sliding off while cooking.
Eggs – Lightly beaten, they act as the glue that holds the crispy crust in place.
Italian-style breadcrumbs or panko – Panko gives extra crunch, while Italian breadcrumbs add seasoning. I’ve used both, and a mix of the two works beautifully.
Grated Parmesan cheese – Mixed into the breadcrumbs for added flavor and crispiness.
Garlic powder and dried Italian seasoning – Subtle background flavors that deepen the overall taste.
Olive oil – For pan-frying. You don’t need much, just enough to get that golden crust.
Marinara sauce – Homemade or store-bought both work. Choose one you truly enjoy because it plays a starring role.
Mozzarella cheese – Freshly shredded melts better than pre-shredded, which often contains anti-caking agents.
Fresh basil or parsley (optional) – A finishing touch that adds freshness and color.
How to Make It (Step-by-Step Instructions)
Step 1: Prepare the Chicken
Start by slicing each chicken breast in half horizontally to create thinner cutlets. This helps everything cook evenly and keeps the chicken tender. Lay them between two pieces of parchment or plastic wrap and gently pound them to an even thickness. You’re not trying to flatten them into submission — just enough to even things out. Season both sides generously with salt and black pepper.
Step 2: Set Up Your Breading Station
I like to line up three shallow bowls. In the first, add flour. In the second, beat your eggs until smooth. In the third, combine breadcrumbs, grated Parmesan, garlic powder, and Italian seasoning. This assembly line makes the process smoother and less messy.
Dip each piece of chicken into the flour first, shaking off any excess. Then into the egg, letting the extra drip away. Finally, coat it generously in the breadcrumb mixture, pressing gently so it sticks. Set the breaded chicken aside on a plate while you finish the rest.
Step 3: Pan-Fry Until Golden
Heat olive oil in a large skillet over medium heat. Once it’s shimmering, carefully place the chicken into the pan. Work in batches if needed — overcrowding leads to soggy breading, and nobody wants that. Cook each piece for about 3–4 minutes per side, until golden brown and crisp. Transfer the cooked chicken to a paper towel-lined plate.
Step 4: Assemble the Dish
Preheat your oven to 400°F (200°C). Spread a thin layer of marinara sauce in the bottom of a baking dish. Arrange the chicken on top, then spoon more sauce over each piece. Don’t drown it — too much sauce softens the crust. Sprinkle generously with mozzarella and a little extra Parmesan.
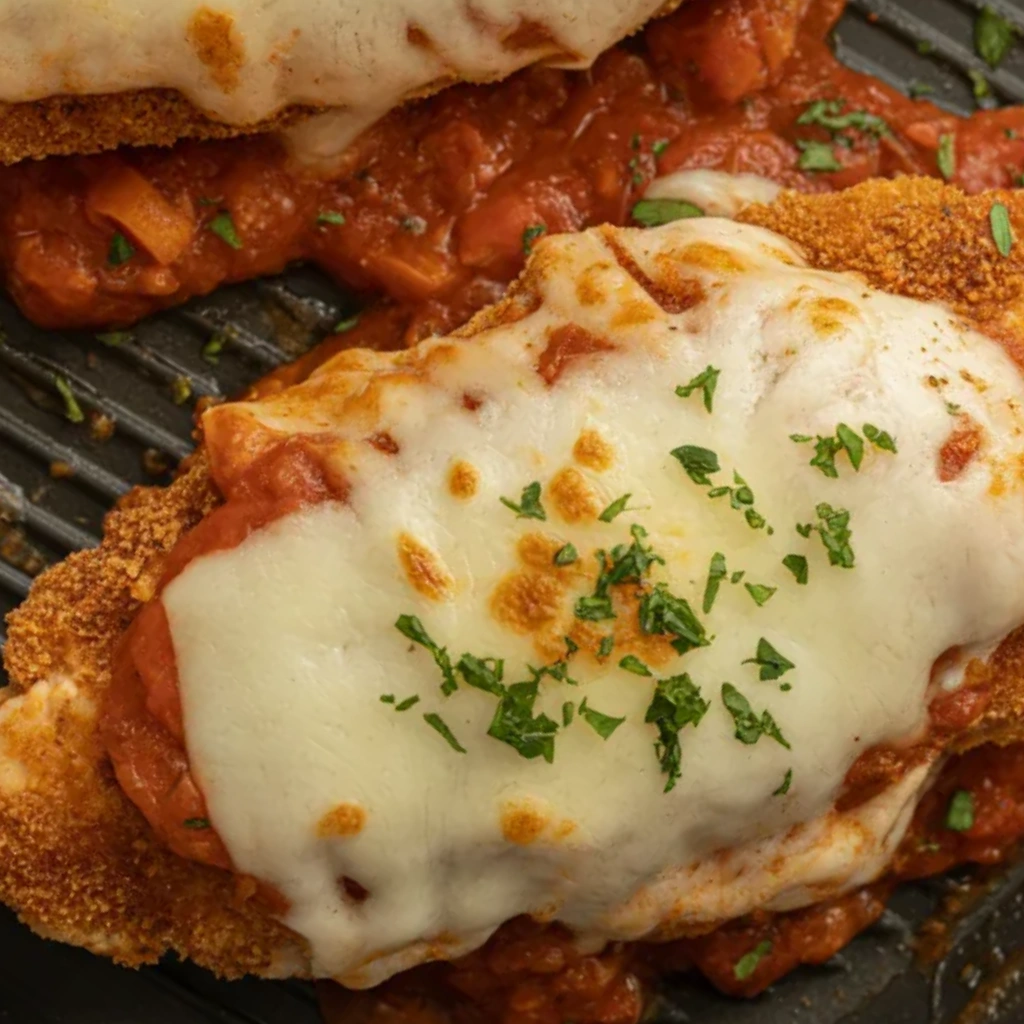
Step 5: Bake Until Bubbly
Slide the dish into the oven and bake for about 15–20 minutes, until the cheese is melted, bubbly, and lightly golden. If you like a slightly crisp top, switch to broil for the final minute, keeping a close eye so it doesn’t burn.
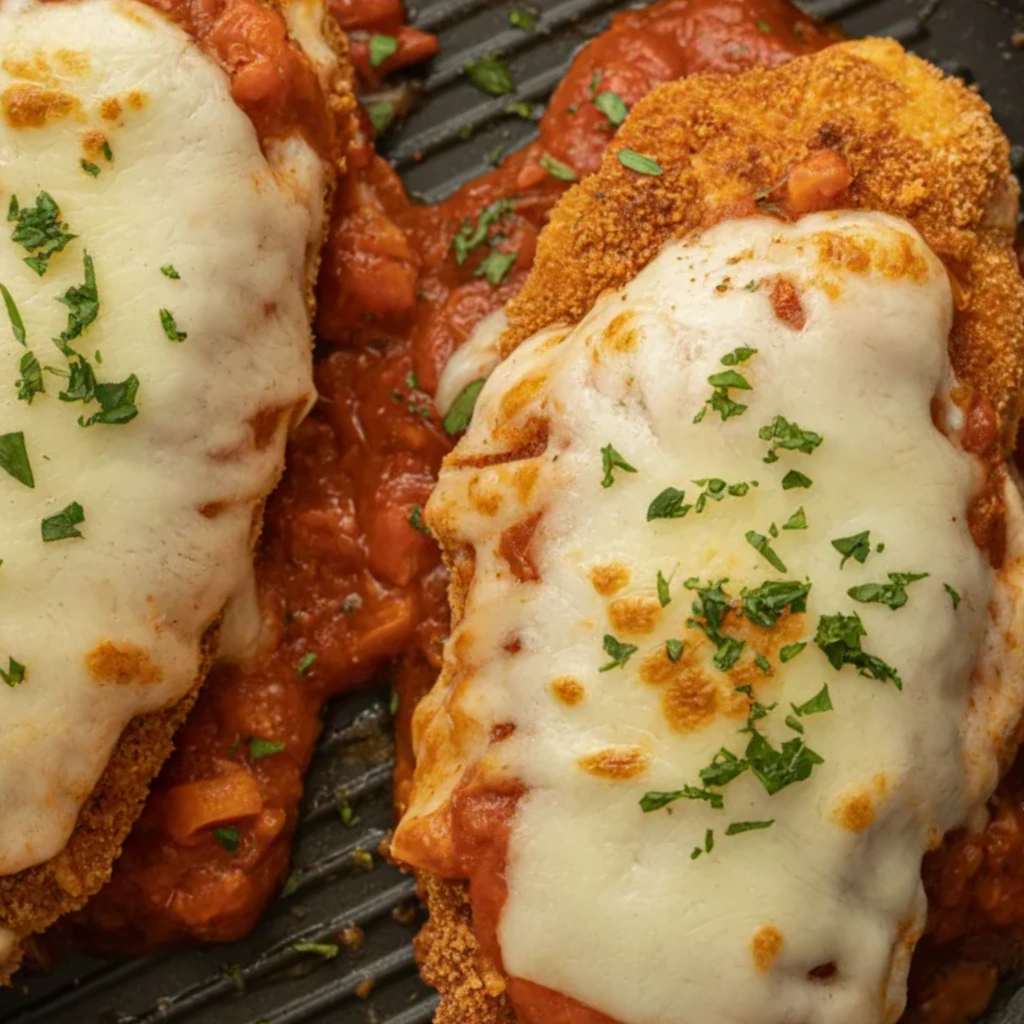
Step 6: Rest and Serve
Let the chicken rest for a few minutes before serving. This helps the juices settle and keeps everything moist. Sprinkle with fresh herbs if you like, and serve warm.
Expert Tips for the Best Results
After making this dish countless times, I’ve learned that small details truly matter. Thin, evenly pounded chicken cooks more gently and stays juicy, while letting the breaded chicken rest for a few minutes before frying helps the coating stick better. Always fry in batches to keep the oil hot, and avoid heavy-handed saucing so the crust stays crisp. Using freshly grated cheese makes a noticeable difference in melting and flavor, and giving the baked dish a short rest before serving keeps everything tender instead of watery.
Variations & Substitutions
Some of my favorite versions of chicken parmesan came from nights when I was missing something and had to improvise. I’ve used crushed crackers when I ran out of breadcrumbs, swapped marinara for a spicy arrabbiata sauce when I wanted extra heat, and even replaced chicken with thin slices of eggplant for a vegetarian twist that surprised me with how satisfying it was. If mozzarella isn’t available, provolone or fontina melt beautifully, and a mix of cheeses can add depth. The beauty of this dish is how forgiving it is — it welcomes creativity.
Serving Suggestions
Chicken parmesan is one of those meals that fits almost any table. I love serving it over a simple bed of spaghetti or fettuccine, letting the sauce coat the pasta. On lighter days, I pair it with a crisp green salad and roasted vegetables. Garlic bread is always welcome, especially for scooping up extra sauce. Whether it’s a family dinner, a casual gathering, or a quiet evening at home, this dish feels right.
Storage & Reheating Instructions
Leftovers store beautifully in an airtight container in the refrigerator for up to three days. When reheating, I prefer the oven over the microwave because it helps restore the crisp edges. Cover loosely with foil and warm at 350°F until heated through. The microwave works in a pinch, but the coating will soften. The flavors actually deepen overnight, so don’t be surprised if the leftovers taste even better the next day.
Recipe FAQs (Answered by Clara)
Can I make this ahead of time?
You sure can. I often bread and pan-fry the chicken earlier in the day, then assemble everything in the baking dish and refrigerate it until dinner. When it’s time to eat, I simply bake it fresh. It saves time and makes evenings feel calmer.
What’s the best spiralizer to use?
While a spiralizer isn’t needed for chicken parmesan itself, if I’m serving it with zucchini noodles, I prefer a sturdy handheld spiralizer with thick blades. It’s easier to control, quicker to clean, and gives consistent results without taking up much space.
Can I serve it cold?
I personally prefer chicken parmesan warm, when the cheese is soft and the sauce is fragrant. That said, I’ve eaten it cold straight from the fridge more times than I’d admit, and it’s still delicious in its own way.
How do I make it less watery?
The biggest culprit is excess sauce. Using a thicker marinara and applying it sparingly helps maintain texture. Also, letting the chicken rest after baking allows moisture to redistribute rather than pooling at the bottom of the dish.
Conclusion
Chicken Parmesan has a way of bringing people together. It’s warm, familiar, and deeply comforting — the kind of meal that invites conversation and second helpings. I hope this recipe finds a place in your kitchen and becomes one of those dishes you return to again and again. If you give it a try, I’d love to hear how it turns out for you. Share your experience, your tweaks, or your little kitchen victories. That’s where the real magic lives.
Nutrition Information (Optional, per serving)
Calories: approximately 520
Protein: 38g
Carbohydrates: 32g
Fat: 26g
Fiber: 3g
Sodium: 780mg

Chicken Parmesan
Ingredients
- 4 boneless skinless chicken breasts, halved horizontally
- 1 cup all-purpose flour
- 2 large eggs
- 2 tablespoons milk
- 1½ cups Italian-style breadcrumbs
- ½ cup grated Parmesan cheese
- 1 teaspoon garlic powder
- 1 teaspoon Italian seasoning
- ½ teaspoon salt
- ½ teaspoon black pepper
- ½ cup olive oil for frying
- 2 cups marinara sauce
- 1½ cups shredded mozzarella cheese
- Fresh basil or parsley for garnish (optional)
Instructions
- Preheat oven to 400°F (205°C).
- Set up three bowls: flour in one, eggs and milk whisked in another, and breadcrumbs mixed with Parmesan, garlic powder, Italian seasoning, salt, and pepper in the third.
- Dredge chicken in flour, dip in egg mixture, then coat thoroughly with breadcrumb mixture.
- Heat olive oil in a large skillet over medium heat.
- Fry chicken cutlets 3–4 minutes per side until golden and crispy.
- Transfer chicken to a baking dish. Spoon marinara sauce over each piece and top with mozzarella cheese.
- Bake for 15–20 minutes until chicken is cooked through and cheese is melted and bubbly.
- Garnish with fresh basil or parsley before serving.
Notes
- Extra crispy: Use panko breadcrumbs for added crunch.
- Baked option: Skip frying and bake breaded chicken at 425°F (220°C) for 20–25 minutes.
- Serving ideas: Pair with spaghetti, garlic bread, or Caesar salad.
- Make ahead: Bread chicken in advance and refrigerate up to 24 hours.
- Storage: Refrigerate leftovers up to 4 days or freeze for 2 months.