There’s a special kind of recipe that sneaks up on you—one you try in a pinch, maybe on a tired Sunday afternoon when the bread ran out and the thought of running to the store felt like a full-blown expedition. That’s how I first stumbled into making Greek yogurt bagels. It was the tail-end of a long week, my youngest had just declared he couldn’t face another peanut butter sandwich on crackers, and I remembered seeing something online—vague, no-yeast, two-ingredient magic.
I was skeptical, of course. But curiosity won, as it tends to in my kitchen. I pulled out a tub of Greek yogurt, found the flour, and within the hour, we had warm, chewy bagels that looked and tasted far more impressive than the sum of their parts.
It wasn’t just the ease that hooked me. It was the texture—the slightly crisp crust from a quick oven blast, the soft chew of the interior, and that unmistakable tang of the yogurt. They reminded me, oddly, of the bagels we’d pick up from the corner deli back when we lived in New York, minus the hours of proofing or the intimidation of a boiling pot.
These bagels became a staple, not just out of convenience, but out of affection. There’s something gratifying about a bread recipe that doesn’t require perfect timing or temperature control. Something deeply human. And honestly? These days, I make them more often than the yeasted kind.
Why You’ll Love This Recipe:
- No yeast, no rising time—ready in under an hour
- Made with simple, wholesome ingredients
- Chewy, satisfying texture with a tangy twist
- Freezer-friendly and easy to reheat
- Great for customizing with toppings or mix-ins
Ingredients You’ll Need:
Self-Rising Flour – This is the backbone of the recipe. It gives the bagels their lift and structure. If you don’t have any on hand, you can easily make your own by mixing 1 cup all-purpose flour with 1½ teaspoons baking powder and ¼ teaspoon salt. I’ve done this more times than I can count, especially on days when I realize mid-recipe that my self-rising stash is gone.
Greek Yogurt – Full-fat or 2% works best. You want the thick, strained kind—plain, unsweetened. It brings moisture and a subtle tang that makes these bagels sing. I’ve tried it with non-fat, and while it technically works, the dough is stickier and the texture just isn’t as satisfying. If you’re in a real pinch, sour cream has filled in once or twice, but that’s a tale for the variations section.
Egg – For brushing. This gives the tops that golden, glossy finish. If you’re egg-free, a splash of milk or even olive oil can work, but expect a paler finish.
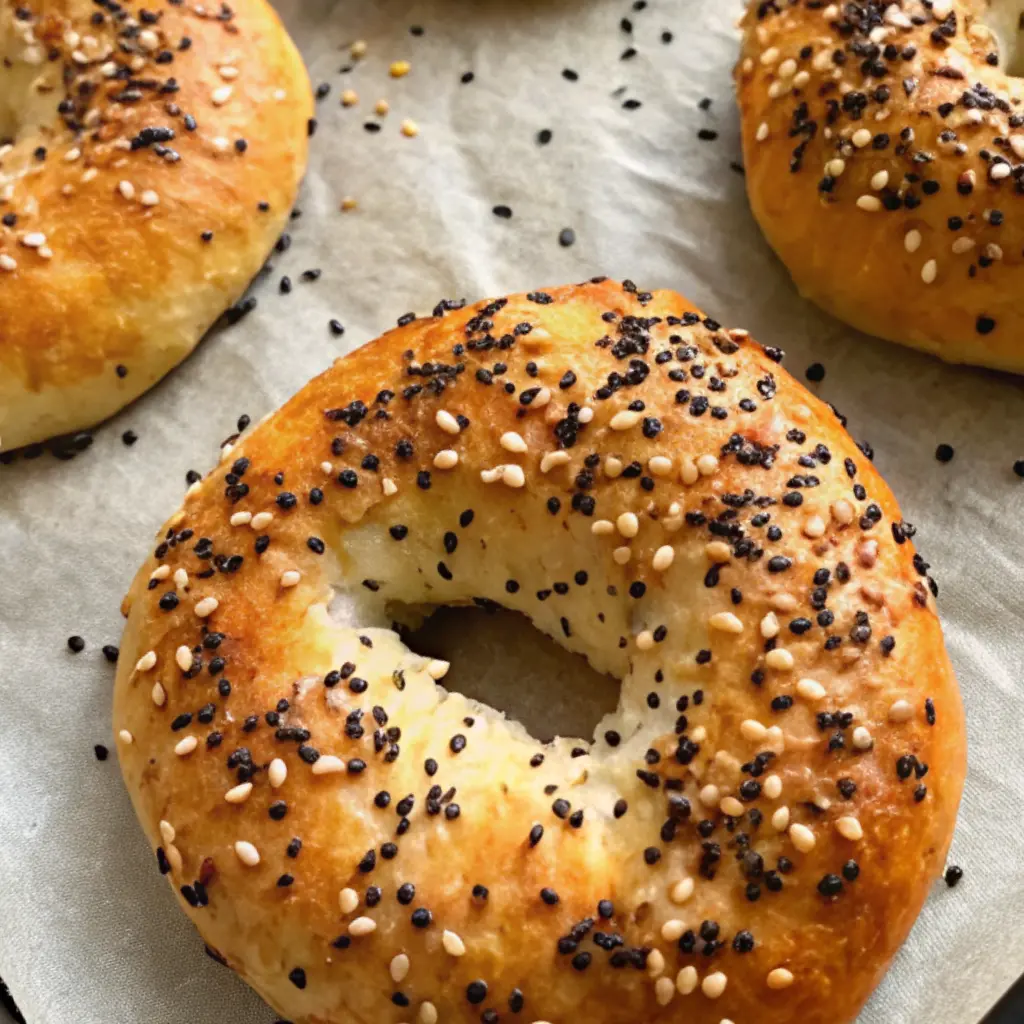
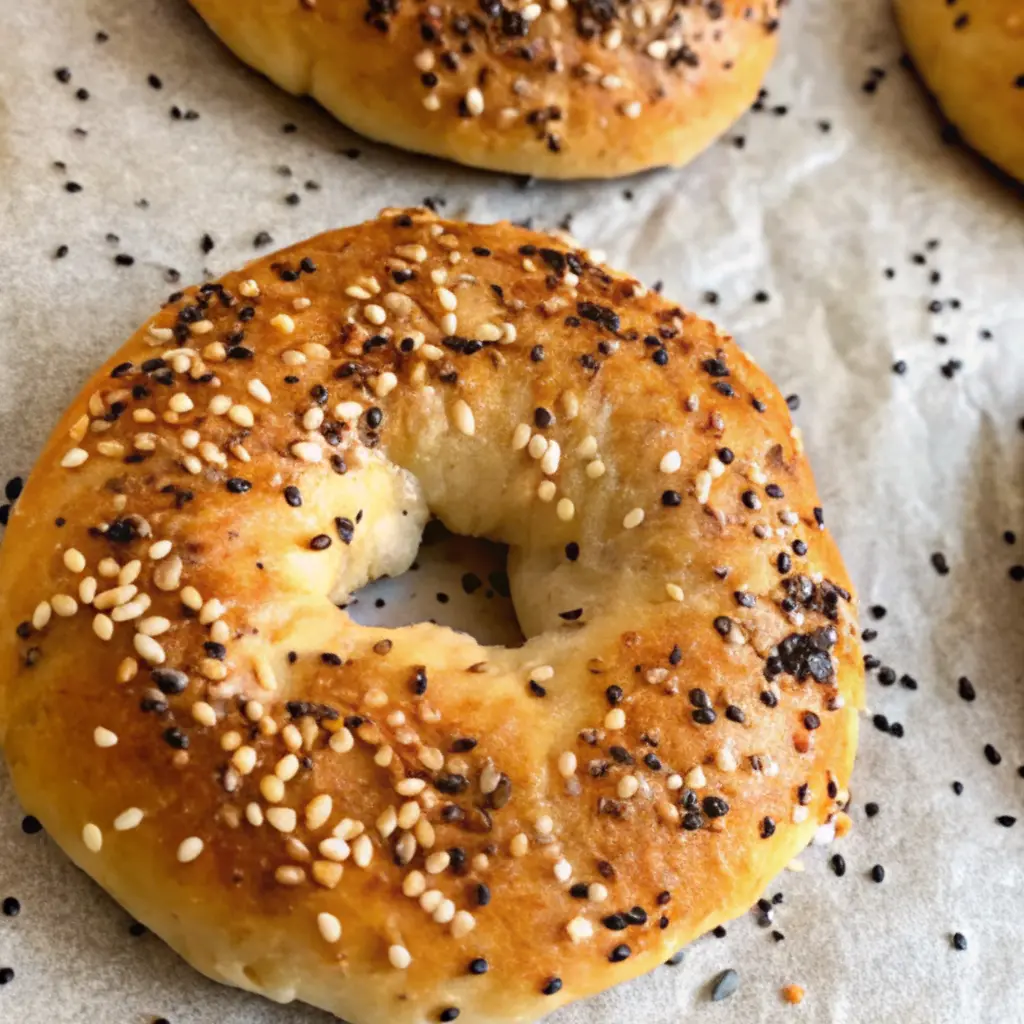
Toppings (Optional) – Think sesame seeds, poppy seeds, dried onion flakes, or “everything bagel” seasoning. My go-to? A little sea salt and sesame mix—it adds crunch and a hit of salt that balances the yogurt’s tang.
How to Make It (Step-by-Step Instructions):
Start by preheating your oven to 375°F and lining a baking sheet with parchment paper. I also like to give the parchment a quick spray or brush of oil—this helps avoid sticking, especially if the bagels puff and crack at the base.
In a medium bowl, mix the self-rising flour and Greek yogurt together until a shaggy dough forms. It’ll look messy at first. Don’t panic. That’s normal. Once it mostly comes together, turn it onto a floured surface and knead it gently—about 1–2 minutes—just until it smooths out. You don’t want to overwork it. I’ve done that in the past, and the bagels turned out tough rather than tender. Think “firm but forgiving,” like kneading playdough with a purpose.
Divide the dough into four equal pieces. Roll each piece into a rope, about 6–8 inches long, and form it into a ring, pinching the ends to seal. If the ends keep coming apart, dip your fingers in a little water and press again. Don’t worry if the shapes aren’t perfect. That rustic look is part of their charm.
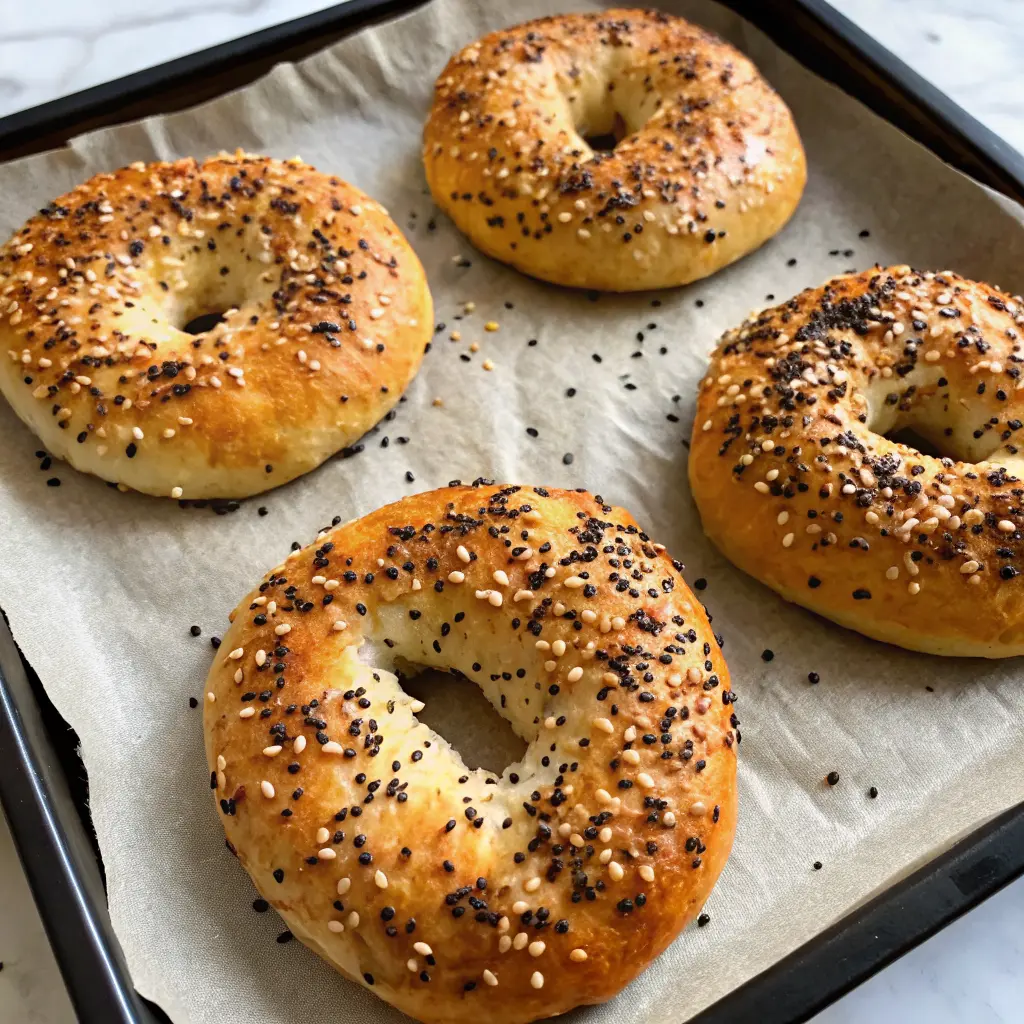
Place the bagels on your lined sheet. Brush the tops with beaten egg—this is what gives them that bakery-style shine—and sprinkle with your chosen toppings. Bake for 22 to 25 minutes, until golden brown. I usually check around minute 20, and if they still look pale, I give them a couple more.
Let them cool for at least 10 minutes before slicing. This gives the interior a chance to finish setting. Cutting too early (been there) can make the crumb gummy, especially if the dough was still a little wet in the middle.
Expert Tips for the Best Results:
What I’ve learned over many batches is this: moisture is everything. Too much, and the dough turns sticky and spreads instead of puffing; too little, and you’ll wrestle with cracks and dryness. I always start with a heaping cup of Greek yogurt and adjust by feel—some days you need a spoonful more, especially if your flour’s extra dry. It also helps to flour your hands before kneading and shaping, especially if the dough feels tacky. And don’t skip the egg wash—it truly transforms the crust. If you want a deeper color, broil them for the last minute, but keep a close eye. They go from golden to burned faster than you think.
Variations & Substitutions:
Over the years, I’ve played with plenty of tweaks. One rushed morning, I was out of Greek yogurt and mixed sour cream with a bit of milk to mimic the consistency—it worked better than expected, though the flavor leaned richer. Another time, I folded in shredded cheddar and chopped chives into the dough, and those bagels disappeared before they even cooled. For a sweeter take, I’ve added a touch of honey and cinnamon, then brushed the tops with butter instead of egg. And once, on a dare from my teenage son, we made a “pizza bagel” version—parmesan in the dough, marinara and mozzarella on top. Messy, imperfect, and completely wonderful.
Serving Suggestions:
These bagels are best the day they’re made, still slightly warm and slathered with cream cheese—or butter, if I’m being honest about what I reach for first. I’ve used them as breakfast sandwiches with scrambled eggs and avocado, or split and toasted as the base for tuna salad at lunch. For weekend brunches, I’ll make a double batch, offer a tray of toppings and spreads, and let everyone build their own. They also make a sturdy, satisfying option for kid lunches when I’m tired of the usual sandwich rotation.
Storage & Reheating Instructions:
If you have leftovers, let them cool completely, then store in an airtight container at room temperature for a day or two. Beyond that, they freeze beautifully—just wrap individually and pop into a zip-top bag. To reheat, I like to slice them frozen and toast them straight from the freezer. They crisp up on the outside and stay soft inside. Do expect a slight change in texture—less chewy than fresh—but still very good. Avoid microwaving; it makes them rubbery.
Recipe FAQs (Answered by Clara):
Can I make these with whole wheat flour?
Yes, you can. I’ve swapped up to half the flour with whole wheat for a nuttier taste. Just add a little extra yogurt if the dough feels too dry.
Is it okay to skip the egg wash?
You can, but they’ll look more pale and soft. A little milk or melted butter brushed on top can help if you’re avoiding eggs.
Do they taste like “real” bagels?
They’re different, for sure. Less dense, more tender. But in their own way, especially warm and fresh, they’re every bit as satisfying.
How many does the recipe make?
The base recipe makes four standard-sized bagels. You can easily double it if you’re feeding more people or want extras to freeze.
Can I add mix-ins to the dough?
Absolutely. Just don’t overload it or the dough gets hard to shape. A handful of shredded cheese, chopped herbs, or even dried fruit can work wonderfully.
If you’ve been craving the comfort of homemade bread without the commitment of proofing or boiling, these Greek yogurt bagels are your answer. They’re a testament to how a little creativity—and a little yogurt—can go a long way. I hope you try them, tweak them, and make them your own. And if you do, I’d love to hear how they turned out. Leave a comment, share a photo, or just tell me what you paired them with. From my kitchen to yours, happy baking.
Nutrition Information (Per Bagel – Approximate):
- Calories: 170
- Protein: 10g
- Fat: 2.5g
- Carbohydrates: 28g
- Sugar: 2g
- Fiber: 1g
- Sodium: 180mg

Greek Yogurt Bagels
Ingredients
- 1 cup self-rising flour
- 1 cup plain Greek yogurt full-fat or low-fat
- 1 egg beaten (for egg wash)
- Optional toppings: everything bagel seasoning sesame seeds, poppy seeds, shredded cheese
Instructions
- Preheat oven: Preheat your oven to 375°F (190°C). Line a baking sheet with parchment paper.
- Mix dough: In a medium bowl, combine self-rising flour and Greek yogurt. Stir until a shaggy dough forms, then knead by hand (about 2–3 minutes) until smooth and slightly tacky.
- Shape bagels: Divide the dough into 4 equal pieces. Roll each into a rope and form into a bagel shape, pinching the ends together.
- Egg wash and toppings: Place bagels on the prepared baking sheet. Brush each with beaten egg and sprinkle with your desired toppings.
- Bake: Bake for 22–25 minutes, or until golden brown. For extra crispiness, broil for 1–2 minutes at the end (optional).
- Serve: Let cool slightly before slicing. Enjoy plain, toasted, or with your favorite spreads.
Notes
- No self-rising flour? Mix 1 cup all-purpose flour with 1½ tsp baking powder and ¼ tsp salt.
- Make it sweet: Add a touch of cinnamon and a drizzle of honey for a breakfast treat.
- Storage: Store in an airtight container for up to 2 days or freeze for longer shelf life.
- Toast to reheat: These taste great when toasted, especially the next day!