
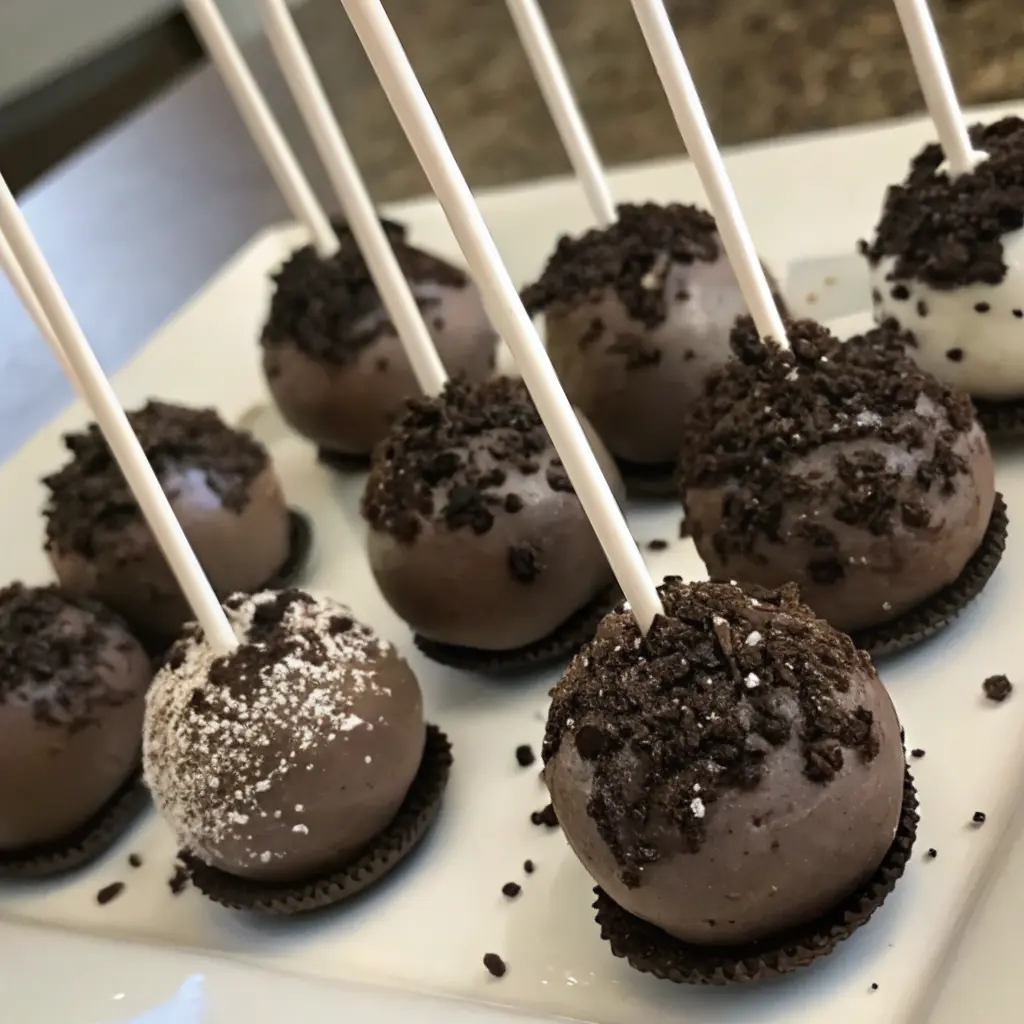
It started with a school fundraiser. I’d signed up for “baked goods,” thinking I’d make a tray of brownies or sugar cookies, something I could pull off between dinner and dishes. But then my daughter, all wide eyes and hopeful smiles, asked if we could make something “cool and round on a stick—like at the coffee shop.” That’s how Oreo cake pops made their way into my kitchen. I’ll admit, the first batch was a sticky mess. I didn’t freeze them long enough, the chocolate seized, and half of them slid off the sticks like sleepy little planets. But the second time? Magic. I found a rhythm—crush, mix, roll, chill, dip—and the result was this impossibly creamy, chocolatey treat with just the right snap from the coating. And the best part? No baking, no fuss. Just a bit of patience and a few pantry staples. Now, they’ve become a tradition—not just for fundraisers or parties, but for rainy Saturdays, birthdays, and days when we need something sweet to share and make with our hands.

Why You’ll Love This Recipe:
- No baking required
- Uses just 3 main ingredients
- Fun to make with kids or friends
- Easy to customize with toppings and colors
- Great for parties, gifts, or school events
Ingredients You’ll Need:
1 package (about 36 cookies) of Oreo cookies: Classic is my go-to, but I’ve tried this with mint, birthday cake, and even golden Oreos. Each one brings its own twist. Just be sure you’re using the full sandwich cookie—filling and all.
1 (8 oz) block of cream cheese, softened: I always use full-fat cream cheese for that rich, smooth texture. Let it sit out for a bit so it mixes easily. Low-fat versions work, but they’ll be a little softer and more delicate to dip.
12 oz melting chocolate or candy coating: I usually use semi-sweet chocolate wafers or almond bark. If I’m feeling festive, I’ll add a drizzle of white chocolate or colored candy melts on top.
Optional Toppings: Crushed Oreos, sprinkles, drizzle of melted chocolate, or even a dusting of edible glitter if you’re feeling fancy.
Cake pop sticks: Or use lollipop sticks, wooden skewers, or even skip them for Oreo truffles. The stick just makes them feel like a party.
How to Make It (Step-by-Step Instructions):
Start by pulsing the Oreos in a food processor until they turn into fine crumbs—no big chunks. If you don’t have a food processor, you can place the cookies in a zip-top bag and crush them with a rolling pin. It’s not as tidy, but it’s strangely satisfying.
In a large bowl, combine the cookie crumbs with the softened cream cheese. I use a wooden spoon or my hands (messy, but efficient). Mix until it’s fully combined and you’ve got a thick, uniform dough. It should feel like a soft cookie dough.
Scoop out small portions—I use a tablespoon scoop—and roll them into balls between your palms. Place them on a parchment-lined baking sheet. You should get about 30 balls, give or take depending on how generous you are.
Now here’s the part I used to rush: chilling. Place the tray in the freezer for at least 30 minutes. This is what helps them hold their shape when you dip them. If you skip this, they’ll slide right off the stick and into the chocolate bath, and you’ll end up with some very rustic cake blobs.
When they’re firm, melt your chocolate in a heatproof bowl over simmering water or in the microwave in 30-second bursts. Stir until smooth. Dip each stick about half an inch into the chocolate, then insert it into a chilled ball—this helps anchor the stick. Then dip the entire ball, letting the excess drip off, and gently twirl to coat.
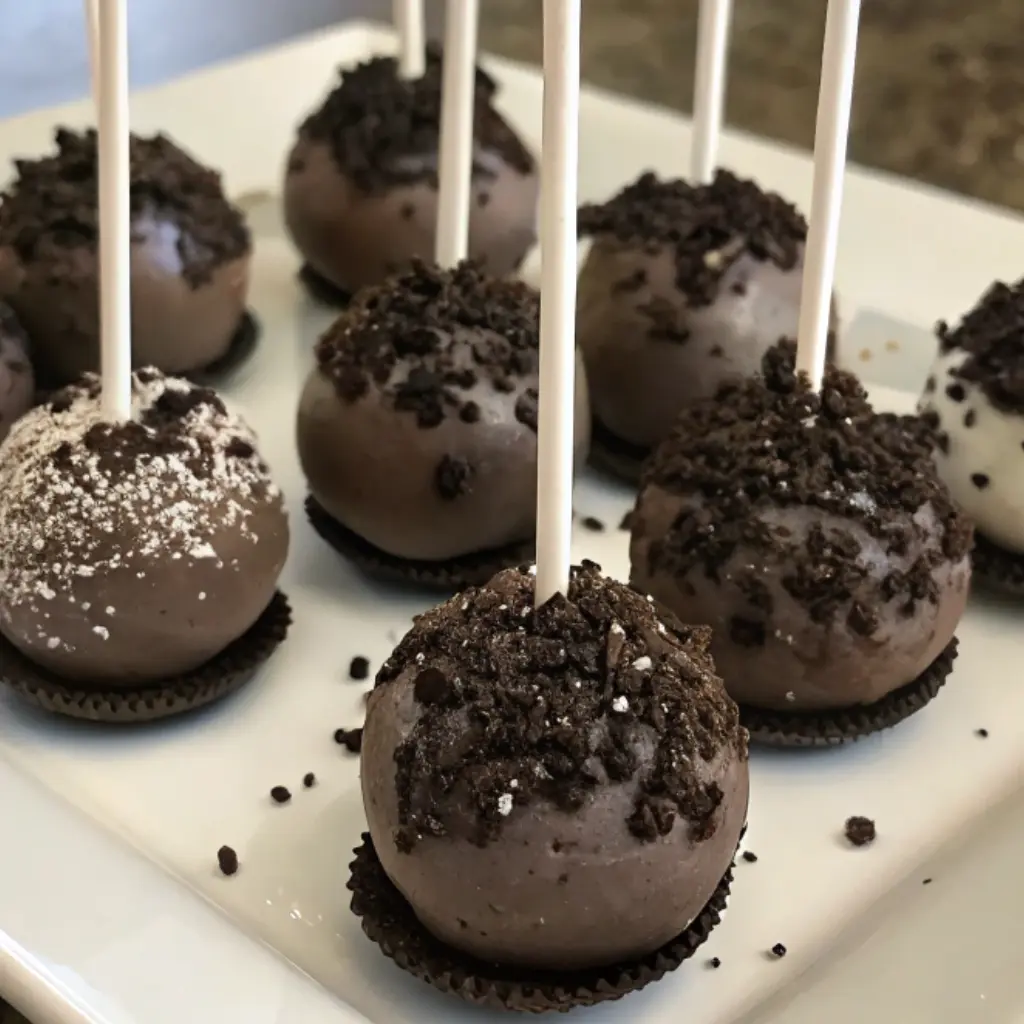
Place each dipped pop back on the parchment and decorate immediately if you’re using sprinkles or crushed Oreos. The chocolate sets fast, especially if your pops are cold. Let them sit at room temperature until firm, or pop them in the fridge to speed things up.
And there you have it—rich, velvety Oreo cake pops that disappear faster than you’d think.
Expert Tips for the Best Results:
Don’t skip the chilling. I know it’s tempting, especially when little hands are impatient, but a cold pop is the key to smooth dipping. Also, avoid using regular chocolate chips—they can seize or clump when melting. Go for candy melts or chocolate wafers if you can find them. And if your chocolate starts to thicken mid-dip, just reheat it gently. Finally, always tap off the excess coating—this helps keep your pops from forming a big puddle on the tray.
Variations & Substitutions:
I’ve made these with Golden Oreos and added lemon zest for a bright twist, and once I swapped in peanut butter Oreos with dark chocolate coating—total crowd-pleaser. For Halloween, I use orange candy melts and draw little jack-o’-lantern faces with black icing. Around Christmas, we crush up candy canes and sprinkle them on top. You can even swap the cream cheese for mascarpone if you want something milder, or dairy-free cream cheese for those with sensitivities. These are endlessly adaptable—you can dress them up or down depending on the occasion and your mood.
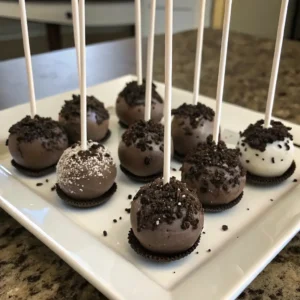
Serving Suggestions:
Oreo cake pops are perfect for birthday parties, bake sales, or shower dessert tables. I’ve also wrapped them in clear bags with ribbon for teacher gifts or stuck them in a mason jar bouquet for a friend who needed a little cheer. They hold up well at room temp for a few hours, so they’re easy to bring along. Honestly, they’re just as welcome at a picnic as they are at a holiday dinner. They bring out the kid in everyone.
Storage & Reheating Instructions:
Store your finished cake pops in an airtight container in the fridge for up to a week. If you’re making them ahead, you can freeze the uncoated balls for up to two months—just let them thaw in the fridge before dipping. Once dipped, they’re best stored cool and dry. No reheating needed—just grab and go.
Recipe FAQs :
Can I make these without a food processor?
Yes! A sturdy zip-top bag and rolling pin do the job just fine. It takes a bit longer, but the results are just as delicious.
How do I keep the coating smooth?
Use candy melts or melting wafers, and make sure your cake pops are very cold before dipping. If the chocolate gets thick, reheat gently and add a teaspoon of coconut oil if needed.
Can I freeze Oreo cake pops?
You sure can. I usually freeze the undipped balls, then dip them fresh. But you can freeze finished pops too—just thaw in the fridge before serving.
What if I don’t have sticks?
No problem. Skip the sticks and roll them in melted chocolate using a fork—Oreo truffles are just as tasty, and no one complains.
There’s something incredibly joyful about Oreo cake pops. Maybe it’s the size, or the fact that you don’t need an oven or fancy tools. But mostly, I think it’s because they’re easy to share—and that’s the kind of dessert that matters most in my kitchen. I hope you’ll give these a try, get your hands a little messy, and enjoy the process. And if you do, I’d love to hear how they turned out. Did you try a new flavor? Add a special topping? Leave a comment and let me know. These little treats have a way of starting new traditions, one pop at a time.
Oreo Cake Pops
Ingredients
- 36 Oreo cookies 1 standard package
- 6 oz cream cheese softened
- 10 oz chocolate candy melts or chocolate chips milk, dark, or white
- Sprinkles or crushed Oreos for decorating
- Lollipop sticks
Instructions
- Crush the Oreos: Place the Oreos (cream filling included) in a food processor and pulse until finely ground. Alternatively, crush in a zip-top bag using a rolling pin.
- Make the mixture: In a mixing bowl, combine the crushed Oreos with softened cream cheese. Mix until a thick, sticky dough forms.
- Form the cake balls: Roll the mixture into 1-inch balls and place on a baking sheet lined with parchment paper. Insert a lollipop stick into each ball.
- Chill: Freeze the pops for 30 minutes or refrigerate for at least 1 hour until firm.
- Melt the chocolate: Melt candy melts or chocolate chips in a microwave-safe bowl in 30-second intervals, stirring until smooth.
- Dip the pops: Dip each chilled cake pop into the melted chocolate, tapping off excess. Immediately decorate with sprinkles, crushed Oreos, or drizzle with contrasting chocolate.
- Set: Place dipped cake pops upright in a styrofoam block or upside down on a parchment-lined tray. Let chocolate harden completely.
- Serve: Enjoy immediately or store in an airtight container in the fridge.
Notes
- For smoother dipping, add a teaspoon of coconut oil or shortening to the melted chocolate.
- Use different chocolate coatings and colors to match holidays or party themes.
- Best stored in the fridge for up to 5 days; can also be frozen for longer storage.
- You can skip the sticks and serve them as Oreo truffles instead.

Leave a Reply