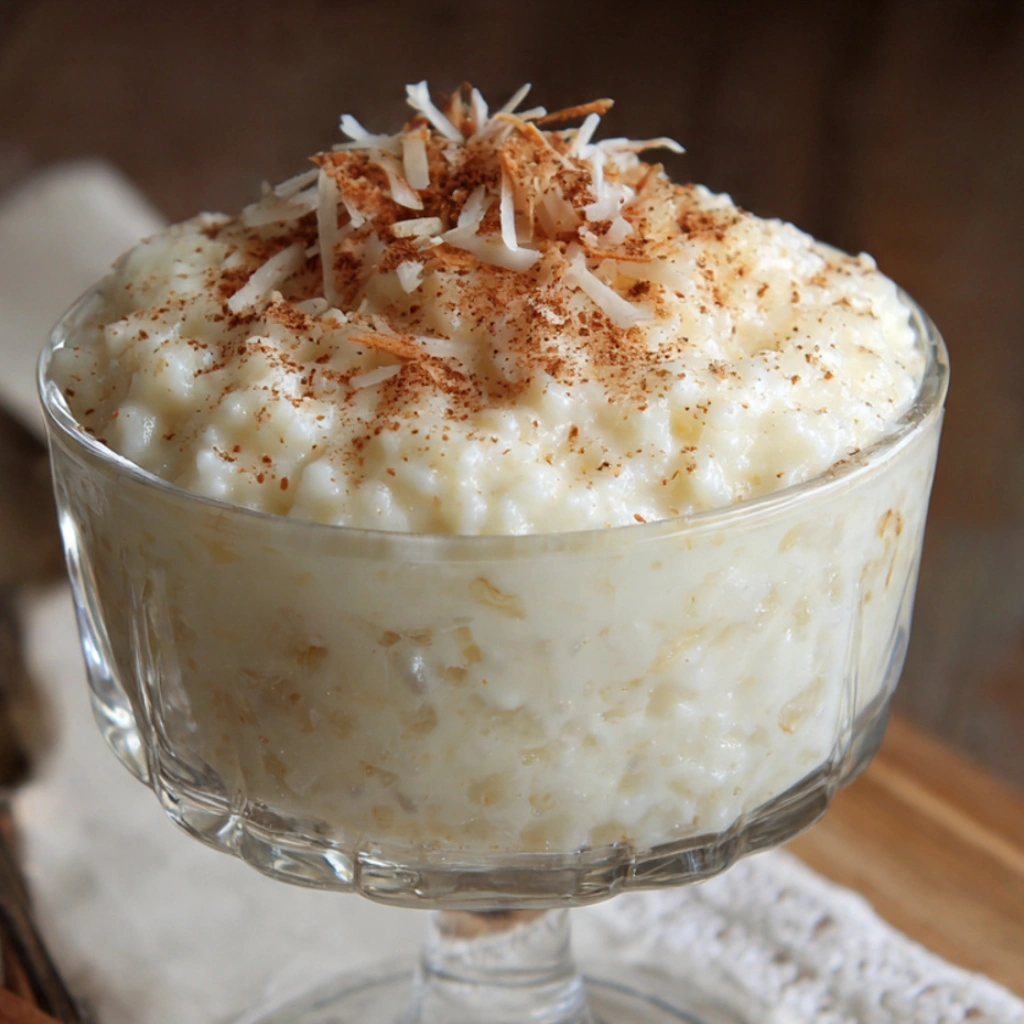
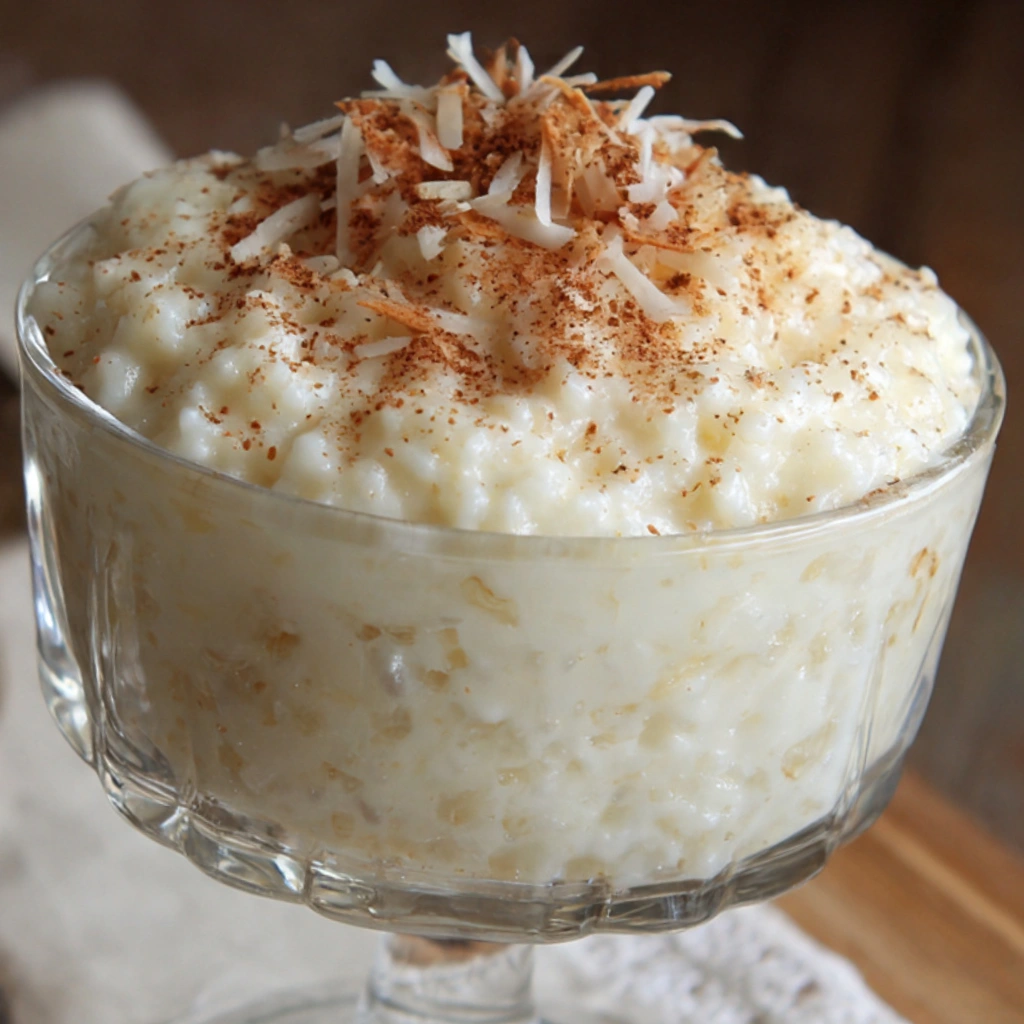
Rice pudding is one of those recipes I didn’t appreciate until I really needed it. Years ago, during a winter when everything felt rushed and noisy, I found myself standing in my kitchen late at night with a pot of leftover rice and no plan. I remember my grandmother used to make rice pudding when the pantry was nearly empty, turning something ordinary into something that felt like a hug. I didn’t have her recipe—just a memory of the smell of warm milk, vanilla, and patience. That first attempt wasn’t perfect. I scorched the bottom slightly, added too much sugar, and stirred too late. But when I finally sat down with a bowl, spoon warm in my hand, I understood why this dish has survived generations. Rice pudding doesn’t demand perfection. It asks you to slow down, pay attention, and trust the process. Over the years, I’ve made it dozens of times—on quiet Sundays, for sick family members, and for myself when I needed grounding. This version is the one I come back to, shaped by trial, error, and a lot of gentle stirring.
Why You’ll Love This Recipe
- Made with simple, affordable pantry ingredients
- Comforting without being overly sweet
- Easy to customize with what you already have
- Perfect warm or cold, depending on your mood
- A forgiving recipe that rewards patience, not precision
Ingredients You’ll Need
Rice pudding doesn’t need much, but each ingredient matters. I’ve learned that over time, especially after trying to rush it with shortcuts that never quite delivered the same comfort.
Rice – I usually use short-grain white rice because it releases starch slowly and creates that creamy texture without needing cream. Medium-grain works well too. I’ve tried long-grain in a pinch, and while it still tastes good, it doesn’t give the same silkiness.
Milk – Whole milk is my go-to. I’ve tested lower-fat milk, and while it works, the pudding feels thinner and less indulgent. If you’re using dairy-free milk, oat milk has given me the best results in terms of creaminess.
Sugar – Plain granulated sugar keeps the flavor clean. Brown sugar adds warmth, but it also deepens the flavor, which not everyone expects in rice pudding. I like to keep it simple.
Salt – Just a pinch, but don’t skip it. It balances the sweetness and keeps the pudding from tasting flat.
Vanilla extract – Added at the end, always. I learned the hard way that cooking vanilla too long dulls its flavor.
Butter – Optional, but I almost always add a small pat at the end. It softens the texture and adds a quiet richness.
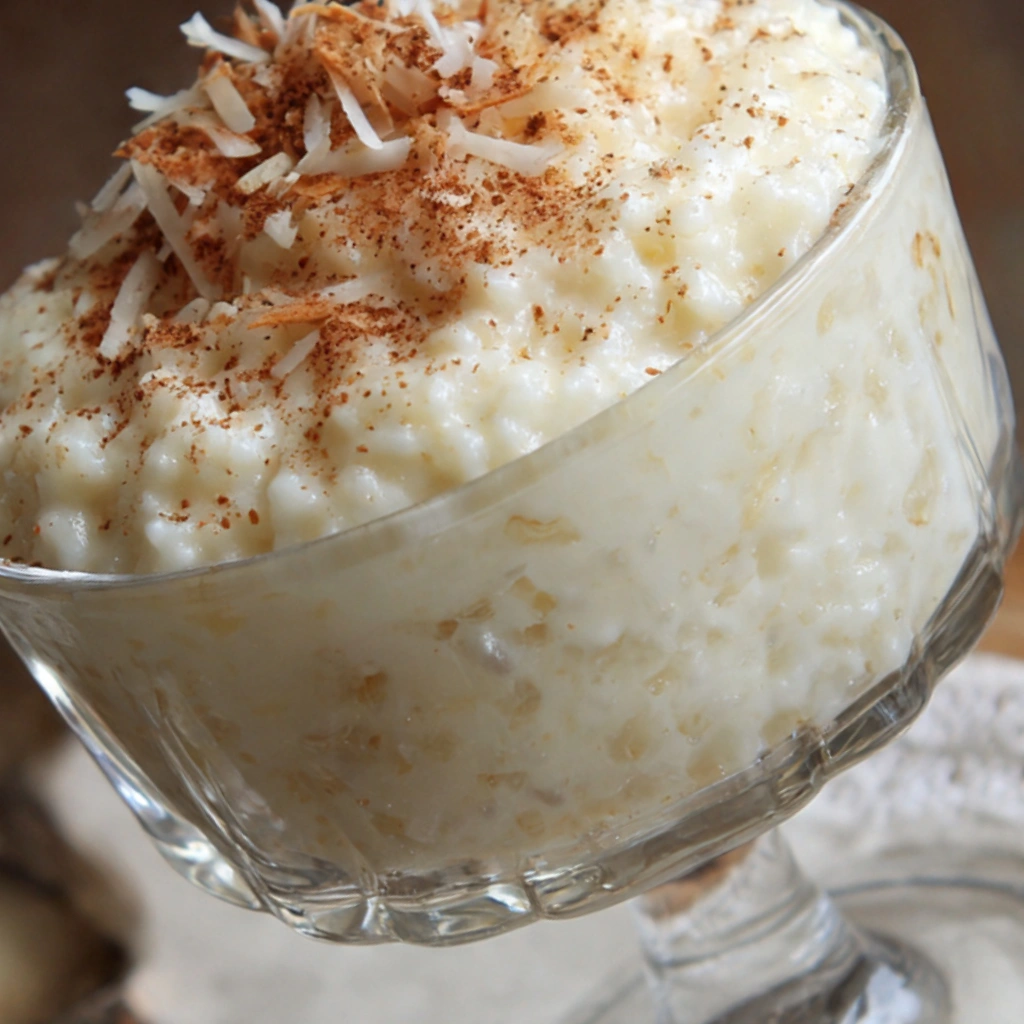
Cinnamon or nutmeg (optional) – I sprinkle this on at the end rather than cooking it in. It keeps the flavor gentle and familiar.
How to Make It (Step-by-Step Instructions)
Step 1: Start with the rice
In a heavy-bottomed saucepan, combine the rice with water and a pinch of salt. Cook it gently until the rice is tender and most of the water has been absorbed. This step matters more than it seems. Cooking the rice fully before adding milk prevents that chalky texture I used to get when I rushed things.
Step 2: Introduce the milk slowly
Once the rice is tender, lower the heat and stir in the milk. I add it gradually, stirring as I go. This helps the rice adjust to the temperature and releases starch at a steady pace. Bring it to a gentle simmer, never a boil. Boiling milk is where scorched pots and bitter flavors are born—I’ve been there.
Step 3: Stir and wait
This is the heart of the recipe. Let the mixture simmer gently, stirring often, especially along the bottom and corners of the pot. At first, it will look thin and unimpressive. Give it time. After about 20 to 25 minutes, you’ll notice it thickening, coating the spoon instead of running off it.
Step 4: Sweeten carefully
Once the pudding has thickened, stir in the sugar. Adding sugar too early can slow the softening of the rice, something I learned after a stubborn batch refused to thicken. Taste as you go—you can always add more later.
Step 5: Finish with warmth
Remove the pot from heat and stir in the vanilla and butter. The pudding will continue to thicken as it cools, so stop cooking when it’s slightly looser than you want it to be. This took me years to trust, but it makes all the difference.
Expert Tips for the Best Results
Rice pudding rewards attention more than speed. I’ve learned that the biggest secret is gentle heat and frequent stirring—not frantic, just consistent. Use a pot with a thick bottom, keep the flame low, and trust that time will do the work for you. If it looks thin early on, resist the urge to crank up the heat. That’s how you end up with scorched milk and uneven texture. Patience is what turns rice, milk, and sugar into something truly comforting.
Variations & Substitutions
Some of my favorite versions of this recipe happened by accident. Once, I ran out of whole milk and finished a batch with a splash of coconut milk, which added a subtle sweetness I didn’t expect to love as much as I did. I’ve stirred in raisins soaked in warm water when someone wanted a more traditional feel, and once added lemon zest on a whim for brightness—it worked beautifully. You can sweeten it with honey or maple syrup, though both change the flavor slightly. Rice pudding is flexible like that; it adapts to what you have and still feels complete.
Serving Suggestions
I serve rice pudding warm when I want comfort and quiet, usually in the evening with a dusting of cinnamon and nothing else competing for attention. Cold rice pudding is a different experience altogether—firmer, almost custard-like, and perfect for breakfast with fresh fruit. I’ve even packed it into small jars for road trips, where it feels like a small luxury pulled from a cooler.
Storage & Reheating Instructions
Rice pudding keeps well in the refrigerator for up to four days. I store it in a tightly covered container, knowing it will thicken as it rests. When reheating, I always add a splash of milk and warm it slowly on the stove or in short bursts in the microwave, stirring between each one. The texture softens again, though it will never be quite as loose as when it was freshly made—and that’s okay. Sometimes I prefer it that way.
Recipe FAQs (Answered by Clara)
Can I make this ahead of time?
You sure can. I often prepare it in the morning, cover it tightly, and pop it in the fridge. It actually tastes better after resting, as the flavors settle and mellow.
What’s the best spiralizer to use?
Rice pudding doesn’t need any fancy tools. A sturdy saucepan and a wooden spoon are all I’ve ever used, and I’ve never felt the need for anything more.
Can I serve it cold?
Absolutely. I often eat it straight from the fridge the next day. Cold rice pudding has a denser texture that I find especially comforting in the morning.
How do I make it less watery?
If your pudding is too thin, it usually just needs more time. Let it simmer gently a little longer, stirring often. If it’s already cooled and still loose, a brief reheat will usually thicken it up.
Conclusion
Rice pudding isn’t flashy or impressive, and that’s exactly why I love it. It’s honest food—made from patience, attention, and a willingness to slow down. If you’ve never made it from scratch, I hope you give this version a try. And if you have, maybe this will remind you why you fell in love with it in the first place. Make it your own, adjust it to your taste, and don’t worry about perfection. If you do try it, I’d love to hear how it turned out for you—your kitchen stories matter just as much as mine.
Nutrition Information (Optional)
Approximate values per serving:
Calories: 220
Carbohydrates: 38g
Protein: 7g
Fat: 5g
Sugar: 14g

Rice Pudding
Ingredients
- 1 cup cooked white rice
- 2 cups milk whole milk preferred
- ¼ cup granulated sugar
- 1 teaspoon vanilla extract
- ½ teaspoon ground cinnamon
- Pinch of salt
- ¼ cup raisins optional
- 1 tablespoon butter
Instructions
- In a medium saucepan, combine cooked rice, milk, sugar, cinnamon, and salt.
- Cook over medium-low heat, stirring frequently, for 20–25 minutes until thick and creamy.
- Stir in butter, vanilla extract, and raisins (if using).
- Continue cooking for another 5 minutes until desired consistency is reached.
- Remove from heat and let cool slightly.
- Serve warm or chilled.
Notes
- Creamier texture: Use half-and-half or add a splash of cream.
- Flavor variations: Add nutmeg, cardamom, or lemon zest.
- Dairy-free: Use almond, coconut, or oat milk.
- Storage: Refrigerate up to 4 days; thickens as it cools.
- Serving ideas: Top with cinnamon, fresh fruit, or caramel sauce.