There was a time when I truly believed chicken breast was doomed to be dry. No matter how carefully I cooked it, no matter how many marinades I tried, it always seemed to turn out tough, bland, or stringy. I’d stand in my kitchen, fork in hand, chewing far longer than necessary, wondering what I was doing wrong. Chicken breast is such a staple — affordable, lean, versatile — yet it felt like the hardest thing to get right.
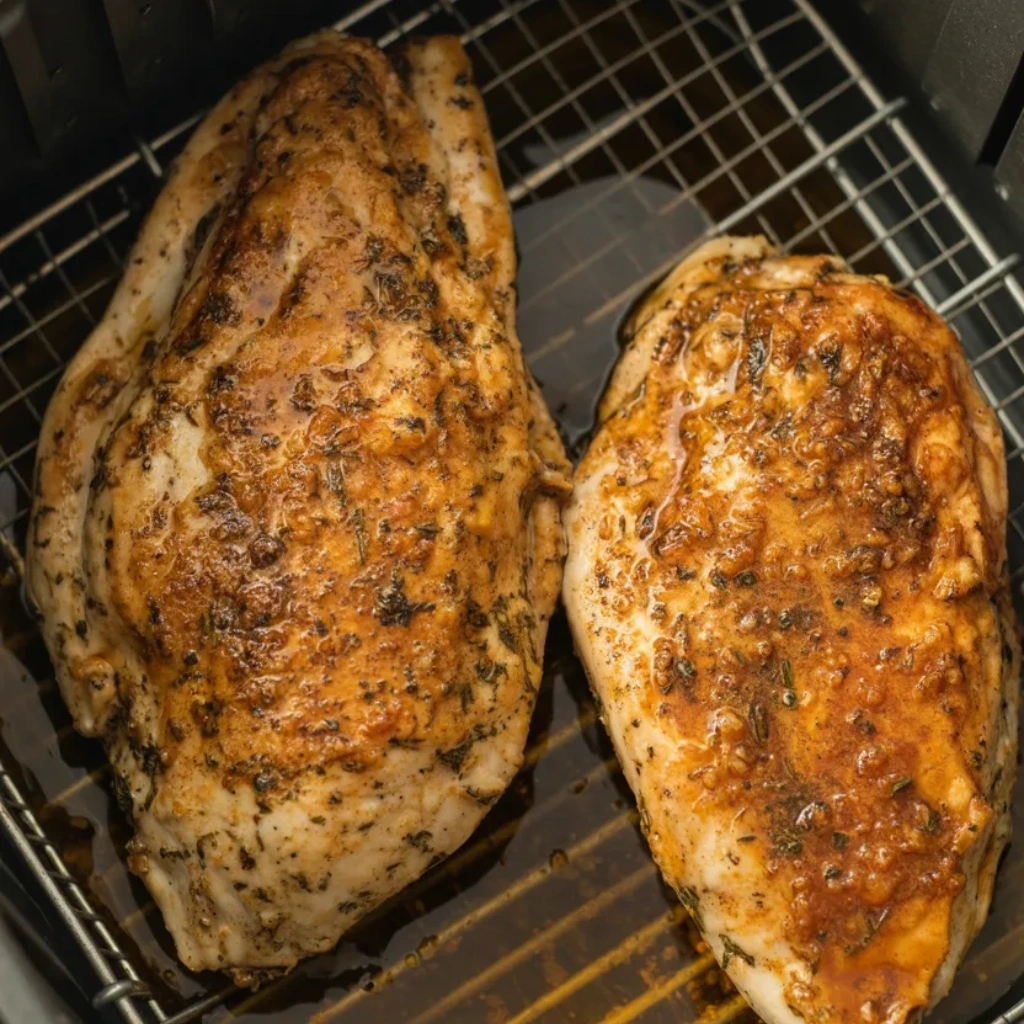
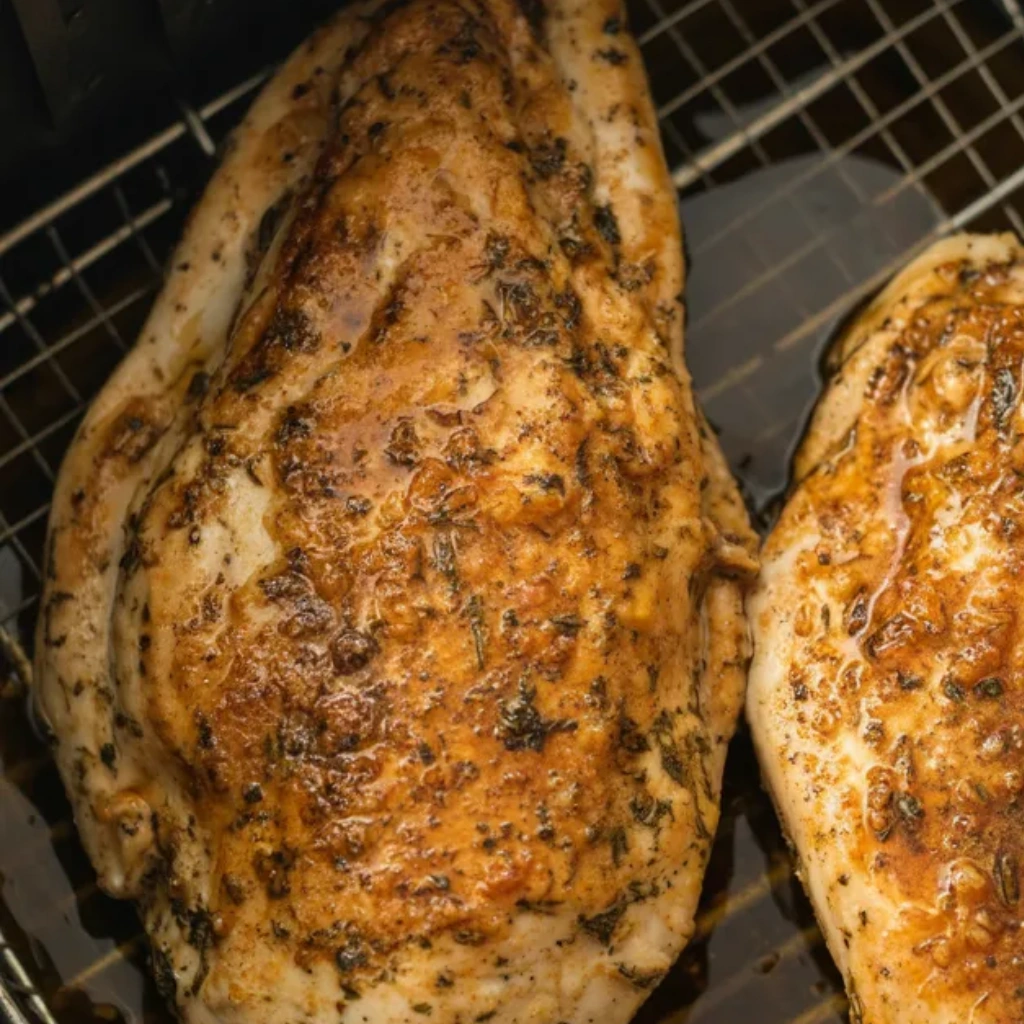
Then one busy Tuesday evening, after a long day when the thought of standing over a hot stove made my shoulders sag, I reached for my air fryer almost out of desperation. I seasoned two plain chicken breasts, slid them into the basket, set the timer, and hoped for the best. When I sliced into that first piece, the juices pooled gently on the cutting board, and I actually paused. It was tender. Moist. Flavorful. Everything chicken breast had never been for me before.
That moment changed how I cook chicken forever. Since then, air fryer chicken breast has become one of my most trusted recipes — the one I make when I’m tired, busy, feeding picky eaters, meal prepping for the week, or just craving something simple and good. Over countless batches, I’ve tweaked seasonings, tested temperatures, learned timing tricks, and discovered small details that make all the difference. This recipe is the result of those lessons, and I’m excited to share it with you.
Why You’ll Love This Recipe
- Incredibly juicy and tender every single time
- Quick and easy, perfect for busy weeknights
- Simple ingredients you already have on hand
- Budget-friendly and great for meal prep
- Versatile enough for salads, sandwiches, wraps, and more
- Foolproof method even for beginner cooks
Ingredients You’ll Need
Boneless, skinless chicken breasts: I usually go for medium-sized breasts, about 6–8 ounces each. Very large ones tend to cook unevenly, so if yours are thick, slicing them in half horizontally works wonders.
Olive oil: Just a light coating helps the seasoning stick and keeps the chicken from drying out. Avocado oil works beautifully too.
Salt: Don’t underestimate salt. It brings out the natural flavor of the chicken and helps keep it juicy.
Black pepper: Freshly cracked gives the best flavor, but pre-ground works just fine.
Garlic powder: Adds depth without overpowering the chicken. I’ve tried fresh garlic, but it tends to burn in the air fryer.
Paprika: This gives gentle warmth and gorgeous color. Smoked paprika is wonderful if you want extra depth.
Italian seasoning or dried herbs: I love a blend of oregano, basil, thyme, and rosemary. Use whatever you have.
Optional extras: Onion powder, cayenne pepper for heat, lemon zest, or a pinch of brown sugar for subtle sweetness. This recipe is endlessly flexible.
How to Make It (Step-by-Step Instructions)
Step 1: Prepare the Chicken
Start by patting your chicken breasts completely dry with paper towels. This step seems small, but it makes a noticeable difference. Removing surface moisture allows the oil and seasoning to cling properly and helps the chicken develop better texture as it cooks. If the breasts are particularly thick, I carefully slice them in half horizontally to create thinner cutlets. This ensures they cook evenly and stay tender all the way through.
Step 2: Season Generously
Place the chicken in a bowl or directly on a cutting board. Drizzle with olive oil and rub it in gently with your hands, making sure each piece is lightly coated. Then sprinkle salt, pepper, garlic powder, paprika, and Italian seasoning evenly over both sides. I always take a moment here to really massage the seasoning into the meat — it’s a simple habit that leads to much better flavor.
Step 3: Preheat the Air Fryer
Preheating is something I used to skip, but I’ve learned that it makes a big difference. Set your air fryer to 375°F (190°C) and let it heat for about 3 minutes. Starting with a hot basket helps the chicken cook evenly and develop a nice exterior.
Step 4: Arrange the Chicken
Place the seasoned chicken breasts in a single layer in the air fryer basket. Avoid overcrowding. If they’re touching or overlapping, they’ll steam instead of roast, which affects texture. If needed, cook in batches. It’s worth the extra few minutes.
Step 5: Cook to Perfection
Air fry at 375°F for 9–12 minutes, flipping halfway through. Cooking time depends on thickness. I always use a meat thermometer now, something I resisted for years but now consider essential. The chicken is done when it reaches 165°F (74°C) at the thickest point. Once you hit that temperature, pull it out immediately to avoid overcooking.
Step 6: Rest Before Slicing
This step is non-negotiable. Let the chicken rest for 5 minutes before slicing. Resting allows the juices to redistribute, giving you tender, juicy meat instead of dry fibers. It’s the difference between good chicken and truly great chicken.
Expert Tips for the Best Results
Through countless batches, I’ve learned that thickness matters more than almost anything else, so taking a minute to even out your chicken breasts pays off in consistent results; using a thermometer removes all guesswork and eliminates the fear of undercooking or the disappointment of dryness; preheating the air fryer creates better texture; seasoning generously but simply lets the chicken shine; and finally, letting the chicken rest before slicing ensures every bite stays juicy, something I wish I’d learned much earlier in my cooking journey.
Variations & Substitutions
One of the things I love most about this recipe is how adaptable it is, and over time I’ve made countless versions depending on what I had in my pantry. Some nights I swap Italian seasoning for taco seasoning and serve it in wraps with avocado and salsa, other nights I lean into lemon pepper for a brighter flavor, and once, when I was completely out of olive oil, I used melted butter and discovered it gave the chicken a slightly richer taste that my family absolutely loved, so now I rotate that version in when I want something extra comforting.
Serving Suggestions
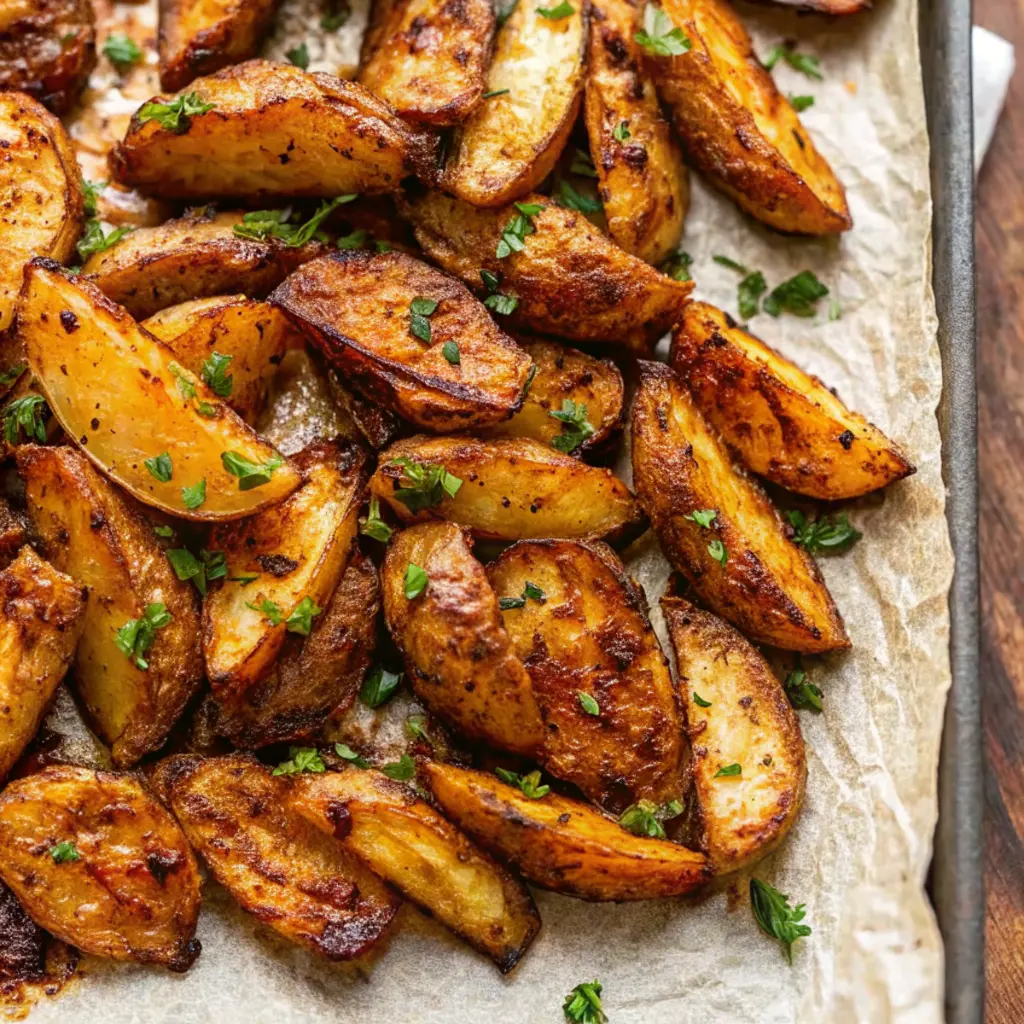
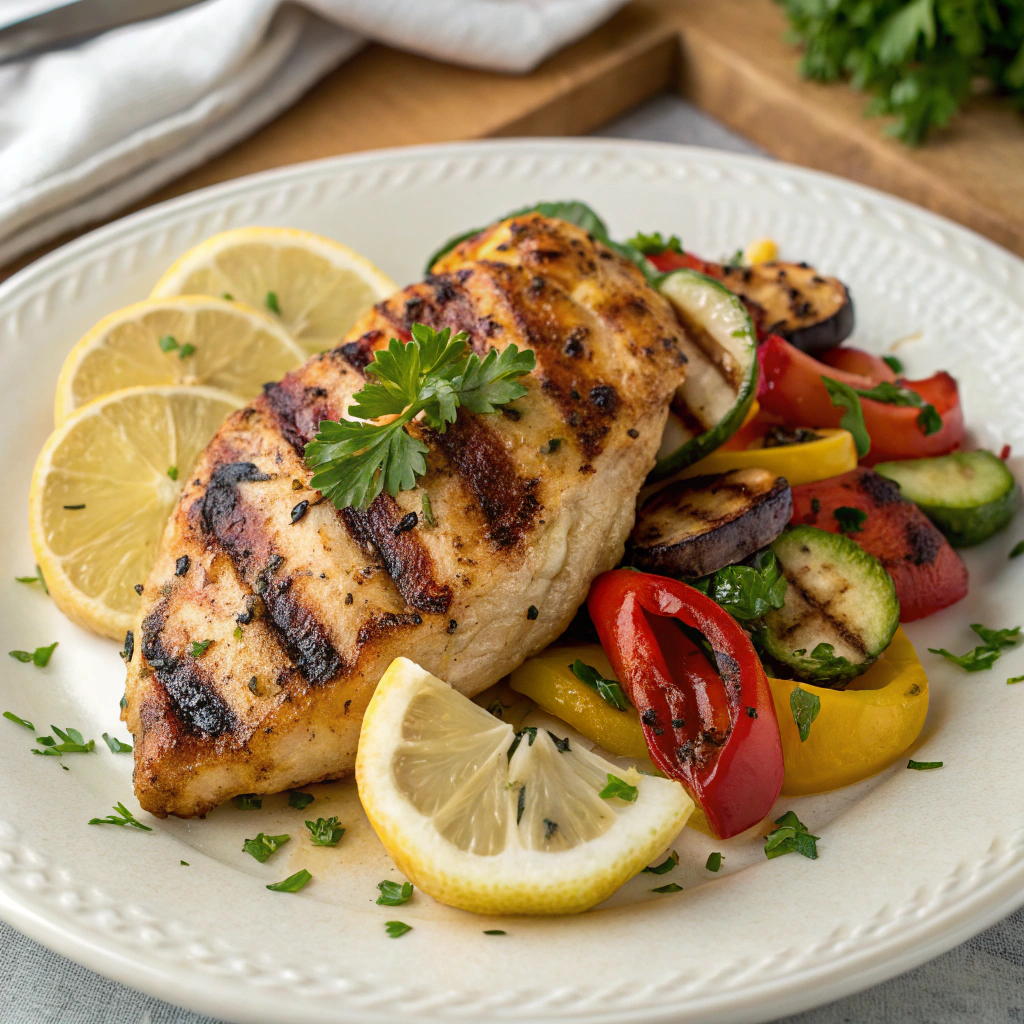
This chicken shows up in my kitchen in more ways than I can count: sliced over fresh green salads, tucked into warm wraps, layered into sandwiches, diced for meal-prep grain bowls, or served simply with roasted vegetables and potatoes. It works beautifully for quick lunches, easy dinners, family gatherings, and even those nights when everyone eats at different times, because it reheats so well and stays tender.
Storage & Reheating Instructions
Leftover chicken goes into an airtight container in my refrigerator and stays fresh for up to four days, making it perfect for weekly meal prep, and when it’s time to reheat, I prefer using the air fryer again at 350°F for about three minutes, which revives the texture beautifully without drying it out, though the microwave works in a pinch if covered loosely to retain moisture.
Recipe FAQs (Answered by Clara)
Can I make this ahead of time?
You sure can. I often cook a big batch on Sunday and use it all week for salads, wraps, and quick dinners. Stored properly, it stays juicy and flavorful, and honestly, it makes busy days so much easier.
What’s the best spiralizer to use?
When I serve this chicken with veggie noodles, I usually reach for a simple handheld spiralizer. It’s affordable, easy to clean, and gives me exactly the texture I want without cluttering up my kitchen drawers.
Can I serve it cold?
Absolutely. I love slicing it thin and adding it to cold pasta salads or leafy green salads. It holds its flavor well even straight from the fridge, which makes it perfect for lunches on the go.
How do I make it less watery?
Make sure to pat the chicken dry before seasoning, avoid overcrowding the air fryer basket, and always let the chicken rest after cooking. These small steps prevent excess moisture and give you beautifully tender meat instead of watery results.

Conclusion
If you’ve ever struggled with dry chicken breast, I hope this recipe gives you a fresh start. It took me years of trial and error to find a method that works every time, and now it’s one of my most trusted kitchen staples. Whether you’re cooking for yourself, your family, or a full table of friends, this air fryer chicken breast is reliable, comforting, and endlessly adaptable. I’d love to hear how you season yours, what you serve it with, and how it fits into your week — so don’t be shy about sharing your experience. Happy cooking, and may your kitchen always smell wonderful.
Nutrition Information (Per Serving, Approximate)
Calories: 165
Protein: 31g
Fat: 4g
Carbohydrates: 1g
Fiber: 0g
Sodium: 280mg

Air Fryer Chicken Breast
Ingredients
- 4 boneless skinless chicken breasts (6–8 oz each)
- 1½ tablespoons olive oil
- 1 teaspoon paprika
- 1 teaspoon garlic powder
- ½ teaspoon onion powder
- ½ teaspoon salt
- ½ teaspoon black pepper
- ½ teaspoon Italian seasoning optional
Instructions
- Preheat air fryer to 375°F (190°C) for 3 minutes.
- Pat chicken breasts dry with paper towels.
- Rub chicken with olive oil.
- In a small bowl, mix paprika, garlic powder, onion powder, salt, pepper, and Italian seasoning.
- Season chicken evenly on both sides.
- Place chicken in the air fryer basket in a single layer.
- Cook for 14–16 minutes, flipping halfway through, until internal temperature reaches 165°F (74°C).
- Let rest 5 minutes before slicing or serving.
Notes
- Extra juicy chicken: Brine chicken in salt water for 15 minutes before cooking.
- Even cooking: Pound thicker chicken breasts to uniform thickness.
- Flavor variations: Try lemon pepper, Cajun seasoning, or BBQ rub.
- Storage: Refrigerate leftovers up to 4 days.
- Meal prep: Perfect for salads, wraps, and grain bowls.