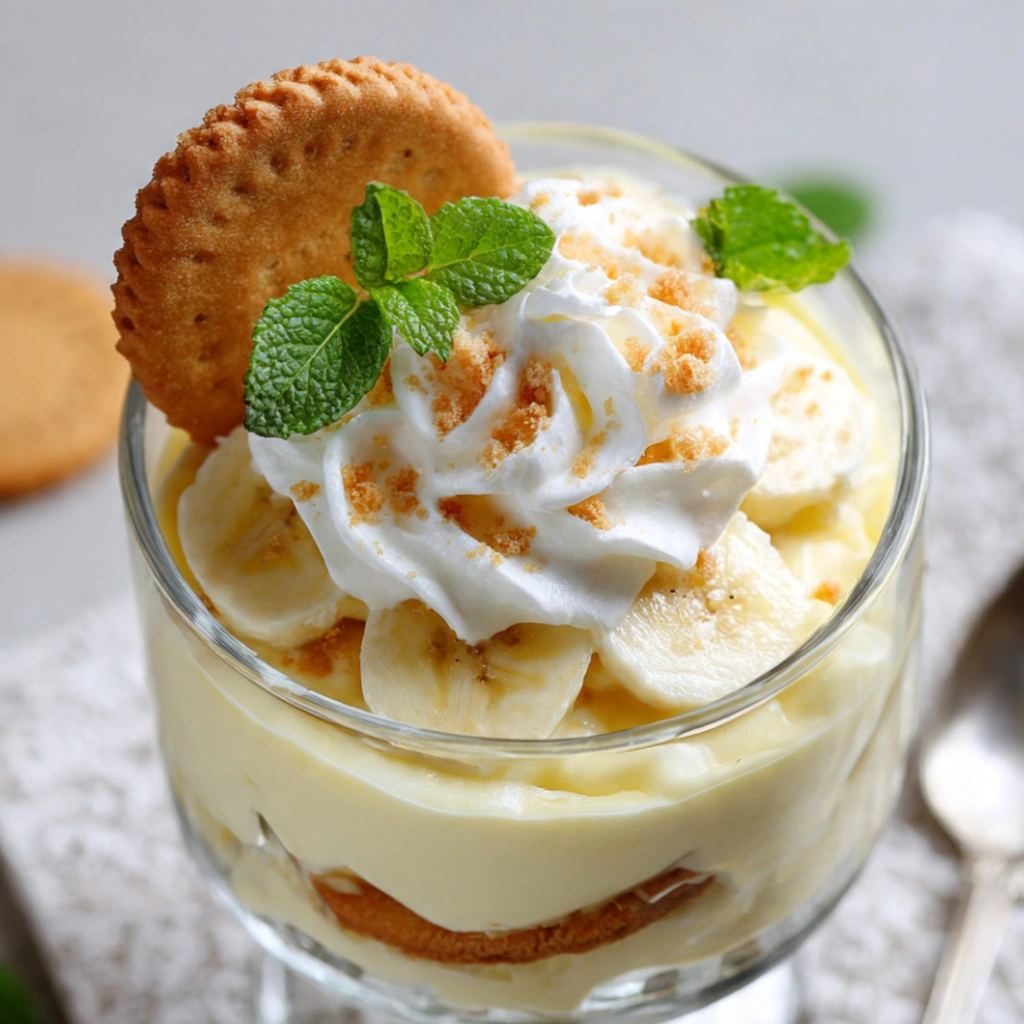
I still remember the first time I made banana pudding from scratch—not from a box, not rushed, but the kind you build slowly, layer by layer, like you’re telling a story. It was a Sunday afternoon, the kind where the kitchen feels quieter than usual, and I had a few overripe bananas sitting on the counter, begging not to be wasted. My grandmother used to make banana pudding for every family gathering, and I’ll admit, I avoided it for years because I thought it was too simple to be worth the effort. But that day, I gave in—and somewhere between whisking the custard and layering those soft cookies, I understood why she never skipped it.
Banana pudding isn’t just dessert. It’s comfort in a bowl. It’s the kind of recipe that doesn’t try too hard, but still manages to make people pause after the first bite. Over the years, I’ve made it dozens of times—sometimes for guests, sometimes just for myself—and every time, I learn something new about how to make it just a little better.
Why You’ll Love This Recipe
- It’s made with simple, affordable ingredients you likely already have
- The homemade custard brings a rich, creamy depth you won’t get from instant mixes
- It’s a no-fuss dessert that feels nostalgic and comforting
- Perfect for making ahead—actually tastes better after chilling
- Easy to customize depending on what you have on hand
Ingredients You’ll Need
- 4 ripe bananas
You want them spotty but not mushy. I’ve made the mistake of using overripe bananas before, and they turned the layers too soft and almost grainy. Slightly firm is better. - 1 box vanilla wafers (or similar cookies)
These soften beautifully as the pudding sits. I’ve swapped them with shortbread in a pinch, and while different, it still worked. - 2 cups whole milk
I always go with whole milk here—it gives the custard that richness that makes a difference. I once tried low-fat, and it just didn’t have the same body. - 1/2 cup granulated sugar
- 3 tablespoons cornstarch
- 1/4 teaspoon salt
- 3 large egg yolks
Don’t skip these—they’re what give the custard its silky texture. - 2 tablespoons unsalted butter
- 1 teaspoon vanilla extract
Use real vanilla if you can. It’s a small detail, but you’ll taste it. - Optional: whipped cream for topping
How to Make It (Step-by-Step Instructions)
Step 1: Make the Custard Base
In a medium saucepan, whisk together the sugar, cornstarch, and salt. Slowly pour in the milk while whisking to avoid lumps. I used to rush this part and ended up with clumps that never quite smoothed out—take your time here.
Place the pan over medium heat and cook, stirring constantly. You’ll notice it slowly thickening after a few minutes. Don’t walk away. This is one of those moments where the pudding decides its fate.
Step 2: Temper the Eggs
In a small bowl, lightly beat the egg yolks. Once your milk mixture is warm (not boiling), take a ladle of it and slowly whisk it into the egg yolks. This step always felt intimidating to me at first, but it’s simply about bringing the eggs up to temperature without scrambling them.
Then, pour the egg mixture back into the saucepan, whisking continuously.
Step 3: Cook Until Thick
Continue cooking the mixture for another 2–3 minutes until it becomes thick and creamy. You’ll know it’s ready when it coats the back of a spoon.
Remove from heat and stir in the butter and vanilla extract. Let it cool slightly. I’ve poured it too hot over the bananas before, and it softened everything too quickly—letting it sit for a few minutes makes a difference.
Step 4: Slice the Bananas
Slice your bananas into even rounds. Try to keep them uniform so each bite feels balanced. I usually do this just before assembling to keep them from browning.
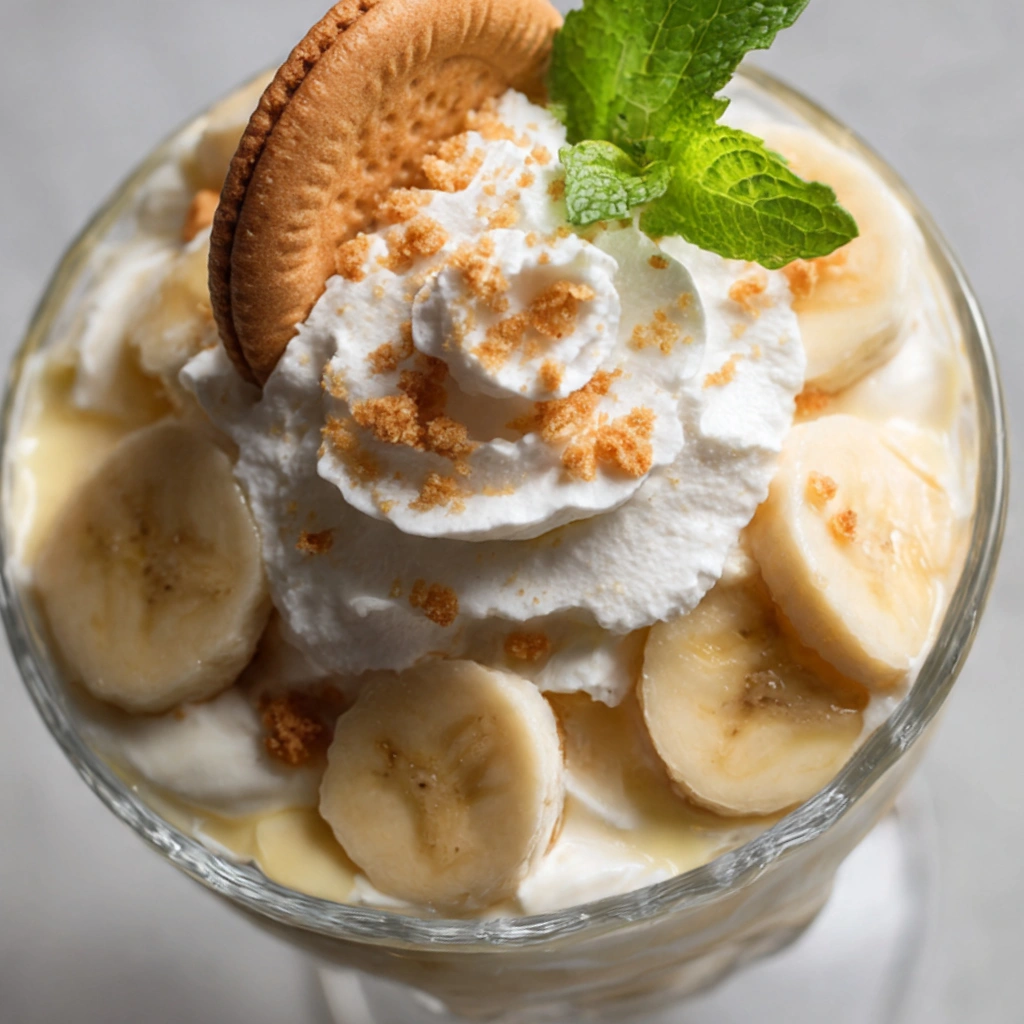
Step 5: Layer Everything
In a serving dish or individual cups, start with a layer of vanilla wafers. Then add a layer of sliced bananas, followed by a layer of custard. Repeat the layers until everything is used, finishing with custard on top.
If you’re adding whipped cream, spread it over the final layer.
Step 6: Chill and Let It Set
Cover the pudding and refrigerate for at least 4 hours, but overnight is even better. This is where everything comes together—the cookies soften, the flavors meld, and the texture becomes something special.
Expert Tips for the Best Results
Over time, I’ve learned that banana pudding rewards patience more than anything else. Don’t rush the custard—keep the heat moderate and stir consistently so it thickens evenly without scorching at the bottom. Let the pudding cool just enough before layering so it doesn’t break down the bananas too quickly, and always slice the bananas right before assembling to keep them fresh. If there’s one thing I never skip anymore, it’s the chilling time; what tastes good after a couple of hours becomes something truly comforting after sitting overnight, when the cookies soften into that perfect cake-like layer.
Variations & Substitutions
There have been evenings when I didn’t have everything on hand, and banana pudding turned into a bit of an improvisation—and honestly, that’s part of its charm. I’ve used graham crackers when I ran out of vanilla wafers, and while the flavor shifted slightly, it still held together beautifully. Once, I folded a bit of cream cheese into the custard for a richer, tangier version that reminded me of cheesecake. If you’re dairy-free, almond milk can work, though the custard won’t be quite as thick. And if you like a little texture contrast, adding a layer of lightly toasted coconut or even chopped nuts can surprise you in the best way.
Serving Suggestions
I tend to bring this out when people least expect dessert—after a simple dinner, or even in the afternoon with coffee. It’s not flashy, and that’s exactly why it works. Serve it chilled, straight from the fridge, in a big dish for everyone to scoop from, or in smaller glasses if you want it to feel a bit more special. It pairs beautifully with something warm to drink, like coffee or tea, and I’ve found it’s often the quiet desserts like this that people go back for seconds without even thinking.
Storage & Reheating Instructions
Banana pudding is one of those desserts that holds up well in the fridge, though it does change slightly over time. I keep it covered tightly and store it for up to 3 days, knowing that the bananas may soften more with each day. The flavor deepens, though, and I’ve never had anyone complain about leftovers. This isn’t something you reheat—it’s meant to be enjoyed cold—but if it firms up too much, letting it sit at room temperature for about 10 minutes before serving brings back that creamy texture.
Recipe FAQs (Answered by Clara)
Can I make this ahead of time?
You sure can. I often prepare it in the morning, cover it tightly, and pop it in the fridge. It actually tastes better after resting.
What’s the best spiralizer to use?
For banana pudding, you won’t need one at all. A simple knife does the job perfectly—just slice your bananas evenly so each layer feels balanced.
Can I serve it cold?
Yes, and in my opinion, that’s the best way. Banana pudding really shines when it’s fully chilled and the layers have had time to settle together.
How do I make it less watery?
From experience, watery pudding usually comes from undercooked custard or overly ripe bananas. Make sure your custard thickens properly on the stove, and use bananas that are ripe but still firm.
Conclusion
Banana pudding has a quiet kind of magic to it. It doesn’t rely on complicated steps or fancy ingredients—it just asks you to slow down a little and trust the process. If you’ve never made it from scratch before, I hope you give it a try and see how different it feels from the boxed version. And if you have your own way of making it, I’d love to hear about it—because recipes like this aren’t meant to stay exactly the same. They grow with us, just like the memories we attach to them.
Nutrition Information (Optional)
Per serving (approximate):
- Calories: 280
- Carbohydrates: 40g
- Protein: 4g
- Fat: 10g
- Sugar: 25g
Values may vary depending on ingredients and portion size.

Banana Pudding
Ingredients
- 1 box 5 oz instant vanilla pudding mix
- 2 cups cold milk
- 1 can 14 oz sweetened condensed milk
- 1 teaspoon vanilla extract
- 1½ cups heavy whipping cream or whipped topping
- 4 –5 ripe bananas sliced
- 1 box vanilla wafers
Instructions
Prepare the pudding:
- In a large bowl, whisk together pudding mix and cold milk until thickened.
Add richness:
- Stir in sweetened condensed milk and vanilla extract until smooth.
Whip the cream:
- In a separate bowl, whip heavy cream until soft peaks form.
- Gently fold into the pudding mixture.
Layer the dessert:
- In a serving dish, layer vanilla wafers, banana slices, and pudding mixture.
- Repeat layers until all ingredients are used, ending with pudding on top.
Chill:
- Cover and refrigerate for at least 4 hours or overnight for best flavor.
Serve:
- Top with extra whipped cream or crushed wafers before serving.
Notes
- Best bananas: Use ripe but firm bananas to avoid mushiness.
- Make ahead: This dessert tastes better after chilling overnight.
- Variation: Add a layer of caramel or chocolate for a twist.
- Storage: Refrigerate for up to 3 days (bananas may darken slightly).