I still remember the first time I truly paid attention to French fries—not the fast-food kind I grabbed out of habit, but the kind that made me stop mid-bite and think, how is something so simple this good? I was in a small seaside kitchen years ago, visiting a friend who insisted we make fries from scratch instead of ordering takeout. I laughed at her confidence at the time. Potatoes and oil? How complicated could that be?
Well, I learned quickly that French fries are deceptively simple. They’re one of those foods that quietly demand respect. That afternoon, we stood over a pot of bubbling oil, talking about everything and nothing, while batches of potatoes slowly transformed into golden sticks of comfort. I burned the first batch. She didn’t let me forget it. But by the second and third try, something clicked—not just in the technique, but in the rhythm of it.
Since then, homemade French fries have become one of my quiet kitchen rituals. Not rushed, not perfect, but honest. And every time I make them, I’m reminded that good food often comes from slowing down and paying attention to the little things most people overlook.
Why You’ll Love This Recipe
- Delivers crispy fries with a soft, fluffy interior
- Uses simple pantry ingredients you already have
- No fancy equipment required, just patience and care
- Tastes far better than store-bought or frozen versions
- Easy to customize with seasonings and dips
Ingredients You’ll Need
For something so iconic, the ingredient list is refreshingly simple, which is part of the beauty of French fries. You really only need potatoes, oil, and salt—but each choice matters more than you might expect.
I usually reach for russet potatoes because they’re high in starch and give that classic fluffy interior. I’ve tried waxy potatoes before, especially when I ran out of russets, and while they hold their shape nicely, they never quite give that airy bite I’m looking for.
You’ll also need a neutral oil with a high smoke point. Vegetable oil is my usual go-to, though I’ve used sunflower oil and even peanut oil when I want a slightly richer finish. Olive oil, in my experience, is not ideal here—it tends to overpower the clean, simple flavor fries should have.
And of course, salt. I always say fries are a salt delivery system in the best possible way, so don’t be shy with it. Sometimes I’ll finish them with a little flaky sea salt right after frying for that extra crunch of flavor.
Optional but worth considering: a pinch of paprika, garlic powder, or even a light dusting of parmesan at the end if you want to take them in a slightly more indulgent direction.
How to Make It (Step-by-Step Instructions)
Step 1: Prep and cut the potatoes
Start by peeling your potatoes if you prefer skinless fries. I often leave a bit of skin on for texture, especially when I’m making a rustic batch at home. Slice them evenly into sticks—not too thin, not too thick. The goal here is consistency. Uneven fries mean uneven cooking, and that’s where frustration usually begins.
Once cut, place them in a large bowl of cold water. This step is not optional. It removes excess starch and helps prevent soggy fries later. I usually let them soak for at least 30 minutes, sometimes longer if I’m multitasking around the kitchen.
Step 2: Dry thoroughly (this is where most people rush)
After soaking, drain the potatoes and pat them completely dry with a clean kitchen towel. I cannot stress this enough: moisture is the enemy of crispiness. The first time I made fries, I skipped this step because I was impatient, and the oil reacted like it was offended. It splattered everywhere, and the fries turned limp instead of golden.
Now I take my time here. I even let them air-dry for a few extra minutes if I can.
Step 3: First fry (the gentle cook)
Heat your oil to about 300°F (150°C). If you don’t have a thermometer, test with a small piece of potato—it should bubble gently, not aggressively.
Fry the potatoes in batches. Don’t overcrowd the pot; give them space to move. At this stage, you’re not looking for color, just tenderness. They should come out soft and slightly pale. This step feels unexciting, but it’s the foundation of everything that comes next.
Once done, transfer them to a paper towel-lined tray and let them rest. This pause is important—it allows moisture to escape and sets you up for that final crisp.
Step 4: Second fry (the transformation)
Now increase your oil temperature to 375°F (190°C). This is where the magic happens. The same fries that looked soft and unassuming earlier will suddenly start turning golden and crisp at the edges.
Again, work in batches. Fry until they reach a deep golden color, then remove and drain them on fresh paper towels. While they’re still hot, season with salt immediately so it sticks properly.
This is the moment I always pause for a second, because the smell alone tells you everything went right.
Expert Tips for the Best Results
The biggest lesson I’ve learned over the years is that French fries are less about ingredients and more about technique and timing. The double-fry method is non-negotiable if you want that contrast between a crisp exterior and a soft, almost creamy interior. Temperature control matters more than anything else—too low and they absorb oil, too high and they burn before cooking through. I also learned not to rush the soaking step, even when I’m hungry and tempted to skip it. That resting time changes the texture in a way you can’t fake later. And finally, always season immediately after frying. Salt sticks best when the fries are hot and slightly oily, and that small detail makes a noticeable difference in every bite.
Variations & Substitutions
Over time, I’ve played around with fries more than I expected I would. There was a phase where I tossed them in smoked paprika and garlic powder, and that became a household favorite for a while. Another time, I used sweet potatoes instead of regular potatoes, which created a softer, slightly sweeter version that pairs beautifully with spicy dips. I’ve even tried oven-baked fries when I wanted something lighter, and while they don’t reach the same level of crispiness as frying, they still satisfy that craving when done properly. On nights when I’m missing ingredients or just experimenting, I’ve learned that fries are surprisingly forgiving—as long as the technique stays solid, the flavor can shift in so many directions.
Serving Suggestions
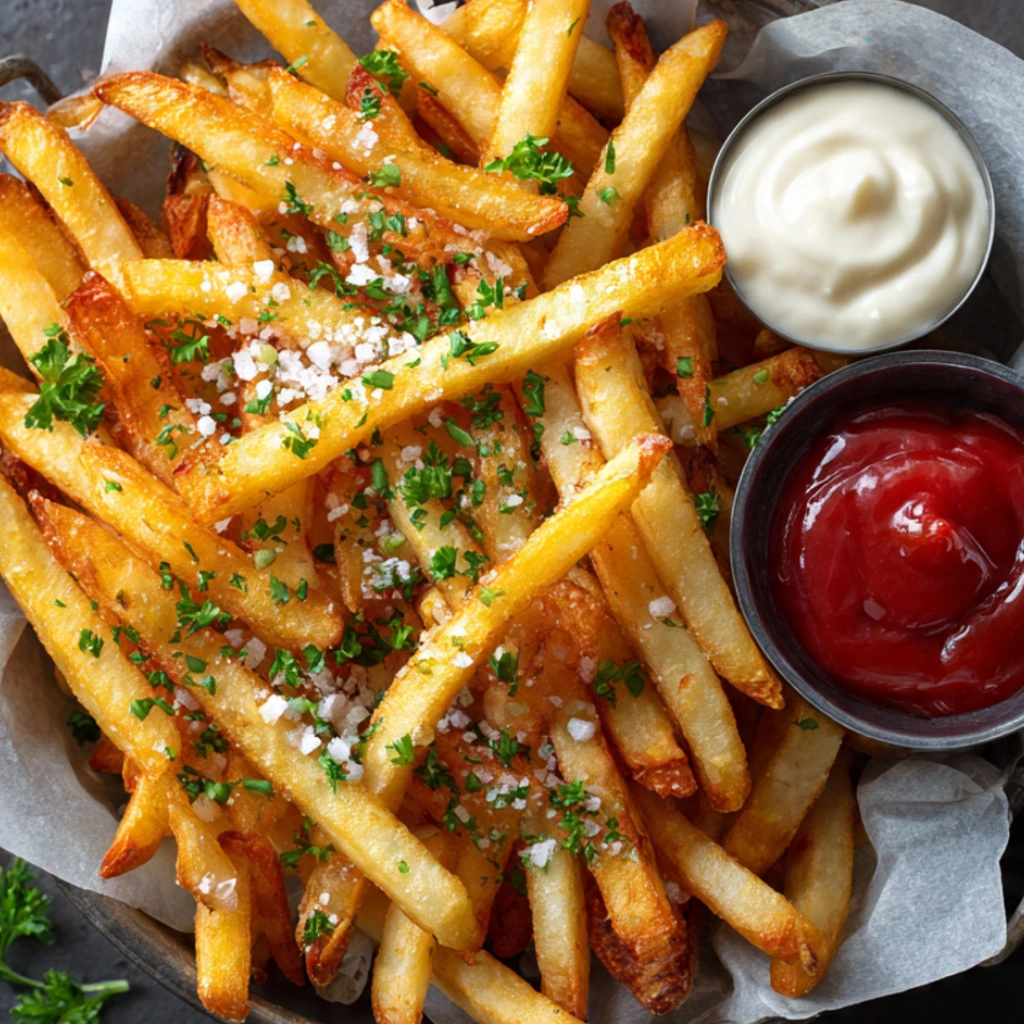
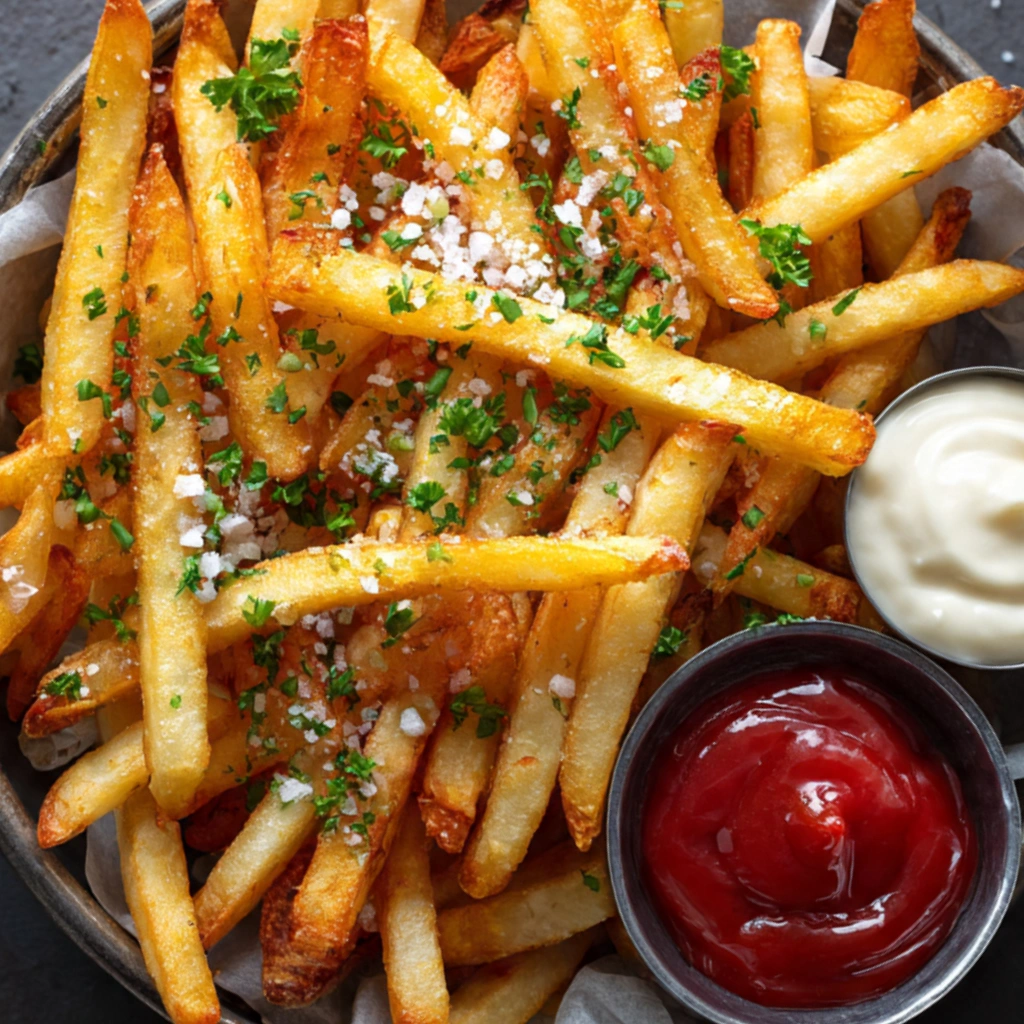
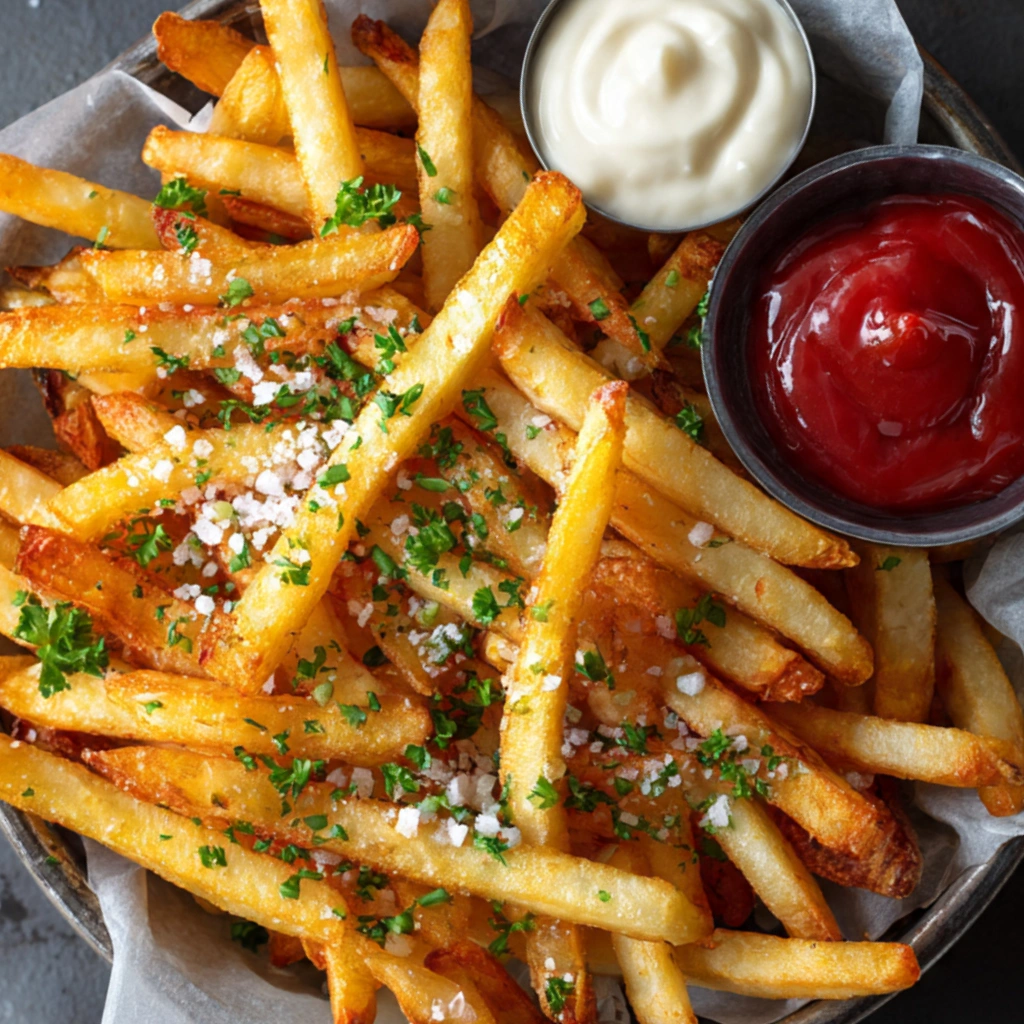
French fries are one of those foods that somehow fit into almost any situation. I love serving them alongside burgers or grilled chicken, but honestly, they’re just as satisfying on their own with a simple dipping sauce. Sometimes I’ll set them out as part of a casual dinner spread with sandwiches and salads, and other times they become the star of a late-night snack plate with ketchup, mayo, or a quick garlic aioli I whip up when I have a few extra minutes. They also work beautifully for gatherings because people naturally gravitate toward them—there’s something universally comforting about a bowl of fresh, hot fries sitting in the middle of the table.
Storage & Reheating Instructions
If you somehow end up with leftovers, I recommend storing them in an airtight container in the fridge. They’ll lose their crispness overnight, which is completely normal. The best way I’ve found to bring them back is to reheat them in a hot oven or air fryer for a few minutes rather than microwaving them, which tends to make them soft. They won’t be exactly like fresh fries again, but they do regain a nice bit of texture and flavor when reheated properly. I’ve also noticed that letting them sit at room temperature for a few minutes before reheating helps them crisp up more evenly.
Recipe FAQs (Answered by Clara)
Can I make this ahead of time?
Yes, and I often do. You can complete the first fry ahead of time and refrigerate the potatoes until you’re ready for the final crisping step. It actually makes dinner feel easier when the groundwork is already done.
What’s the best tool to cut fries evenly?
A sharp chef’s knife works perfectly fine, but if I’m making a large batch, I sometimes use a simple fry cutter. The key is consistency—similar sizes mean even cooking.
Can I serve it cold?
You can, but I don’t personally enjoy them cold. The texture becomes firm and a bit dense. Fries are really at their best when warm and freshly made.
How do I make it less watery?
This usually comes down to two things: soaking and drying. Soak the potatoes in cold water to remove starch, and then dry them thoroughly before frying. Any leftover moisture will fight against crispiness.
Conclusion
French fries might seem like one of the simplest foods in the world, but they have a way of teaching patience, timing, and attention to detail in the kitchen. Every batch I make still feels a little different, depending on the potatoes, the oil, or even the mood in the room. And I think that’s what keeps me coming back to them

French Fries
Ingredients
- 4 large potatoes Russet preferred
- 4 cups vegetable oil for frying
- 1 teaspoon salt or to taste
- Optional: paprika garlic powder, or seasoning blend
Instructions
Prepare the potatoes:
- Peel (optional) and cut potatoes into thin strips.
- Soak in cold water for at least 30 minutes to remove excess starch.
Dry thoroughly:
- Drain and pat the potatoes completely dry with paper towels.
Heat the oil:
- In a deep pot, heat oil to 325°F (165°C).
First fry:
- Fry potatoes in batches for 4–5 minutes until soft but not browned.
- Remove and drain on paper towels.
Second fry:
- Increase oil temperature to 375°F (190°C).
- Fry again for 3–5 minutes until golden and crispy.
Season and serve:
- Remove fries, drain excess oil, and sprinkle with salt and optional seasonings.
- Serve hot.
Notes
- Extra crispy: Double frying is key for the perfect texture.
- Healthier option: Bake at 425°F (220°C) for 30–35 minutes, flipping halfway.
- Even cooking: Cut fries to a uniform size.
- Storage: Best enjoyed fresh, but can be reheated in an oven or air fryer.