There’s something about fried potatoes that takes me straight back to a small, slightly cluttered kitchen with a cast iron skillet that had seen better days—but cooked like a dream. I didn’t learn fried potatoes from a cookbook. I learned them standing next to someone who never measured a thing, who judged doneness by sound more than sight, and who believed patience was the real secret ingredient.
The first few times I tried making them on my own, I got it wrong. Either they were too soft, almost steamed, or they burned before the inside had a chance to cook through. I remember one particular evening, hungry and stubborn, refusing to give up until I got that perfect balance—crispy edges, soft centers, and just enough seasoning to make them impossible to stop eating.
That night taught me more than any recipe ever could. Fried potatoes aren’t complicated, but they demand your attention. And once you understand them, they become one of those reliable, comforting dishes you can make with your eyes half-closed and your heart fully in it.

Why You’ll Love This Recipe
- Made with simple, affordable ingredients you likely already have
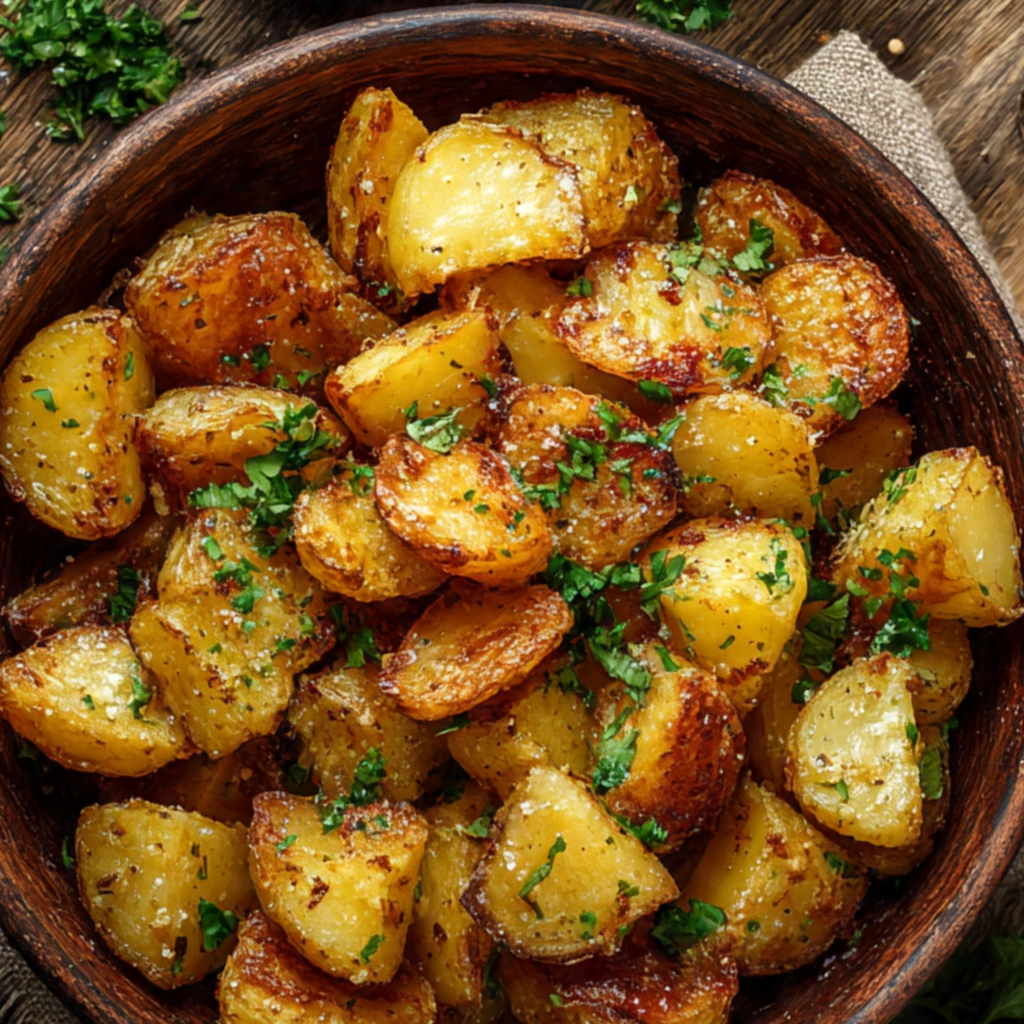
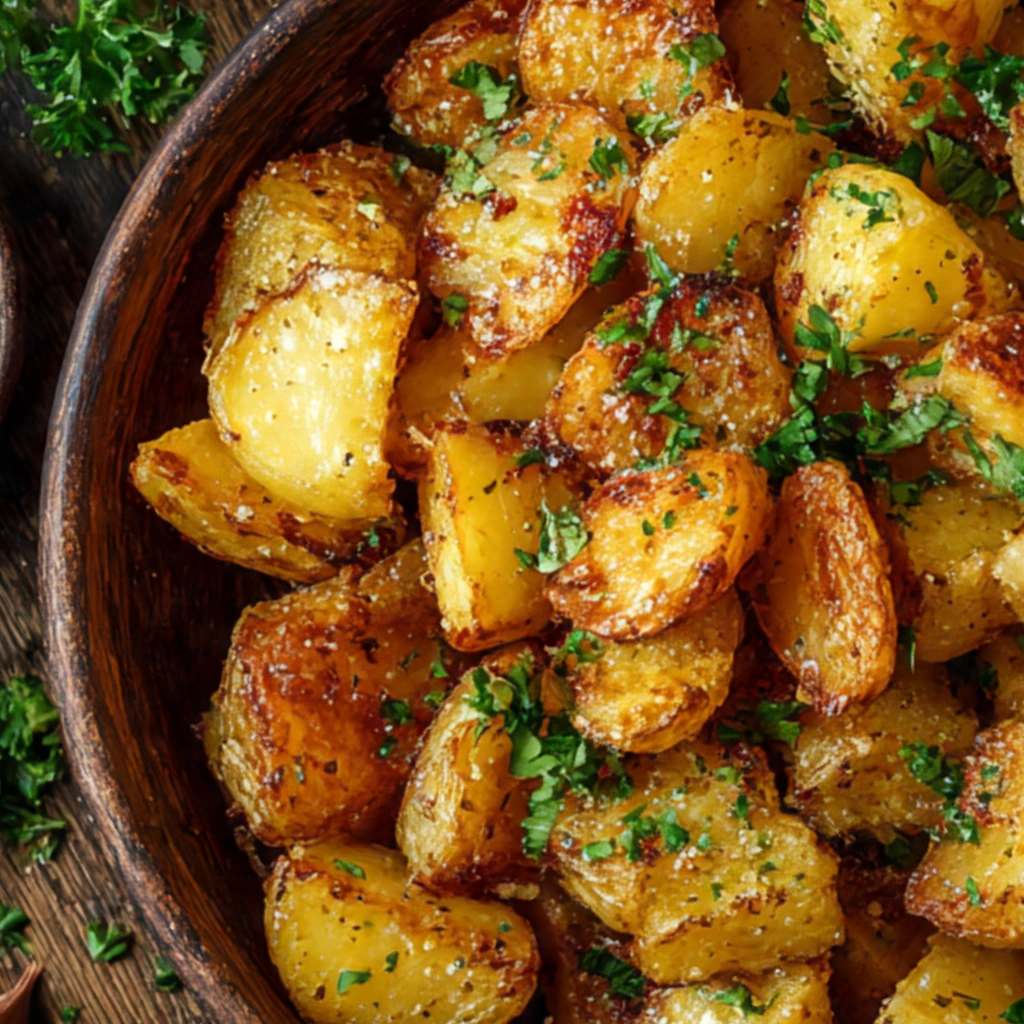
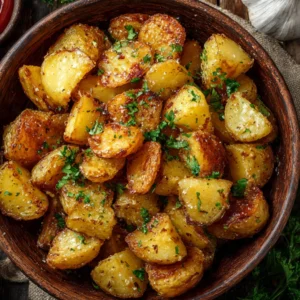
- Crispy on the outside, soft and fluffy on the inside
- Easily customizable with spices, herbs, or add-ins
- Perfect as a side dish for any meal of the day
- Great for using up leftover potatoes
- Cooked in one pan with minimal cleanup
Ingredients You’ll Need
- 4 medium potatoes (Yukon Gold or Russet)
I’ve used both over the years. Yukon Gold gives you a buttery texture, while Russets crisp up beautifully. If I had to choose, I lean toward Yukon Gold for everyday cooking. - 3 tablespoons vegetable oil (or olive oil)
I’ve tried butter alone, but it burns too quickly. A mix of oil and a little butter at the end works best. - 1 small onion, diced (optional but highly recommended)
There was a time I skipped onions. I don’t anymore. They add sweetness and depth that’s hard to replace. - 2 cloves garlic, minced
Fresh garlic always wins here. I’ve used powder in a pinch, but it’s not quite the same. - 1 teaspoon salt (adjust to taste)
- ½ teaspoon black pepper
- ½ teaspoon paprika (optional, but adds warmth and color)
- 2 tablespoons butter (added at the end for flavor)
This is something I learned later—it gives that final richness without burning early. - Fresh parsley for garnish (optional)
How to Make It (Step-by-Step Instructions)
Step 1: Prep the Potatoes
Start by washing and peeling your potatoes—though I’ll admit, sometimes I leave the skins on when I’m in a rustic mood. Cut them into small, even cubes. Not too big, or they’ll take forever to cook, and not too small, or they’ll fall apart.
Once chopped, rinse them under cold water. This step matters more than I realized early on—it removes excess starch and helps them crisp up instead of sticking together.
Pat them completely dry. I mean really dry. Any moisture left will turn your frying pan into a steaming situation, and that’s not what we want.
Step 2: Heat the Pan Properly
Place a large skillet—preferably cast iron—over medium heat and add your oil. Give it a minute or two to heat up. I used to rush this part, and it always showed in the final texture.
You want the oil hot enough that a potato sizzles when it hits the pan, but not so hot that it smokes.
Step 3: Cook the Potatoes (Don’t Crowd Them)
Add the potatoes in a single layer. If your pan feels crowded, cook in batches. I learned this the hard way—overcrowding traps steam and ruins crispiness.
Let them sit undisturbed for a few minutes. This is the part where patience pays off. Resist the urge to stir constantly.
After about 4–5 minutes, flip them gently and continue cooking, turning occasionally, for about 15–20 minutes total.
Step 4: Add Onions and Seasoning
Once the potatoes are about halfway cooked and starting to get golden, add your diced onions. Stir them in gently.
Now add salt, pepper, and paprika. Seasoning early helps everything absorb flavor, but I always taste again at the end.
Cook for another 5–10 minutes, stirring occasionally, until the potatoes are tender inside and crisp outside.
Step 5: Finish with Garlic and Butter
Add the minced garlic during the last couple of minutes. Garlic burns quickly—I’ve ruined a batch or two by adding it too soon.
Then drop in the butter and let it melt over everything. Toss gently to coat.
Taste and adjust seasoning if needed.
Step 6: Serve Warm
Turn off the heat and sprinkle with fresh parsley if you like. Serve immediately while they’re still hot and crisp.
Expert Tips for the Best Results
The biggest lesson I’ve learned with fried potatoes is that you can’t rush them, no matter how hungry you are; the magic happens slowly as the outside crisps and the inside softens, and that only comes from giving them space in the pan and letting them sit long enough to develop that golden crust, so keep your heat at a steady medium rather than cranking it up, dry your potatoes thoroughly before cooking, and don’t be afraid to leave them alone for a few minutes at a time—constant stirring is the quickest way to lose that beautiful texture.
Variations & Substitutions
There have been plenty of nights when I didn’t have exactly what I needed, and those moments led to some of my favorite versions of this dish; I’ve swapped onions for bell peppers when I wanted something sweeter, added smoked paprika or chili flakes for a little heat, tossed in leftover cooked bacon for richness, and even used sweet potatoes when that’s all I had on hand, which gave the dish a completely different but equally comforting flavor, so don’t feel locked into one version—fried potatoes are forgiving and often better when you make them your own.
Serving Suggestions
I tend to serve fried potatoes alongside eggs in the morning, especially on slow weekends when there’s time to enjoy the process, but they’re just as welcome next to grilled chicken, steak, or even tucked into a wrap for a quick lunch, and sometimes I’ll set them out as part of a casual dinner spread where everyone can grab a spoonful and go back for more, because they have a way of disappearing quickly no matter the occasion.
Storage & Reheating Instructions
If you happen to have leftovers—which doesn’t always happen in my house—let them cool completely before storing in an airtight container in the fridge for up to three days, and when it’s time to reheat, skip the microwave if you can and use a skillet instead, because that’s the only way to bring back some of that crisp texture, even if it’s not quite the same as fresh; just know they’ll still taste good, even if they lose a bit of their original crunch.
Recipe FAQs (Answered by Clara)
Can I make this ahead of time?
You sure can. I often prepare it in the morning, cover it tightly, and pop it in the fridge. It actually tastes better after resting.
What’s the best spiralizer to use?
For this recipe, I don’t use a spiralizer at all. I’ve tried fancy cuts before, but simple cubes cook more evenly and give you that classic texture we’re after.
Can I serve it cold?
You can, but I’ll be honest—it’s not my favorite way. Fried potatoes really shine when they’re warm and crisp, though I have picked at leftovers straight from the fridge more times than I’d like to admit.
How do I make it less watery?
Make sure to rinse and thoroughly dry your potatoes before cooking, and avoid overcrowding the pan; those two steps alone make a world of difference and help you get that crisp finish instead of a soggy one.
Conclusion
Fried potatoes are one of those dishes that quietly earn their place at the table, not because they’re fancy, but because they’re dependable, comforting, and endlessly adaptable. Once you get the feel for them, they become second nature—something you can throw together without a second thought, yet still feel proud to serve.
If you try this recipe, I’d love to hear how it turns out for you. Maybe you’ll add your own twist or discover a new favorite variation along the way. That’s the beauty of cooking—it grows with you.
Nutrition Information (Optional)
Per serving (approximate):
- Calories: 220
- Carbohydrates: 30g
- Protein: 3g
- Fat: 10g
- Fiber: 3g
- Sodium: 300mg
Fried Potatoes
Ingredients
- 4 medium potatoes peeled and diced
- 3 tablespoons olive oil or butter
- 1 teaspoon salt
- ½ teaspoon black pepper
- 1 teaspoon paprika
- ½ teaspoon garlic powder
- ½ cup onion chopped (optional)
- Fresh parsley for garnish optional
Instructions
Prepare the potatoes:
- Peel and dice potatoes into small, even cubes.
- Rinse under cold water and pat dry thoroughly.
Heat the pan:
- Heat oil or butter in a large skillet over medium heat.
Cook the potatoes:
- Add potatoes in a single layer.
- Cook without stirring for 5–7 minutes to develop a crispy crust.
Stir and season:
- Stir occasionally and add onions (if using).
- Sprinkle with salt, pepper, paprika, and garlic powder.
Finish cooking:
- Continue cooking for another 10–15 minutes, stirring occasionally, until golden brown and tender.
Serve:
- Garnish with fresh parsley and serve hot.
Notes
- Crispier potatoes: Avoid overcrowding the pan and don’t stir too often.
- Shortcut: Parboil potatoes for 5 minutes before frying for faster cooking.
- Extra flavor: Add bell peppers, bacon, or herbs.
- Storage: Refrigerate leftovers for up to 3 days; reheat in a skillet for best texture.