The first time I tried making Sourdough Bread, I almost gave up before it ever reached the oven. I remember standing in my kitchen, staring at a sticky, shapeless dough that refused to behave. It felt like the bread had a personality of its own—and not a cooperative one. But something about the process pulled me in. Maybe it was the quiet patience it demanded, or the way it connected me to a slower rhythm of cooking I didn’t realize I needed.
Over time, sourdough became more than just a recipe in my kitchen. It became a ritual. Feeding the starter in the morning, checking on the dough like it was something alive (because in many ways, it is), and that deeply satisfying moment when the loaf comes out of the oven—crackling, golden, and full of promise. I’ve made plenty of mistakes along the way—flat loaves, dense crumbs, overly sour batches—but each one taught me something. And now, I want to share that journey with you, so you can skip a few of those frustrating moments and get straight to the joy of baking your own sourdough.

Why You’ll Love This Recipe
- Made with just a few simple, wholesome ingredients
- Naturally fermented for better flavor and texture
- No commercial yeast needed
- Deeply satisfying, hands-on baking experience
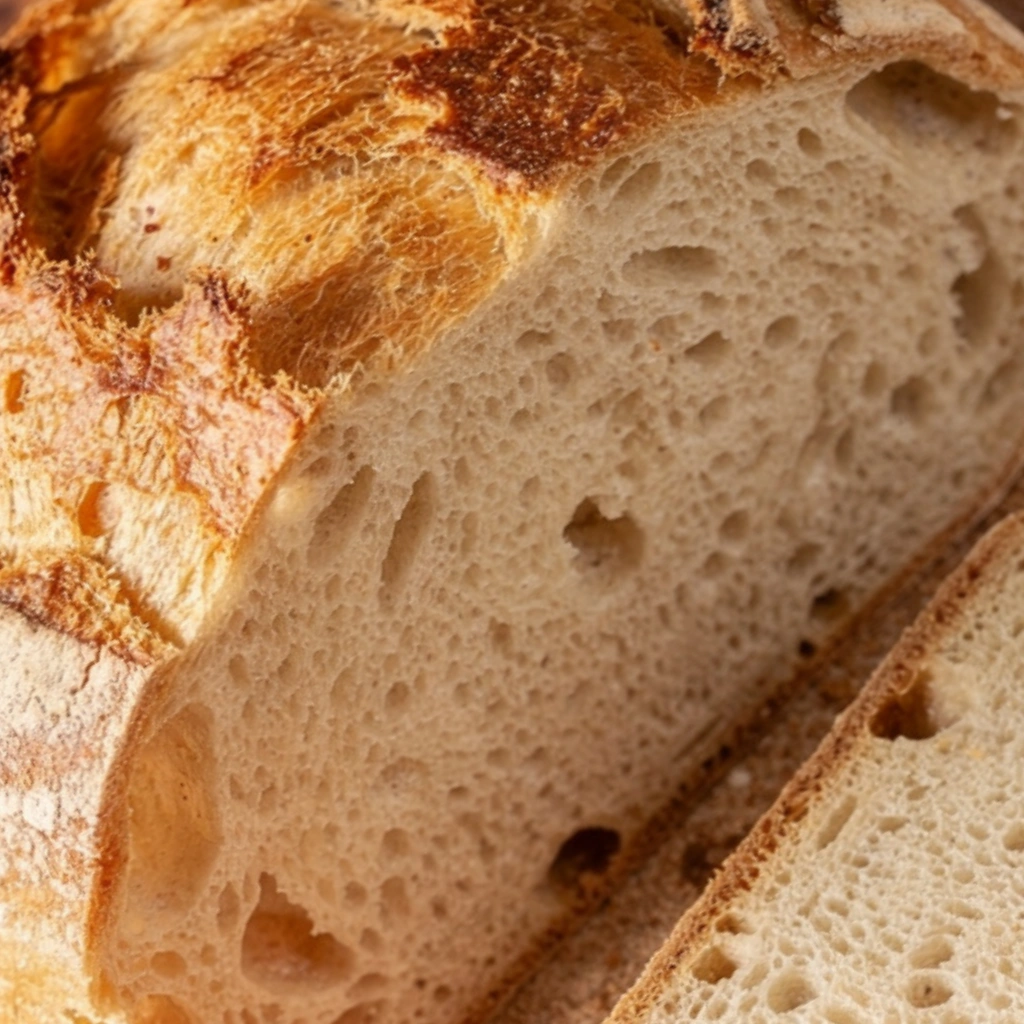
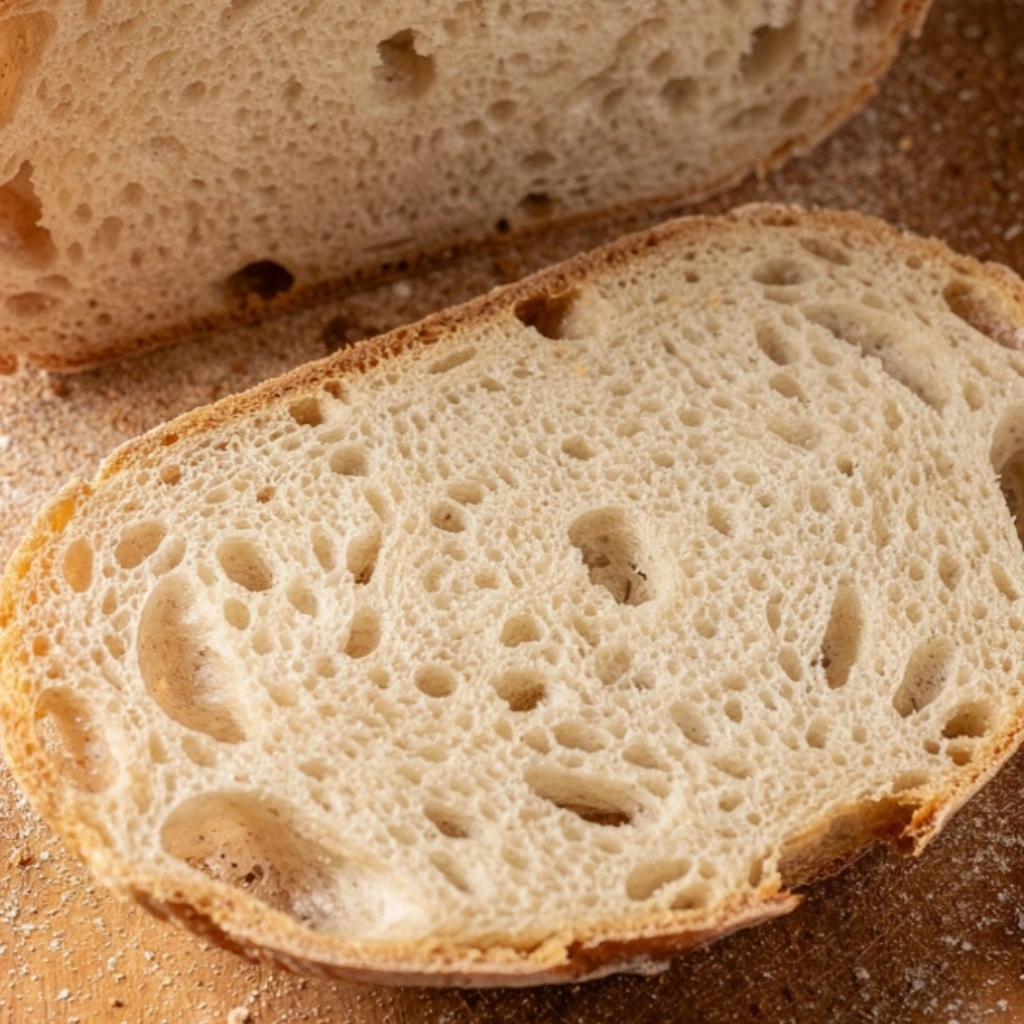
- Creates a beautiful crust with a soft, airy interior
- Keeps well and tastes even better the next day
Ingredients You’ll Need
- 500g bread flour – I always lean toward bread flour for its higher protein, which gives that lovely chewy structure. I’ve tried all-purpose in a pinch, and it works, but the loaf isn’t quite as sturdy.
- 350g water – Room temperature is just fine. I’ve learned the hard way that overly warm water can make fermentation unpredictable.
- 100g active sourdough starter – This is the heart of the bread. It should be bubbly and lively. If it smells sharp and lifeless, give it another feeding before using.
- 10g salt – Don’t skip or reduce too much. It’s not just for flavor—it strengthens the dough and keeps fermentation balanced.
How to Make It (Step-by-Step Instructions)
Step 1: Mix the Dough
In a large bowl, combine the flour and water first. I usually mix it with my hands until there’s no dry flour left. Let it rest for about 30 minutes—this is something I used to skip, and I regret it now. This rest, called autolyse, helps the dough develop structure without extra effort later.
Step 2: Add Starter and Salt
After the rest, add your sourdough starter and salt. Gently work them into the dough using your hands. It will feel sticky and messy—that’s normal. Resist the urge to add more flour. I did that in my early days, and it only made the bread dense.
Step 3: Stretch and Fold
Over the next 2–3 hours, perform a series of stretch and folds every 30–45 minutes. Instead of kneading, you gently stretch the dough and fold it over itself. This builds strength gradually. I like to think of it as coaxing the dough rather than forcing it.
Step 4: Bulk Fermentation
Let the dough rest at room temperature until it has risen and looks slightly puffy. Depending on your kitchen temperature, this can take 4–6 hours. I’ve rushed this step before, and the loaf paid the price—flat and heavy. Patience really matters here.
Step 5: Shape the Dough
Turn the dough onto a lightly floured surface and shape it into a round or oval. Be gentle—you want to keep those air bubbles intact. Let it rest briefly, then shape again for a tighter structure.
Step 6: Final Proof
Place the dough into a floured proofing basket or bowl. Cover and let it rest again, either at room temperature for a few hours or overnight in the fridge. I often choose the overnight method—it deepens the flavor and makes scoring easier.
Step 7: Bake
Preheat your oven to 475°F (245°C) with a Dutch oven inside. Carefully transfer the dough onto parchment paper, score the top with a sharp blade, and place it into the hot pot. Bake covered for 20 minutes, then uncover and bake another 20–25 minutes until deeply golden.
Expert Tips for the Best Results
Sourdough has taught me that small details make a big difference, but not in the way you might expect—it’s less about perfection and more about attention. Watch your dough more than the clock; if your kitchen is warm, everything will move faster, and if it’s cool, you’ll need to give it more time. Don’t be discouraged by sticky dough; that hydration is what gives sourdough its beautiful open crumb. And if your loaf doesn’t turn out quite right, don’t rush to blame yourself—it often takes a few tries to really understand how your starter and environment behave.
Variations & Substitutions
There have been plenty of evenings when I realized I was out of bread flour and had to improvise, and those moments taught me that sourdough is more forgiving than it seems. You can swap in a portion of whole wheat flour for a nuttier flavor, or even try a bit of rye for something deeper and more complex. I once added roasted garlic on a whim, folding it into the dough during the stretch-and-fold stage, and it turned into one of those loaves people still ask me about. Even hydration can be adjusted slightly depending on your comfort level—if the dough feels too unruly, reducing the water just a little can make it easier to handle.
Serving Suggestions
There’s something special about slicing into a fresh loaf while it’s still slightly warm, though I’ve learned to wait just long enough so the crumb sets properly. I love serving sourdough with a simple spread of butter or dipping it into olive oil with a pinch of salt. It pairs beautifully with soups, especially something slow-cooked and hearty, or alongside a fresh salad for a lighter meal. And on quieter mornings, a toasted slice with a bit of jam and coffee feels like a small luxury that sets the tone for the day.
Storage & Reheating Instructions
At home, I usually store sourdough wrapped in a clean kitchen towel or in a paper bag to keep the crust from going soft too quickly. It stays good at room temperature for a couple of days, though the texture does change slightly as it ages. If it starts to feel firm, a quick toast brings it right back to life, adding a lovely crispness. I’ve also frozen slices before, and they reheat surprisingly well straight from the freezer—perfect for those mornings when you want something homemade without the extra effort.
Recipe FAQs (Answered by Clara)
Can I make this ahead of time?
You sure can. I often prepare it in the morning, cover it tightly, and pop it in the fridge. It actually tastes better after resting.
What’s the best spiralizer to use?
For sourdough, you won’t need a spiralizer at all. A simple dough scraper and your hands will take you much further than any gadget.
Can I serve it cold?
You can, but I personally think sourdough shines when it’s slightly warmed or toasted. That’s when the flavor and texture really come alive.
How do I make it less watery?
If your dough feels too wet, try reducing the water slightly next time. Also, make sure your flour has enough protein—it makes a noticeable difference in structure.
Conclusion
Sourdough isn’t just bread—it’s a process that teaches patience, observation, and a bit of humility. Every loaf has its own story, and no two turn out exactly the same. If you’re just starting, don’t worry about getting it perfect. Focus on learning, adjusting, and enjoying the process. And when you finally pull that golden loaf out of the oven, you’ll understand why so many of us keep coming back to it.
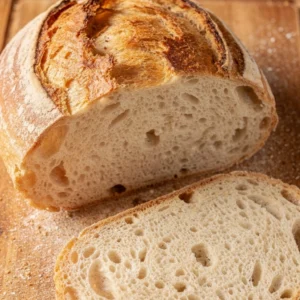
Sourdough Bread
Ingredients
- 3 cups 375 g bread flour
- 1 cup 240 ml water
- ½ cup 120 g active sourdough starter
- 1½ teaspoons salt
Instructions
Mix the dough:
- In a large bowl, combine flour and water.
- Mix until a shaggy dough forms. Let rest for 30 minutes (autolyse).
Add starter and salt:
- Mix in sourdough starter and salt until fully incorporated.
Bulk fermentation:
- Cover and let the dough rise at room temperature for 4–6 hours.
- Perform stretch-and-folds every 30 minutes for the first 2 hours.
Shape the dough:
- Turn the dough onto a floured surface and shape into a round loaf.
Proof:
- Place in a floured proofing basket or bowl.
- Cover and refrigerate overnight (8–12 hours).
Preheat oven:
- Preheat oven to 450°F (230°C) with a Dutch oven inside.
Bake:
- Transfer dough to parchment paper, score the top, and place in the hot Dutch oven.
- Cover and bake for 25 minutes.
- Remove lid and bake another 15–20 minutes until deep golden brown.
Cool:
- Let cool completely before slicing.
Notes
- Active starter: Make sure your starter is bubbly and active for best results.
- Crust control: Bake longer uncovered for a darker, crispier crust.
- Hydration: Adjust water slightly depending on flour type.
- Storage: Store at room temperature for up to 3 days or freeze for longer storage.